Publicidad
Enlaces rápidos
D301115
D307018
Need Help?
Please call our toll-free Customer service line at
Besoin d'aide?
Veuillez communiquer avec notre service à la clientèle au numéro sans frais
du service ou de l'aide additionnels.
Requiere asistencia?
Favor llamar a nuestro servicio a clientes sin costo al
servicio.
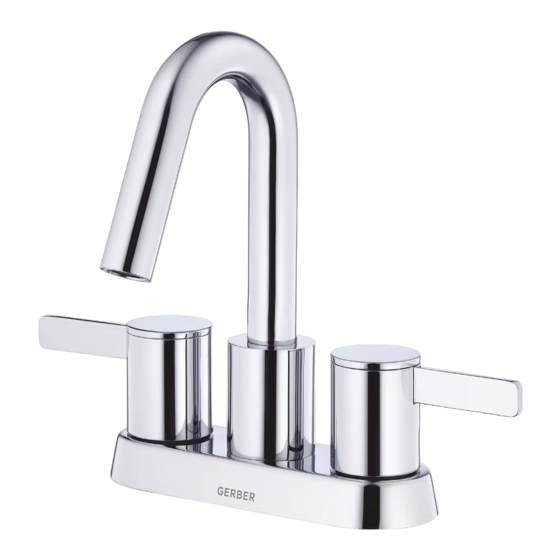
Two Handle Centerset Lavatory Faucet
Robinet de lavabo à deux manettes à entraxe
Grifo de lavabo de dos manijas con centro
D301130
D307028
1-888-328-2383
or
1-888-328-2383
estándar de 4 pulg.
D301122
WWW.DANZE.COM
for additional assistance or service.
1-888-328-2383
WWW.DANZE.COM
ou
WWW.DANZE.COM
o
de 4 po
D301158
pour obtenir
para asistencia adicional o
Publicidad

Resumen de contenidos para Gerber danze D301115
- Página 1 Two Handle Centerset Lavatory Faucet Robinet de lavabo à deux manettes à entraxe de 4 po Grifo de lavabo de dos manijas con centro estándar de 4 pulg. D301115 D301130 D301122 D301158 D307018 D307028 Need Help? 1-888-328-2383 WWW.DANZE.COM Please call our toll-free Customer service line at for additional assistance or service.
- Página 2 Before Your Installation Tools You Will Need Avant l’installation Outils dont vous aurez besoin Antes de Instalar Herramientas Necesarias Check the local plumbing code requirements before installation. Vérifier les exigences du code de la plomberie qui s’applique avant de procéder à l’installation. Antes de la instalación, consulte las exigencias del código local de plomería.
- Página 3 Faucet Installation Procedures / Procédures d’installation du robinet / Instalación del Grifo Danze always recommends that plumbing products be installed by a licensed professional. Danze recommande que les articles de plomberie soient toujours installés par un professionnel qualifié. Danze aconseja siempre que sea un profesional autorizado quien instale los productos de plomería. Shut off the main water supply before installation by turning the valves clockwise.
- Página 4 Apply threaded pipe tape to where threading connection will be made. Appliquer du ruban de tuyauterie filetée à l'endroit où la connexion de filetage sera effectué. Aplique cinta selladora para rosca en el lugar donde vaya a hacer la conexión roscada. Apply the pipe tape to the inlet port.
- Página 5 Trouble-Shooting / Dépannage / Guía de Solucionar Problemas If you've followed the instructions carefully and your faucet still does not work properly, take these corrective steps. Si vous avez suivi attentivement les instructions et que votre robinet ne fonctionne toujours pas correctement, apporter les correctifs suivants.
- Página 6 Touch Down Drain Installation Instructions Instructions d’installation de la bonde de vidange manuelle Instrucciones para la instalación del desagüe touch down Before Your Installation Avant l’installation Antes de Instalar Check to make sure you have the following parts indicated below: Vérifier pour vous assurer que vous possédez les pièces au bas: Verifique que tenga todas las partes indicadas: 1.
- Página 7 Touch Down Drain Installation Instructions Instructions d’installation de la bonde de vidange manuelle Instrucciones para la instalación del desagüe touch down 2.2. Tighten the rubber washer (4) and lock nut (5) onto the drain collar. Visser la rondelle en caoutchouc (4) et l‘écrou de blocage (5) sur le collet de renvoi.
- Página 8 Pop-Up Drain Installation Instructions Instructions d’installation de la vidange mécanique Instrucciones de instalación del desagüe levadizoa Before Your Installation Avant l’installation Antes de Instalar Check to make sure you have the following parts indicated below: Vérifier pour vous assurer que vous possédez les pièces au bas: Verifique que tenga todas las partes indicadas: 1.
- Página 9 Pop-Up Drain Installation Instructions Instructions d’installation de la vidange mécanique Instrucciones de instalación del desagüe levadizoa Orient the tail piece (7) assembly so that the opening of the drain lever faces the direction of the location of the lift rod assembly. (usually the lift rod assembly faces the wall).


