Publicidad
Idiomas disponibles
Idiomas disponibles
Enlaces rápidos
H-8938
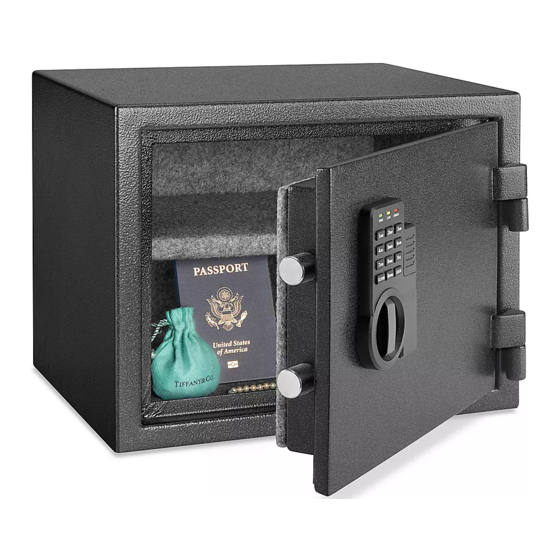
FIRE RATED STANDARD SAFE
TOOLS NEEDED
Drill
Flathead Screwdriver
HARDWARE INCLUDED
50 mm Lag Screw x 2
IMPORTANT! Record the serial number from the
tag on back of safe.
Keep keys and combination in a secure place,
away from children.
Do not store backup key, combination or this
document in the safe.
GETTING STARTED
1.
When first receiving the safe, open door with key in
order to install batteries. Batteries are included and
are located inside the safe.
2. To open door with key, first remove lock cover from
front of faceplate using a flathead screwdriver, as
shown. Insert key and turn clockwise. Hold key in
open position and turn knob to the right to open door.
NOTE: Key has also been provided in case
security code is lost or forgotten or if batteries
run low. If key is lost, reference serial number
located on the back of the safe to get a
replacement.
PAGE 1 OF 6
10 mm Socket Wrench
Washer x 2
40 mm Plastic Anchor x 2
Lock Cover
1-800-295-5510
uline.com
3/8" Drill Bit
USAGE
3. Locate batteries inside the safe. Open battery
compartment on back of door by pushing tab to the
right. Install batteries.
ENTERING SECURITY CODE
1. After installing batteries, locate reset button on
inside of door near hinge.
2. Press reset button and release it; user will hear
a beep. DO NOT SHUT DOOR UNTIL USER HAS
CONFIRMED NEW SECURITY CODE HAS BEEN ENTERED
CORRECTLY.
3. With door open, enter user's personal security
code, which can be three to eight digits long, and
confirm new code by pressing the lock key
electronic touch pad. User will have five seconds to
press the lock key
start over from step one. There will be two beeps (if
sound is turned on) and green light will flash twice if
code has been entered successfully. Before closing
door, enter new security code. Press the lock key
to make sure lock releases knob so that it can
turn and retract the live-action locking bolts.
4. If code fails, go through steps 1-3 again. If code
works successfully, then lock safe.
5. When opening the safe in the future, enter security
code set, followed by the lock key
knob.
, otherwise user will have to
, and turn
1120 IH-8938
on
Publicidad

Resumen de contenidos para Uline H-8938
- Página 1 H-8938 1-800-295-5510 uline.com FIRE RATED STANDARD SAFE TOOLS NEEDED Drill Flathead Screwdriver 10 mm Socket Wrench 3/8" Drill Bit HARDWARE INCLUDED 50 mm Lag Screw x 2 Washer x 2 40 mm Plastic Anchor x 2 USAGE 3. Locate batteries inside the safe. Open battery...
-
Página 2: Selecting A Location
Use the hardware provided or consult a minimum of six seconds from the time the Uline Customer Service at 1-800-295-5510 for combination is entered to lock safe. Also, when fastening hardware for particular mounting locking the safe, always make sure knob is surfaces. - Página 3 H-8938 800-295-5510 uline.mx CAJA FUERTE ESTÁNDAR EVALUADA CONTRA FUEGO HERRAMIENTAS NECESARIAS Taladro Desarmador Plano Llave de Dado de 10 mm Broca de 3/8" TORNILLERÍA INCLUIDA 2 Tornillos Tirafondo 2 Rondanas 2 Taquetes de Plástico de de 50 mm 40 mm 3.
-
Página 4: Continuación De Uso
Utilice la tornillería incluida o consulte a seis segundos después de ingresarla. Además, Servicio a Clientes de Uline al 800-295-5510 cuando bloquee la caja fuerte, asegúrese sobre la tornillería de fijación apropiada para siempre de que la perilla esté... - Página 5 H-8938 1-800-295-5510 uline.ca COFFRE-FORT STANDARD CLASSÉ RÉSISTANT AU FEU OUTILS REQUIS Perceuse Tournevis à tête plate Clé à douille de 10 mm Mèche de perceuse de 3/8 po MATÉRIEL D'INSTALLATION INCLUS Tirefond de 50 mm Rondelle x 2 Ancrage en plastique de...
-
Página 6: Activation/Désactivation Du Signal Sonore
Lors du fourni ou contactez le Service à la clientèle verrouillage du coffre-fort, assurez-vous toujours de Uline au 1 800 295-5510 pour obtenir le que le bouton est tourné complètement à matériel de fixation d'après des types de gauche à...


