Tabla de contenido
Publicidad
Idiomas disponibles
Idiomas disponibles
Enlaces rápidos
All manuals and user guides at all-guides.com
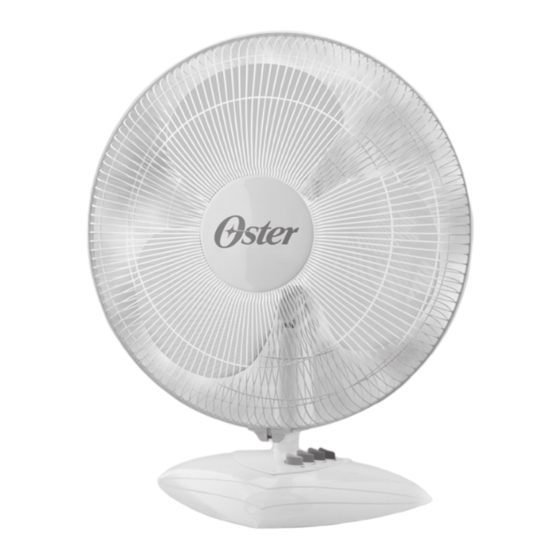
TF1600
TF1600
MODEL/MODELO
Instruction Manual
16" TABLE FAN
P L E A S E R E A D A L L I N S T R U C T I O N S B E F O R E U S I N G
Manual de Instrucciones
VENTILADOR DE MESA DE 40,6 CM
L E A T O D A S L A S I N S T R U C C I O N E S A N T E S D E U S A R
Publicidad
Tabla de contenido

Manuales relacionados para Oster TF1600


Resumen de contenidos para Oster TF1600
- Página 1 All manuals and user guides at all-guides.com TF1600 TF1600 MODEL/MODELO Instruction Manual 16” TABLE FAN P L E A S E R E A D A L L I N S T R U C T I O N S B E F O R E U S I N G...
-
Página 2: Important Safeguards
• DO NOT operate any appliance with a damaged cord or plug or after the appliance malfunctions or has been damaged in any manner. Return this appliance only to the nearest Authorized Oster Service Center for examination, repair or adjustment. -
Página 3: Description Of The Appliance
All manuals and user guides at all-guides.com DESCRIPTION OF THE APPLIANCE Fig. 1 1. Oscillation Knob 6. Blade Retaining Nut 2. Motor Assembly 7. Shroud 3. Rear Guard 8. Front Guard 4. Guard Retaining Nut 9. Guard Locking Screw/Nut 5. Blade 10. - Página 4 5. Loosen, but do not remove the guard locking screw/nut. Place the shroud on the rear guard with the guard locking screw/nut at the bottom. Assemble the front guard into shroud so that all sides snap. Rotate the front guard until the Oster logo is upright.
-
Página 5: Maintenance And Cleaning
All manuals and user guides at all-guides.com OPERATING INSTRUCTIONS 1. Once unit is fully assembled (see Assembly Instructions section) place unit on flat level surface and plug it into an appropriate electrical outlet. 2. Press the appropriate button to select the desired fan speed or to turn it off. “0” for “OFF”, “1”... -
Página 6: Precauciones Importantes
• NO opere ningún artefacto con un cordón o enchufe dañados, después de que el artefacto haya fallado o si se cae al suelo o se daña de cualquier otra manera. Regrese el artefacto al Centro de Servicio Oster Autorizado más cercano para examinarlo, ®... -
Página 7: Descripcion Del Artefacto
All manuals and user guides at all-guides.com DESCRIPCION DEL ARTEFACTO Fig. 1 1. Perilla de oscilación 6. Tuerca de sujeción de las aspas 2. Ensamble del motor 7. Carenado 3. Protector posterior 8. Protector frontal 4. Tuerca de sujeción del protector 9. -
Página 8: Instrucciones Para Ensamblar
Ensamble el protector frontal en el carenado de modo que todos los lados encajen. Gire el protector frontal hasta que el logotipo de Oster quede en posición vertical. -
Página 9: Mantenimiento Y Limpieza
All manuals and user guides at all-guides.com INSTRUCCIONES PARA EL FUNCIONAMIENTO 1. Una vez que la unidad esté completamente ensamblada (consulte la sección de Instrucciones para ensamblar) coloque la unidad en una superficie plana y nivelada, y enchúfela en un tomacorriente adecuado. 2. - Página 10 Glass containers, light bulbs and accessories. h) Industrial or commercial use of appliance. The authorized Oster service centers will continue at your disposal to grant you the service ® you deserve with the trust of the Oster brand. ®...
- Página 11 Recipiente de vidrio, focos y accesorios. h) Uso industrial o comercial del artefacto. Los centros de servicio Oster autorizados, seguirán a sus órdenes para brindarle el servicio ® que usted se merece, siempre con la confianza de la marca Oster ®...
- Página 12 LLC, 5200 Blue Lagoon Drive, Suite 470, Miami, FL 33126. ©2012 Sunbeam Products, Inc. Todos los derechos reservados. Distribuido por Sunbeam Latin America, LLC, 5200 Blue Lagoon Drive, Suite 470, Miami, FL 33126. Printed in Venezuela www.oster.com Impreso en Venezuela P.N. 157798 00TF1600-LA813_12ESM1...