Publicidad
Idiomas disponibles
Idiomas disponibles
Enlaces rápidos
H-1256, H-1257
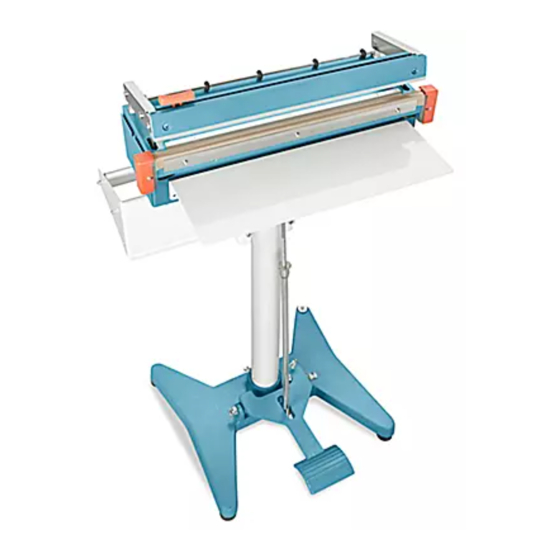
FOOT OPERATED SEALER
WITH CUTTER
TOOLS NEEDED
1/2" Socket Wrench
Insert stand into foot pedal
base. From front, screw stand
tight with two short screws using
1/2" socket wrench.
(See Figure 1)
NOTE: Do not insert
screws into stand. Use
screws in foot pedal
base.
TO ATTACH SEALING HEAD
1. Place head on top of stand.
2. Align large hole on sealing head base bracket with
screw holes on stand, and screw sealing head to top
of stand. Angle sealing head to proper position and
secure with sealing head angle knobs on both sides
of bracket.
TO ATTACH ROLL BRACKET
1. Fit roll bracket onto stand and place small roll
bracket plate on opposite side of stand.
2. Align four screw holes on small roll bracket plate and
roll bracket.
3. Screw tightly to secure roll bracket on stand using
Phillips screwdriver.
4. To adjust height of roll bracket on stand, loosen four
screws and slide bracket up or down as needed.
PAGE 1 OF 6
1-800-295-5510
uline.com
Phillips Screwdriver
Figure 1
Stand
ASSEMBLY
TO ATTACH FOOT PEDAL ROD
1. Place hook of rod through
pull screw. (See Figure 2)
2. Drop T-shaped end through
open slit of foot pedal and
twist to lock in small notches
on underside of foot pedal.
(See Figure 3)
3. To adjust length of foot
pedal rod, detach bottom
of rod from foot pedal, then
screw bottom half of rod up
or down as needed.
(See Figure 4)
Para Español, vea página 2.
Pour le français, consulter la page 3.
Figure 2
Foot Pedal
Figure 3
Figure 4
1120 IH-1256
Publicidad

Resumen de contenidos para Uline H-1256
- Página 1 Para Español, vea página 2. Pour le français, consulter la page 3. H-1256, H-1257 1-800-295-5510 uline.com FOOT OPERATED SEALER WITH CUTTER TOOLS NEEDED 1/2" Socket Wrench Phillips Screwdriver ASSEMBLY Insert stand into foot pedal TO ATTACH FOOT PEDAL ROD Figure 1 base.
- Página 2 6. Once foot is lifted, sealing jaws are released and and set timer knob to bag can be removed. lowest setting that produces a good seal for bag thickness. Thicker bags need a higher setting. 1-800-295-5510 uline.com PAGE 2 OF 6 1120 IH-1256...
-
Página 3: Selladora De Pedal Con Cortadora
H-1256, H-1257 800-295-5510 uline.mx SELLADORA DE PEDAL CON CORTADORA HERRAMIENTAS NECESARIAS Llave de Matraca Desarmador de Cruz de 1/2” ENSAMBLE Inserte el soporte en la base del PARA FIJAR LA VARILLA DEL PEDAL Diagrama 1 pedal. Desde el frente, apriete 1. -
Página 4: Continuación De Ensamble
3. Encienda el interruptor y ponga el temporizador en la configuración más baja que produzca un buen sellado para el grosor de la bolsa. Las bolsas más gruesas requieren una configuración más alta. 800-295-5510 uline.mx PAGE 4 OF 6 1120 IH-1256... -
Página 5: Scelleuse Manœuvrée Au Pied Avec Outil De Coupe
H-1256, H-1257 1-800-295-5510 uline.com SCELLEUSE MANŒUVRÉE AU PIED AVEC OUTIL DE COUPE OUTILS REQUIS Clé à douille de 1/2 po Tournevis cruciforme MONTAGE POUR FIXER LA TRINGLE DE PÉDALE Insérez le pied dans la base de Figure 1 la pédale. À partir de l'avant, 1. - Página 6 Les sacs plus épais nécessitent un réglage plus élevé. 1-800-295-5510 uline.com PAGE 6 OF 6 1120 IH-1256...


