
Manuales relacionados para BH FITNESS YS1000


Resumen de contenidos para BH FITNESS YS1000
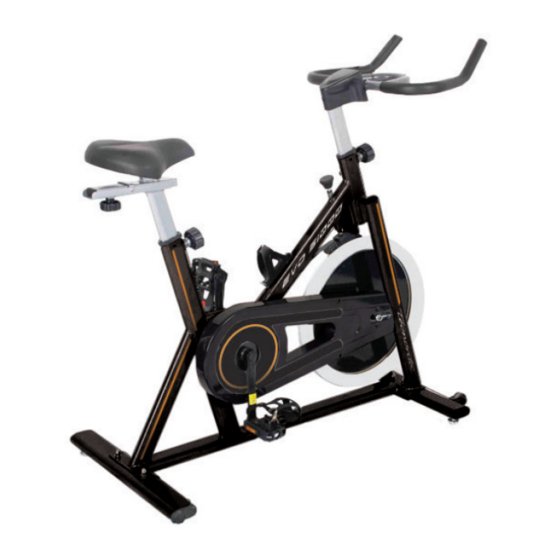
- Página 1 YS1000 Instrucciones de montaje y utilización Instructions for assembly and use Montage- und gebrauchsanleitung...
- Página 2 Fig.1 Fig.2...
- Página 3 Fig.3 Fig.4...
- Página 4 Fig.5 Fig.6 Fig.7...
- Página 5 Fig.8 Fig.9...
- Página 6 Español AVISO IMPORTANTE DE Utilice este aparato sólo para los SEGURIDAD.- fines descritos en este manual. NO utilice accesorios no recomendados PRECAUCIONES.- por el fabricante. Esta bicicleta ha sido diseñada y coloque objetos cortantes construida de modo que proporcione la máxima seguridad. Sin embargo, alrededor de la máquina.
- Página 7 1.- INSTRUCCIONES DE Introduzca la abrazadera del sillín (13), en el tubo horizontal de la tija MONTAJE.- (12) como muestra la Fig.3, coloque el Para el montaje de esta unidad se sillín posición apriete recomienda la ayuda de otra persona. arandelas (5) y tuercas (31) de la abrazadera fuertemente.
- Página 8 cuerpo principal (1) Fig.4, suelte el disminuir la tensión de frenado de la pomo (7) y se introducirá en uno de máquina, Fig.6. los agujeros del tubo manillar. En la realización del ejercicio el Monte el manillar (18) y la abrazadera volante de inercia, por efecto de la (64) usando los tornillos (20) y las frenada aumenta de temperatura, al...
- Página 9 su unidad, le facilitarán la maniobra de (S.A.T).Servicio Asistencia colocar unidad Técnica, llamando al teléfono de emplazamiento escogido, levantando atención al cliente (ver página final del ligeramente por la parte delantera y presente manual). empujando, como muestra la Fig.9. BH SE RESERVA EL DERECHO A Guarde su máquina en un lugar seco MODIFICAR con las...
- Página 10 English IMPORTANT SAFETY ADVICE.- Do not place sharp objects near the machine. PRECAUTIONS. Disabled people should not use the This bicycle has been designed and machine without the assistance of a constructed provide maximum qualified person or a doctor. safety. Nevertheless, certain Do warm up stretching exercises...
- Página 11 Next. Insert the saddle post (10) into Take the unit out of its box and the boss on the main body (16), make sure that all of the pieces are position it correctly and tighten the there Fig.1: saddle post by using the adjustment (1L) Left pedal.
- Página 12 ADJUSTING THE HANDLEBAR to minimum in order to help stop the VERTICALLY. brake shoe from hardening. Loosen the knob (7) slightly by turning EMERGENCY BRAKE.- it anticlockwise. Position the handlebar The same knob that allows you to tube (17) at a comfortable position for adjust the braking tension (52) also doing exercise, now tighten knob (7) works as an emergency brake.
- Página 13 Deutsch WICHTIGER 7 Benutzen Sie dieses Gerät nur zu SICHERHEITSHINWEIS.- den in diesem Handbuch aufgeführten VORSICHTSMASSNAHMEN. Zwecke. Verwenden Dieses Fahrrad wurde so entwickelt Zubehörteile, die vom Hersteller des und konstruiert, dass es maximale Geräts empfohlen werden. Sicherheit bietet. 8 Achten Sie darauf, dass sich in der Trotzdem müssen bestimmte...
- Página 14 unter keinen Umständen als Spielzeug Unterlegscheiben (5) den Blindmuttern verwendet werden. (6) ein und ziehen Sie sie fest an. Eigentümer muss sich 3.- MONTAGE DES SATTELS.- vergewissern, dass alle Benutzer des Schieben Sie die Querstange des Geräts notwendigen Sattels (12) durch das Loch der Sicherheitsvorkehrungen kennen und Sattelstange (10) und ziehen Sie den in geeigneter Weise beachten.
- Página 15 Führen Sie die Lenkerstange (17) an Das mit (L) markierte linke Pedal wird das Rohr des Hauptrahmens (16) gegen Uhrzeigersinn heran Fig.4. ebenfalls markierte linke Drehen Sie den Knauf (7) ein paar Kurbelstange gedreht. Fest anziehen Umdrehungen gegen Fig.5. Uhrzeigersinn Fig.4. Ziehen Sie ihn EINSTELLEN DER BREMSE.- dann nach außen und setzen Sie die MitdemWiderstandsregler...
- Página 16 der verstellbaren Füße (14) erfolgen Sollten über Zustand einer Fig.8. Komponente Zweifel bestehen, setzen TRANSPORT UND LAGERUNG.- sich bitte (TKD) Technischen Kundendienst Das Gerät verfügt über Räder (56) Verbindung, indem Fig.9, die das Verschieben desselben Servicetelefon anrufen (siehe letzte wesentlich erleichtern.
- Página 17 YS1000...
- Página 18 Para pedido de repuesto: Indicar el código de la pieza y la cantidad To order replacement parts: State the part code and Quantity Pour toute commande pièces détachées: Indiquer le code de la pièce et la quantité Besellung von Ersatzteilen: Bitte angeben Teil-code und Menge Para encomenda de peça de recambio: Indicar o código da peça ea quantidade Per ordinare pezzi di ricambio: Indicare il codice del pezzo e la quantità...
- Página 19 END CAP 4 Tapón YS1000037 FIXING BOLT Tornillo de fijación YS1000039 OUTER CHAIN COVER Tapa cadena exterior YS1000044 LITTLE CHAIN COVER Tapa cadena pequeña YS1000045 AXIS YS1000046 INNER CHAIN COVER Tapa cadena interior YS1000049 CHAIN Cadena YS1000050 CHAIN WHEEL Plato YS1000051 WHEEL Rueda...
- Página 20 Por medio de la presente Exercycle S.L. declara que este producto Español cumple con los requisitos esenciales y cualesquiera otras disposiciones aplicables o exigibles de la Directiva 2004/108/CE. English Hereby, Exercycle S.L, declares that this product is in compliance with the essential requirements and other relevant provisions of Directive 2004/108/EC.
- Página 21 Tel.: +351 234 729 510 902 170 258 e-mail: info@bhfitness.pt Fax: +34 945 56 05 27 e-mail: sat@bhfitness.com BH FITNESS NORTH AMERICA BH FITNESS MEXICO BH FITNESS UK 20155 Ellipse BH Exercycle de México S.A. de Tel: 02037347554 Foothill Ranch...