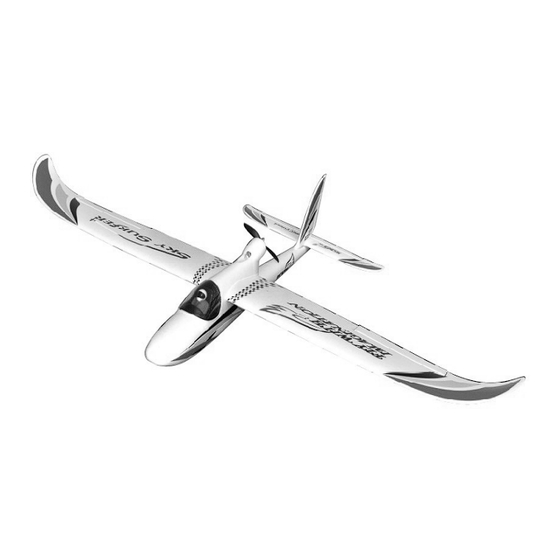
Resumen de contenidos para J-Power Sky Surfer RTF
- Página 1 ASSEMBLY AND OPERATING INSTRUCTIONS ISTRUZIONI PER IL MONTAGGIO E L'USO Notice de montage et d'utilisation Instruções de montagem e Operação Montage-und Betriebsanleitung ENSAMBLE Y MANUAL DE INSTRUCCIONES...
- Página 2 1. Please read carefully before use SKY SURFER RTF. 2. Si prega di leggere attentamente prima di usare lo SKY SURFER RTF. 3. Lisez attentivement l'intégralité de cette notice avant d'utiliser le SKY SURFER RTF. 4. Por favor, leia atentamente antes de usar o Sky Surfer RTF.
-
Página 3: Manual De Montagem
1. Assembly Manual: 2. Manuale di assemblaggio: 3. Notice d'assemblage: 4. Manual de montagem: 5. Montageanleitung: 6.Manual de Ensamble: ⑦ ⑦ ⑦ ⑦ ② ② ② ② ⑤ ⑤ ⑤ ⑤ ⑥ ⑥ ⑥ ⑥ ④ ④ ④ ④ ③ ③ ③ ③ ⑧... - Página 4 1. Fuselaje 4. Timon 7. Transmisor 2. Ala 5. Cargador 8. Hélice 3. Estabilizador 6. Batería Li-Po Safety Precautions: Precauzioni per la sicurezza: Précautions de sécurité: Precauções de Segurança: Sicherheitshinweise: Precauciones de Seguridad: This electric R/C model plane is not a toy. ★...
- Página 5 ★ Los niños menores de 14 años de edad que usen este modelo deberan estar supervisados por un adulto. ★ Please choose an open place to fly away from buildings and overhead power lines. Si prega di scegliere un luogo aperto, lontano da edifici e linee elettriche aeree. ★...
- Página 6 Laden des Akkus: Carga de la batería: To charge the battery, connect the white lithium balance connector of the battery to your charger and connect the charger to a suitable 12v battery. The green charging light will illuminate indicating that the battery is charging correctly. When the green light is no longer illuminated the battery is ready to use.
-
Página 7: Instrucciones De Montaj
When charging the battery, it is important to keep battery and charger under observation and never to leave them unattended. Disconnect the battery from the charger when it has finished charging. Quando si ricarica la batteria, è importante mantenere batteria e il caricabatterie sorvegliati e non lasciarli mai incustoditi. - Página 8 (Foto 02) 1.Schieben Sie die Flügel auf das Flügelrohr (Bild 01) Fixe o painel da asa na fuselagem como mostrado abaixo. (Bild 02) 1.Empuje el tubo del ala en el ala (Imagen 01) Fije el panel principal de las alas al fuselaje, como se muestra a continuacion.
- Página 9 (Imagenes 05-06) ⑸ ⑹ 4.Apply glue to the wing, and follow the slot to fix to the wing; remove any excess glue. (Pic 4.Applicare la colla per l'ala, e seguire lo slot per fissare l'ala, togliere la colla in eccesso. (Fig07) 4.Appliquez de la colle à...
- Página 10 5.Instale la varilla al elevador, esta varilla que conecta los servos en el Ala. (Imagenes 08-09) ⑻ ⑼ 6.Install the steel to the vertical fin/rudder, the steel which connect the servo in fuselage is factory-assembled. (Pic 10-11) 6.Installare il rinvio di acciaio della deriva/timone. Il rinvio di acciaio che la collega al servo in fusoliera è...
- Página 11 bereits ab Werk montiert. (Bild 12) 7.Instale el mando para el timón, esta varilla que conecta los servos con fuselaje está montada de fábrica. (Cuadros 12) ⑿ 8.Assemble the propeller in the right place and use fix with cross head screw provided. (Pic 13-17) 8.Montare l'elica sul portaelica del motore fissandola con la vite a testa a croce.
- Página 12 ⒄ 9.Connect the speed controller to the receiver. (pic 18) 9.Collegare il regolatore di velocità alla ricevente. (Pic 18) 9.Connectez le variateur sur le récepteur. (photo 18) 9.Conecte o controlador de velocidade ao receptor. (pic 18) 9.Schließen Sie den Drehzahlsteller an den Empfänger an. (Bild 18) 9.Conecte el controlador de velocidad con el receptor.
-
Página 13: Ajustes Finales Y Encendido
Final Adjustments and Switching On Messa a punto finale e Avviamento Derniers réglages et mise sous tension Ajustes finais. Ligando Letzte Anpassungen und Einschalten Ajustes finales y encendido 1.Switch on the transmitter making sure that the throttle stick and throttle trim tab is in the throttle off position (fully down). - Página 14 2.Legen Sie den Flug-Akku in den Radioschacht und verbinden Sie die Batterie mit dem Fahrtregler. Sie hören drei Signaltöne, das bedeutet, dass alles gut funktioniert. 2.Inserte la batería en el fuselaje y conecte la batería al controlador de velocidad. Usted escuchará...
- Página 15 Esperamos que voce tenha gostado de montar o modelo. Wir hoffen, Sie haben die Montage dieses Modells genossen. Esperamos que haya disfrutado de montaje de este modelo. J-POWER GROUP CO., LIMITED A3 Building, Xinjianxing Technology Industrial Park, Fengxin Road Guangming Town, Bao’an, Shenzhen City, China 518107...

