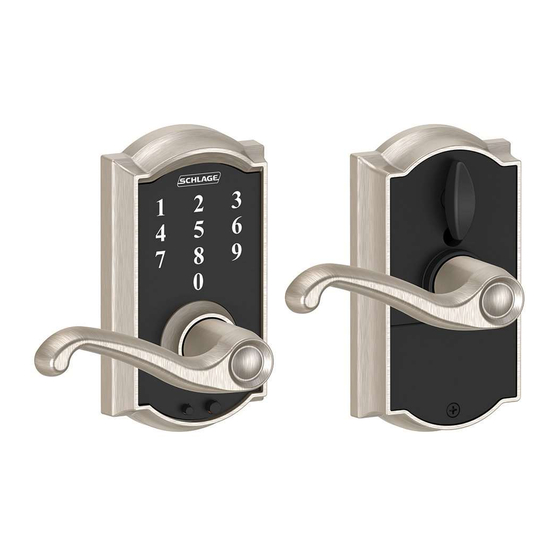
Schlage FE695 Instrucciones De Instalación
Manija sin llave con pantalla táctil
Ocultar thumbs
Ver también para FE695:
- Manual del usaurio (48 páginas) ,
- Instrucciones de instalación (13 páginas)
Publicidad
Enlaces rápidos
*P516-866*
P516-866
Model FE695
Alternate Faceplate
Prepare for Installation
Tools Needed
•
Phillips screwdriver, #1 and
#2 bits
•
Tape Measure
•
Pencil
IMPORTANT NOTES
DO NOT use a power drill for installation!
•
Install and test lock with door open to avoid being locked out.
A
Check door dimensions.
See consumer.schlage.com/Service-Support for door preparation
instructions if dimensions are different.
2³⁄₄" (70 mm)
OR
2³⁄₈" (60 mm)
1" (25 mm)
Door Edge
Keyless Touchscreen Lever
Optional
•
Flathead Screwdriver
•
Wood Block
•
Hammer
2¹⁄₈" (53 mm)
Hole
B
Change faceplate, if necessary.
Choose the drawing that matches your door edge. If the hole has no
mortise, change to the circular faceplate.
Door Edge
Door Edge
Installation Instructions
No change necessary.
OR
Publicidad

Resumen de contenidos para Schlage FE695
- Página 1 DO NOT use a power drill for installation! • Install and test lock with door open to avoid being locked out. Check door dimensions. Door Edge See consumer.schlage.com/Service-Support for door preparation instructions if dimensions are different. 2³⁄₄” (70 mm) 2³⁄₈” (60 mm) 2¹⁄₈” (53 mm) Hole 1”...
- Página 2 Install Lock Install the touchscreen on the outside of door. Bar should slide smoothly through hole in latch. If not, check door Install latch. dimensions. Make sure latch angle faces door jamb. Jamb Angle Angle IMPORTANT! Route wire over the latch. Install the interior lever assembly.
- Página 3 Place battery in holder and tuck wires. If needed, switch levers. Tuck battery and wires behind the tabs. Correct If your lever looks like this, then no change is necessary. If your lever does not look like this, switch the levers by following the steps below.
-
Página 4: Program Lock
Lifetime Limited Mechanical and Finish Warranty and 3-Year Limited Electronics Test Lock Warranty Subject to the terms and conditions of this warranty, Schlage extends a lifetime limited mechanical and finish warranty and a three-year limited electronics warranty to the original Unlock. -
Página 5: Remarques Importantes
Chant de porte Consulte consumer.schlage.com/Service-Support para obtener instrucciones para la preparación de la puerta si las dimensiones son diferentes. Consultez le site consumer.schlage.com/Service-Support pour obtenir les instructions de préparation de la porte si les dimensions sont différentes. 2³⁄₄” (70 mm) O OU 2³⁄₈”... - Página 6 Instale la cerradura. Instale el teclado numérico. Installez le clavier. Installez la serrure. La barra debe deslizarse suavemente por el orificio del pestillo. De Instale el pestillo. lo contrario, verifique las dimensiones de la puerta. La barre devrait glisser aisément dans l’orifice situé dans le loquet. Installez le loquet.
- Página 7 Ubique la batería en el soporte y coloque los cables. De ser necesario, intercambie las manijas. Placez la pile dans le support et insérez les câbles. Au besoin, échangez les leviers. Coloque la batería y los cables por detrás de las lengüetas. Si su manija se ve como esta, Correcto no es necesario realizar ningún...
- Página 8 être limité, des coûts comme le retrait et la réinstallation el paso 6 y luego inténtelo est connecté à l'étape 6, puis du produit; (ii) les frais de transport et de fret nécessaires au retour du produit à Schlage; et nuevamente. essayez à nouveau.


