Publicidad
Enlaces rápidos
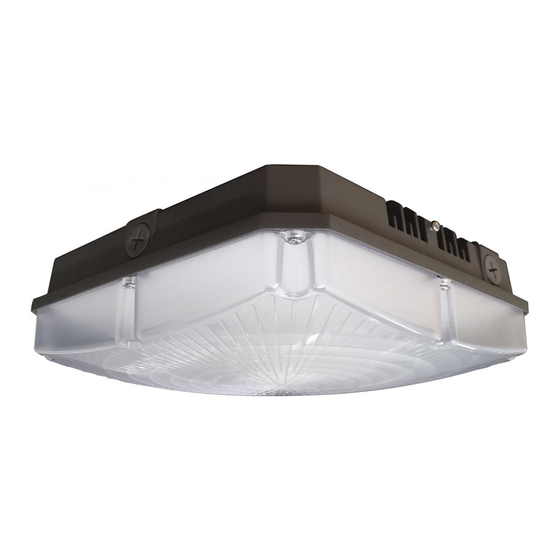
LED CANOPY FIXTURE
Models: 65-138, 65-139, 65-140, 65-141, 65-142, 65-143,
65-144, 65-145, 65-146, 65-147, 65-148, 65-149
INSTALLATION AND SAFETY INSTRUCTIONS
IMPORTANT: Read before installing fixture. Retain for future reference.
WARNING:
Risk of Fire or Electric Shock
To avoid damage, falling, electric shock or fire, do not modify the fixture
•
or replace accessories without confirming with the supplier first.
• Only authorized, qualified personnel should install this fixture and should
follow the owner's manual. Any improper installation might cause failure,
electric shock, fire or other injury, damage or hazard. The LED canopy
fixture must be installed with UL listed liquid-tight conduit fittings.
• Disconnect power before installation or any maintenance of the fixture.
• Do not dismantle the fixture without the supplier's authorization.
• Do not touch the power supply when the fixture is operating.
• The electrical fitting must be installed by a licensed electrician.
• For use in environments where an accumulation of non-conductive dust on the fixture may be expected.
IMPORTANT:
This product must be installed in accordance with the applicable installation
code by a person familiar with the construction and operation of the product and the hazards involved.
SPECIFICATIONS
Model
Dimensions
Watts
65-138
28W
65-139
8.5"
65-140
40W
65-141
65-142
28W
65-143
65-144
40W
65-145
10"
65-146
60W
65-147
65-148
70W
65-149
INSTALLATION: Ceiling Mount
1. Loosen the screw to take off the
mounting plate from the fixture.
Mounting Plate
Screw
3. Hang fixture on the ring so as to
connect wires with terminal caps.
Ring
See wiring
diagram.
© Copyright 2019 Satco Products, Inc. 4/19
Volts
CCT
CRI
4000K
5000K
4000K
5000K
4000K
5000K
100-277V
80
4000K
5000K
4000K
5000K
4000K
5000K
2. Use screws to lock the mounting plate
on the embedded junction box.
Junction Box
Screws
4. Hook fixture on the mounting plate and
secure with screw. Installation is complete.
Screw
Operating Temperature
-40°C to 40°C
Pole-Pendent Mount
1. Connect wires with terminal caps. Rotate the
pipe so as to secure with fixture. Installation
is complete.
G 3/4" Pipe
G 3/4" Thread
Mounting Plate
WIRING DIAGRAM
Input/Dimmer
Fixture
Ground
Green
Neutral
White
Line
Black
Dim –
Gray
Dim +
Purple
This connection can be omitted
if not using a dimmer.
See wiring
diagram.
Satco Products, Inc.
Brentwood, NY 11717
Publicidad

Resumen de contenidos para Satco NUVO 65-138
- Página 1 3. Hang fixture on the ring so as to 4. Hook fixture on the mounting plate and connect wires with terminal caps. secure with screw. Installation is complete. Screw Ring Mounting Plate See wiring diagram. Satco Products, Inc. © Copyright 2019 Satco Products, Inc. 4/19 Brentwood, NY 11717...
- Página 2 LUMINARIA LED TIPO UFO PARA ÁREAS ALTAS ESPAÑOL: Modelos: 65-138, 65-139, 65-140, 65-141, 65-142, 65-143, INSTRUCCIONES DE INSTALACIÓN Y SEGURIDAD 65-144, 65-145, 65-146, 65-147, 65-148, 65-149 IMPORTANTE: Lea esto antes de instalar el accesorio. Consérvelo para referencia futura. SEGURIDAD: Riesgo de incendio y descarga eléctrica •...


