Blackstone PRO Serie Piezas Y Ensamblaje
Ocultar thumbs
Ver también para PRO Serie:
- Manual del propietário (108 páginas) ,
- El manual del propietario (57 páginas) ,
- Piezas y ensamblaje (24 páginas)

Manuales relacionados para Blackstone PRO Serie


Resumen de contenidos para Blackstone PRO Serie
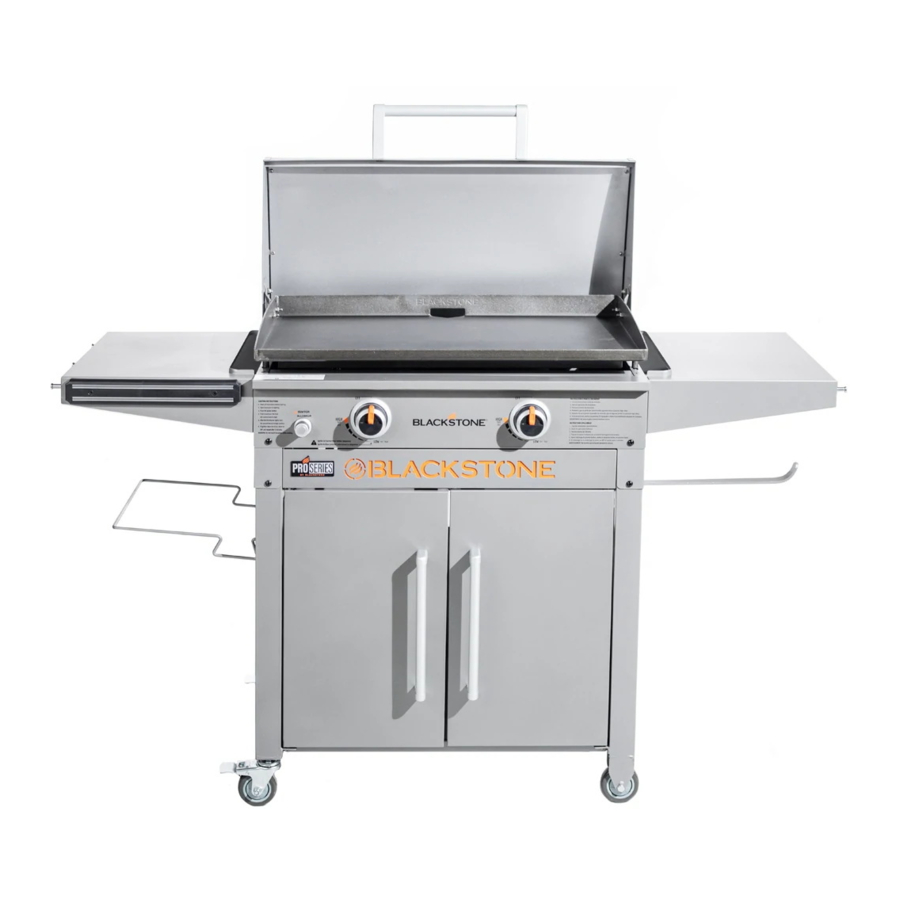
- Página 1 MODEL 1858 28" GRIDDLE COOKING STATION Parts & Assembly North Atlantic Imports LLC | 1073 West 1700 North Logan, UT 84321 | Blackstoneproducts.com...
- Página 2 INSTALLER/ASSEMBLER: Leave these instructions with consumer. Model Number _____________________________ CONSUMER: Serial Number ______________________________ Keep this manual for future reference. Date Purchased ____________________________ TO REGISTER your Blackstone product please go to www.blackstoneproducts.com/register-griddle...
-
Página 3: Parts & Assembly
28” Pro Series Griddle Cooking Station | Parts & Assembly PARTS & ASSEMBLY ILLUSTRATED PARTS LIST 01. Griddle body (1 piece) 02. Griddle top & hood (1 piece) 03. Side shelf (2 pieces) 04. Cabinet handle (2 pieces) & 05. Inner shelf (1 piece) 06. -
Página 4: Tools Needed
28” Pro Series Griddle Cooking Station | Parts & Assembly ASSEMBLY INSTRUCTIONS Please read all instructions thoroughly before proceeding. Make sure all the plastic packing material is removed before assembling Find a large, clean area to assemble your griddle. Please refer to the parts list and assembly diagrams as necessary. - Página 5 28” Pro Series Griddle Cooking Station | Parts & Assembly WA R N I N G STEP 0 2 The manufacturer has made every effort to eliminate any sharp With the help of another person, place the griddle upside down. Unscrew the edges.
- Página 6 28” Pro Series Griddle Cooking Station | Parts & Assembly STEP 05 Attach the paper towel holder on to the griddle body by a small thumbscrew. Place the garbage bag holder on the left side of the griddle body into the holes on the griddle unit.
- Página 7 STEP 0 9 NEED HELP? Call Blackstone Information Proceed to seasoning instructions (pg 18) in the Owner’s Manual. Enjoy Center for missing parts, assembly or and cooking outdoors on your Blackstone 28” Griddle! operation questions: 435-252-3030 or email us at: support@blackstoneproducts.com...
- Página 8 North Atlantic Imports LLC | 1073 West 1700 North Logan, UT 84321 | Blackstoneproducts.com...
- Página 9 MODELO 1858 28" PLANCHA ESTACIÓN DE COCINA Piezas y ensamblaje North Atlantic Imports LLC | 1073 West 1700 North Logan, UT 84321 | Blackstoneproducts.com...
- Página 10 INSTALADOR/ENSAMBLADOR: Entréguele estas instrucciones al consumidor. Número de modelo __________________________ CONSUMIDOR: Número de serie ____________________________ Guarde este manual para futuras referencias. Fecha de compra ___________________________ PARA REGISTRAR su producto Blackstone, vaya a www.blackstoneproducts.com/register-griddle...
-
Página 11: Pie Z As Y Ensambl Aje
Plancha de 28“ Serie Pro | Piezas y montaje PIE Z AS Y ENSAMBL AJE LISTA DE PIE Z AS ILUSTRADA 01. Cuerpo de plancha (1 pieza) 02. Plancha y capucha (1 pieza) 03. Estante lateral (2 piezas) 04. Manija del gabinete (2 piezas) y 05. -
Página 12: Herramientas Necesarias
Plancha de 28“ Serie Pro | Piezas y montaje INSTRUCCIONES DE MONTAJE Lea atentamente todas las instrucciones antes de continuar. Asegúrese de retirar todo el material de embalaje de plástico antes de ensamblarlo Encuentre un área grande y limpia para ensamblar su plancha. Consulte la lista de piezas y los diagramas de ensamblaje según sea necesario. - Página 13 Plancha de 28“ Serie Pro | Piezas y montaje A D V E R T E N C I A PA SO 0 2 El fabricante ha hecho todo lo posible para eliminar los bordes Con la ayuda de otra persona, coloque la plancha al revés. Desatornille el afilados.
- Página 14 Plancha de 28“ Serie Pro | Piezas y montaje PA SO 05 Fije el toallero de papel al cuerpo de la plancha con un pequeño tornillo. Coloque el soporte de la bolsa de basura en el lado izquierdo del cuerpo de la plancha en los orificios de la unidad de la plancha.
- Página 15 Continúe con las instrucciones de condimento (pág. 18) en el Manual del a través del 435-252-3030 propietario. ¡Disfruta cocinando al aire libre en tu Blackstone 28 ”pro series o envíenos un correo electrónico a: Griddle! support@blackstoneproducts.com...
- Página 16 North Atlantic Imports LLC | 1073 West 1700 North Logan, UT 84321 | Blackstoneproducts.com...
- Página 17 MODÈLE 1858 STATION DE PATIO GRIDDLE DE 28" Pièces et assemblage North Atlantic Imports LLC | 1073 West 1700 North Logan, UT 84321 | Blackstoneproducts.com...
- Página 18 INSTALLATEUR / ASSEMBLEUR: Laissez ces instructions au client. Numéro de modèle __________________________ CLIENT: Conservez ce manuel pour vous y référer ultérieurement. Numéro de série ____________________________ POUR ENREGISTRER votre produit Blackstone Date d'achat _______________________________ veuillez vous rendre sur www.blackstoneproducts.com/enregistrer-gril...
-
Página 19: Pièces Et Assemblage
Station de patio 28” | Pièces et assemblage PIÈCES ET ASSEMBL AGE LISTE DES PIÈCES ILLUSTRÉES 01. Corps de plaque chauf- 02. Plaque de cuisson et 03. Tablette latérale (2 pièces) fante (1 pièce) capot (1 pièce) 04. Poignée d’armoire (2 pièces) et 05. -
Página 20: Outils Nécessaires
Station de patio 28” | Pièces et assemblage INSTRUCTIONS DE MONTAGE Veuillez lire attentivement toutes les instructions avant de continuer. Assurez-vous que tout le matériel d’emballage en plastique est enlevé avant de procéder à l’assemblage. Trouvez une grande surface propre pour assembler votre gril. Veuillez vous référer à... - Página 21 Station de patio 28” | Pièces et assemblage AT T E N T I O N É TAPE 02 Le fabricant a tout mis en œuvre pour éliminer les bords Avec l’aide d’une autre personne, placez la plaque chauffante à l’envers. tranchants.
- Página 22 Station de patio 28” | Pièces et assemblage É TAPE 05 Fixez le porte-essuie-tout au corps de la plaque à l’aide d’une petite vis à oreilles. Placez le support de sac à ordures sur le côté gauche du corps de la plaque chauffante dans les trous de la plaque chauffante.
- Página 23 Placez le récipient à graisse à l’arrière de la plaque chauffante. É TAPE 0 9 BESOIN D'AIDE? Appelez le centre d’information Blackstone pour toute Passez aux instructions d’assaisonnement (p. 18) dans le manuel du question concernant des pièces manquantes, propriétaire.
- Página 24 North Atlantic Imports LLC | 1073 West 1700 North Logan, UT 84321 | Blackstoneproducts.com...