Publicidad
Idiomas disponibles
Idiomas disponibles
Enlaces rápidos
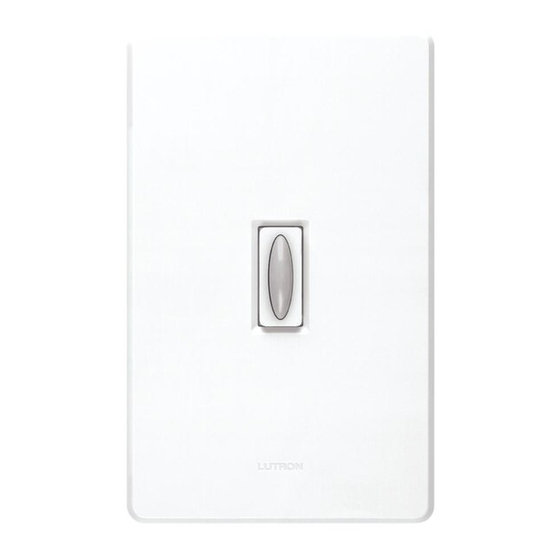
Single-Pole Switch
Q-1PS
Rated at 120/277VAC~, 15 A.
Purchase Lutron wallplate separately.
Important Notes
Please read before installing
1. Connect only No. 12 or 14 gauge copper or copper clad wire
• Easy-to-follow
to switch. See device for strip length.
Instructions
2. Do not connect aluminum wire to this device.
• Instrucciones
3. Install in accordance with all national and local electrical
Fáciles de Seguir
codes.
4. Clean unit with a soft damp cloth only . Do not use any
chemical cleaners.
030-761
Multi-Unit Installations
When combining controls in a wallbox, remove all inner side
sections prior to wiring (see below). Use pliers to bend side
section up and down until it breaks off. Repeat for each side
section to be removed.
• Easy-to-follow
Instructions
• Instrucciones
Fáciles de Seguir
030-761
Technical Assistance
If you have questions concerning the installation or operation of this product, call the Lutron
Technical Support Center . Please provide exact model number when calling. (800) 523-
9466 (U.S.A., Canada, and the Caribbean)
Other countries call (610) 282-3800
Fax (610) 282-3090
Internet www.lutron.com
Limited Warranty
Lutron will, at its option, repair or replace any unit that is defective in materials or manufacture within one year after purchase.
For warranty service, return unit to place of purchase or mail to Lutron at 7200 Suter Rd., Coopersburg, PA 18036-1299,
postage pre-paid.
THIS WARRANTY IS IN LIEU OF ALL OTHER EXPRESS WARRANTIES,
MERCHANTABILITY IS LIMITED TO ONE YEAR FROM PURCHASE. THIS WARRANTY DOES NOT COVER THE COST
OF INSTALLATION, REMOVAL OR REINSTALLATION, OR DAMAGE RESULTING FROM MISUSE, ABUSE, OR DAMAGE
FROM IMPROPER WIRING OR INSTALLATION. THIS WARRANTY DOES NOT COVER INCIDENTAL OR CONSEQUENTIAL
DAMAGES. LUTRON'S LIABILITY ON ANY CLAIM FOR DAMAGES ARISING OUT OF OR IN CONNECTION WITH THE
MANUFACTURE, SALE, INSTALLATION, DELIVERY, OR USE OF THE UNIT SHALL NEVER EXCEED THE PURCHASE
PRICE OF THE UNIT.
This warranty gives you specific legal rights, and you may have other rights which vary from state to state. Some states do not
allow the exclusion or limitation of incidental or consequential damages, or limitation on how long an implied warranty may last,
so the above limitations may not apply to you.
Patents pending. Lutron is a registered trademark and Qoto is a trademark of Lutron Electronics Co., Inc.
© 2002 Lutron Electronics Co., Inc.
English
Installation
For installations involving more than one control in a wallbox, refer to
Multi-Unit Installations before beginning.
1
WARNING: Turn power OFF at circuit breaker or remove
fuse.
2
Remove switch mounting screws. Pull switch from wall.
3
Disconnect switch wires.
Each control has
Middle control has
inside section
two side sections
removed.
removed.
Screw Terminals:
Turn screws counterclockwise to
loosen.
4
Prepare wires. Trim or strip wallbox wires to the length
indicated by the strip gauge on the back of the switch. Use the
same procedure to wire your new switch as was used with the
old switch (see Step 3 and below).
1/2"
(13 mm)
AND THE IMPLIED WARRANTY OF
Turn screws
counterclockwise
to loosen.
OR
Backwired:
Insert screwdriver and pull wire out.
Push-in Terminals: Insert wires
fully. NOTE: Push-in terminals are
for use with #14 AWG solid copper
wire only. For aluminum wire,
consult an electrician. DO NOT use
stranded or twisted wire.
OR
Screw Terminals: Tighten securely.
Screw terminals are for use with
solid copper wire only. For
aluminum wire, consult an
electrician. DO NOT use stranded
or twisted wire.
5
Wiring the switch.
Ground
Using Screw Terminals.
(Green screw)
• Connect the bare copper or
green ground wire to the green
screw terminal on the switch.
• Connect one black wire to each
terminal screw. Tighten
securely.
Ground
(Green screw)
Using Push-in Terminals.
• Connect the bare copper or
green ground wire to the green
screw terminal on the switch.
• Push stripped length of each
wire fully into push-in terminals.
Reference Wiring Diagram
Hot
Ground
Single-Pole
120/277VAC
Switch
60Hz
Load
Neutral
6
Mount and align switch . Replace wallplate.
Turn screws
clockwise to start.
Align dwitch and tighten
screws clockwise.
7
Turn power ON.
Lutron Electronics Co., Inc.
7200 Suter Road
Coopersburg, PA 18036-1299, U.S.A.
Made and printed in U.S.A. 7/02 P/N 030-761 Rev. A
Publicidad

Manuales relacionados para Lutron Qoto Q-1PS


Resumen de contenidos para Lutron Qoto Q-1PS
- Página 1 Limited Warranty Screw Terminals: Tighten securely. Lutron will, at its option, repair or replace any unit that is defective in materials or manufacture within one year after purchase. Screw terminals are for use with For warranty service, return unit to place of purchase or mail to Lutron at 7200 Suter Rd., Coopersburg, PA 18036-1299, solid copper wire only.
- Página 2 Algunos estados no permiten la exclusión o limitación de daños incidentales o consecuenciales, así que la limitación o exclusión anterior puede no aplicarse en su caso. Patentes pendientes. Lutron es una marca registrada y Qoto es una marca registrada de Lutron Electronics Co., Inc. © 2002 Lutron Electronics Co., Inc.