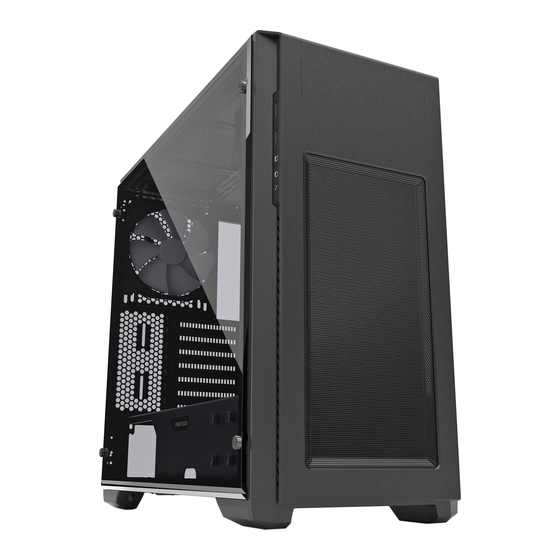
Phanteks ENTHOO PRO Guia De Instalacion
Ocultar thumbs
Ver también para ENTHOO PRO:
- Manual de usuario (38 páginas) ,
- Manual del usuario (18 páginas)
Publicidad
Enlaces rápidos
phanteks
INSTALLATION GUI DE
This is a quick installation guide to help you get started with the Enthoo PRO M. For the full
(detailed) version of the manual please visit www.phanteks.com.
Please take a moment to carefully go through the quick installation guide. Phanteks will not take responsibility for any damages
incurred due to incorrect installation and usage of this product.
1.
I / O P A N E L
2.
P A N E L R E M O V A L
3.
M O T H E R B O A R D I N S T A L L A T I O N
V1.0
1. Power Button
1. Ein-/Austaste
2. USB 3.0
3. Mikrofon
4. Kopfhörer
5. LED-Schalter
1. Botão de Alimentação
2. USB 3.0
2. USB 3.0
3. Microfone
4. Fone de ouvido
3. MICROPHONE
5. Chave de LED
4. HEADPHONE JACK
5. RGB LIGHT BUTTON
T E M P E R E D G L A S S E D I T I O N
1. Bouton d'alimentation
1. Botón de alimentación
2. USB 3.0
2. USB 3.0
3. Microphone
3. Micrófono
4. Casque
4. Cascos
5. Interrupteur LED
5. Interruptor LED
1. Power knop
1. Tasto d'alimentazione
2. USB 3.0
2. USB 3.0
3. Microfoon
3. Microfono
4. Hoofdtelefoon
4. Cuffie
5. LED bediening
5. Interruttore LED
Unscrew the 4 thumb screws to remove the side panels.
Dévissez les vis à main pour enlever les panneaux latéraux.
Lösen Sie die 4 Rändelschrauben zum Entfernen der seitlichen Blenden.
Svitare le 4 viti per rimuovere i pannelli laterali.
Desaperte os 4 parafusos para remover os painéis laterais.
Desatornille los 4 tornillos de pulgar para retirar los paneles laterales.
Schroef 4 duimschroeven los om de zijpanelen te verwijderen.
Unscrew the 2 thumb screws to remove the side panels.
Dévissez les 2 vis à main pour enlever les panneaux latéraux.
Lösen Sie die 2 Rändelschrauben zum Entfernen der seitlichen Blenden.
Svitare le 2 viti per rimuovere i pannelli laterali.
Desaperte os 2 parafusos para remover os painéis laterais.
Desatornille los 2 tornillos de pulgar para retirar los paneles laterales.
Schroef 2 duimschroeven los om de zijpanelen te verwijderen.
Install the motherboard with the provided M3 screws.
Installez la carte mère avec les vis M3 fournies
Installieren Sie das Motherboard mit den mitgelieferten M3-Schrauben.
installare la scheda madre con le viti M3 fornite in dotazione.Instale a placa mãe com os
parafusos M3 fornecidos.
instale la placa base con los tornillos M3 que se suministran.
Installeer het moederbord met de meegeleverde M3- scrhoeven
Some motherboard types require installation / repositioning of
the standoffs. Please consult your motherboard manual for the
correct standoff positioning.
RGB LED Control (5) Instructions:
HOLD
Long Press: On/Off
Short Press (<1sec): Choose LED Color (10 colors)
<1 sec
2 Sec Press: Choose Mode
2 sec
Mode 1: Static Mode 2: Breathing Mode 3: Color Cycle
Publicidad

Resumen de contenidos para Phanteks ENTHOO PRO
- Página 1 T E M P E R E D G L A S S E D I T I O N INSTALLATION GUI DE This is a quick installation guide to help you get started with the Enthoo PRO M. For the full (detailed) version of the manual please visit www.phanteks.com.
- Página 2 R A D I A T O R B R A C K E T I N S T A L L A T I O N R E Q U I R E : To install, align the bracket and slide in. Use the 5x silver screw to lock in place.


