Tabla de contenido
Publicidad
Idiomas disponibles
Idiomas disponibles
Enlaces rápidos
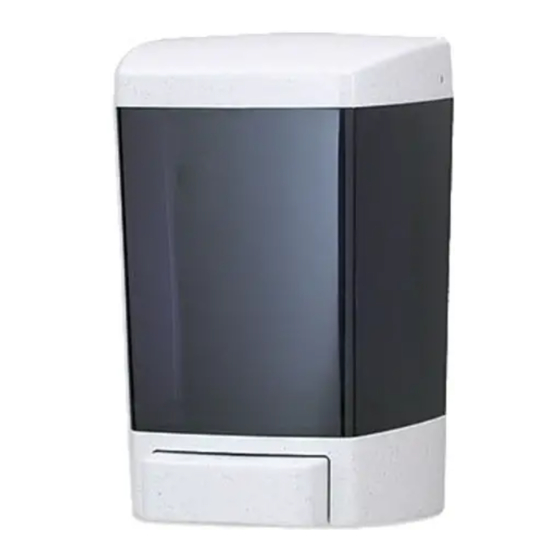
H-6067
BULK SOAP DISPENSERS
OPENING THE DISPENSER
1. To open the dispenser lid, push in the button on the
bottom of the back of the dispenser.
2. Back lid will pop off. (See Figure 1)
Figure 1
GENERAL MOUNTING INSTRUCTIONS
• Use the included tape on glazed tile, painted metal
or unpainted metal walls. Tape will not work well if
wall surface is porous, like brick or wood.
• On all other wall surfaces, use screws and anchors
(included) or other appropriate hardware based on
surface type.
• Install dispenser above a sink or counter. Never
install where spillage can fall on floor creating
hazardous conditions.
• Installer will be held responsible for proper
installation.
• To be in compliance with ADA regulations, the
dispenser should be mounted no more than 48"
from the ground.
PAGE 1 OF 6
1-800-295-5510
uline.com
INSTALLATION
MOUNTING WITH DOUBLE-SIDED TAPE
1. Thoroughly clean wall surface and let dry
completely. For silicone buildup, use a pumice-type
cleaner or grout cleaner to clean the surface.
2. Peel off paper from back of tape (included). Press
dispenser firmly to wall and hold for at least 30
seconds to make sure tape has completely adhered
to wall. (See Figure 2)
3. Wait 24 hours before filling with soap to ensure that
the tape has completely adhered to wall.
MOUNTING WITH SCREWS AND ANCHORS
1.
Remove lid. Push down on back plate and detach
dispenser from back plate. (See Figure 3)
2. Using the back plate as a template, mark hole
locations on wall.
3. Drill 3/16" diameter holes for anchors and screws or
other hardware. Attach dispenser to back plate and
replace lid.
Para Español, vea páginas 3-4.
Pour le français, consulter les pages 5-6.
Figure 2
Figure 3
0421 IH-6067
Publicidad
Tabla de contenido

Manuales relacionados para Uline H-6067


Resumen de contenidos para Uline H-6067
- Página 1 Para Español, vea páginas 3-4. Pour le français, consulter les pages 5-6. H-6067 1-800-295-5510 uline.com BULK SOAP DISPENSERS INSTALLATION OPENING THE DISPENSER MOUNTING WITH DOUBLE-SIDED TAPE 1. To open the dispenser lid, push in the button on the 1. Thoroughly clean wall surface and let dry bottom of the back of the dispenser.
-
Página 2: Filling Instructions
(See Figure 5) • Periodically give the dispenser an overall cleaning. All internal and external parts should be cleaned thoroughly. CAUTION! Never use abrasive cleaners when cleaning soap dispensers. 1-800-295-5510 uline.com PAGE 2 OF 6 0421 IH-6067... -
Página 3: Despachadores De Jabón Por Volumen
H-6067 800-295-5510 uline.mx DESPACHADORES DE JABÓN POR VOLUMEN INSTALACIÓN ABRIR EL DESPACHADOR INSTALACIÓN CON CINTA DOBLE CARA Limpie bien la superficie de la pared y deje que se Para abrir la tapa del despachador, presione el seque completamente. En caso de acumulación botón en la parte baja trasera del despachador. -
Página 4: Instrucciones De Llenado
(Vea Diagrama 5) • Periódicamente limpie el despachador completamente. Todas las partes internas y externas deberán limpiarse bien. ¡PRECAUCIÓN! No use nunca limpiadores abrasivos para limpiar los despachadores de jabón. 800-295-5510 uline.mx PAGE 4 OF 6 0421 IH-6067... - Página 5 H-6067 1-800-295-5510 uline.ca DISTRIBUTEURS DE SAVON EN VRAC INSTALLATION OUVERTURE DU DISTRIBUTEUR INSTALLATION AVEC DU RUBAN À DOUBLE FACE ADHÉSIVE Pour ouvrir le couvercle du distributeur, poussez le bouton Nettoyez soigneusement la surface du mur et attendez situé en bas de l’arrière du distributeur vers l’intérieur.
-
Página 6: Instructions De Remplissage
• Procédez à un nettoyage complet du distributeur de façon régulière. Toutes les pièces internes et externes doivent être soigneusement nettoyées. MISE EN GARDE! N'utilisez jamais de produits abrasifs pour nettoyer le distributeur de savon. 1-800-295-5510 uline.ca PAGE 6 OF 6 0421 IH-6067...