Tabla de contenido
Publicidad
Idiomas disponibles
Idiomas disponibles
Enlaces rápidos
Important Safety Information
• CAUTION - Before driving, ensure that the hood shield is properly anchored to vehicle.
• Do not use automatic "brush-style" car washes.
• Do not use cleaning solvents of any kind.
• Periodically check all components for tightness.
Contents
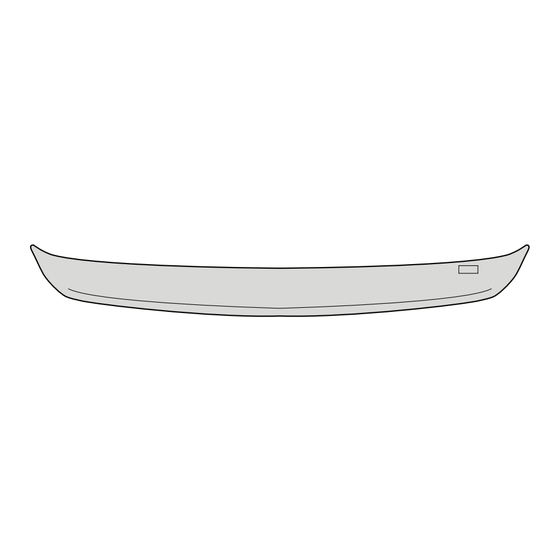
NOTE: Actual product may vary from illustration.
Tools Required
Car Wash Supplies
Preparation Before Painting / Installation
• A trial fit is recommended to ensure proper positioning and fit.
• Check fit of parts before painting as we will not accept the return of modified or painted parts.
• Wash and dry your vehicle to remove any debris and/or dirt from the installation area.
Installation Steps
1
© 2011 by MacNeil IP LLC
Installation Instructions
Hood Shield
NOTE: Actual application may vary slightly from illustrations.
Open Hood.
Hood Insert x4
Washer x4
Clean Towel
Note (4) positions along weatherstrip in between
2
Page 1 of 2
I - Sheet Number WTBF85 Rev.A
Screw x4
Bump On x4
Appropriate hand tools
factory fasteners.
Publicidad
Tabla de contenido

Manuales relacionados para WeatherTech Easy-On Stone & Bug Deflectors


Resumen de contenidos para WeatherTech Easy-On Stone & Bug Deflectors
- Página 1 Installation Instructions I - Sheet Number WTBF85 Rev.A Important Safety Information • CAUTION - Before driving, ensure that the hood shield is properly anchored to vehicle. • Do not use automatic “brush-style” car washes. • Do not use cleaning solvents of any kind. •...
-
Página 2: Installation Steps
Installation Steps NOTE: Actual application may vary slightly from illustrations. Center part on front edge of hood and align holes. Gently pull the weatherstrip down, and install NOTE: flanges should be UNDER weatherstrip. (4) hood inserts in hood, UNDERNEATH the weatherstrip. -
Página 3: Outils Nécessaires
Instructions d’installation I – Feuille numéro WTBF85 Rév.A Informations importantes concernant la sécurité • ATTENTION – Avant de conduire, s’assurer que le pare-insectes est solidement assujetti sur le véhicule. • Ne pas utiliser les stations de lavage de voitures à brosses. •... -
Página 4: Étapes D'installation
Étapes d’installation REMARQUE : La méthode d’application peut être légèrement différente de celle représentée par les illustrations. Centrez la pièce à l'avant du capot et alignez les Tirez délicatement le coupe-froid vers le bas orifices. REMARQUE : les rebords doivent être et installez les (4) espaceurs de capot EN AU-DESSOUS du coupe-froid. -
Página 5: Herramientas Requeridas
Instrucciones de instalación Hoja informativa N.° WTBF85 Rev. A Información importante de seguridad • PRECAUCIÓN - Antes de conducir, asegúrese de que la cubierta para capó esté correctamente anclada al vehículo. • No utilice servicios automáticos de limpieza de vehículos que utilizan cepillos. •... -
Página 6: Pasos De Instalación
Pasos de instalación AVISO: La colocación real puede variar con respecto a las ilustraciones. Centre la pieza en el borde delantero del capó y alinee Tire delicadamente el burlete hacia abajo e los agujeros. NOTA: las alas deben estar DEBAJO del instale los (4) insertos en el capó, DEBAJO burlete.