Publicidad
Idiomas disponibles
Idiomas disponibles
Quality Products
for the way you live
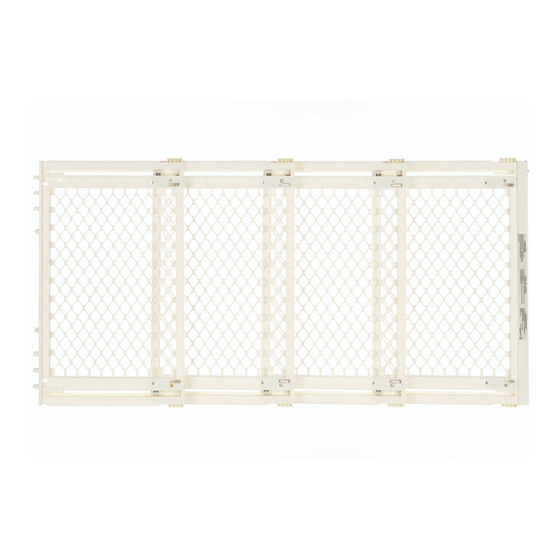
INSTRUCTIONS FOR MODELS 8748 / 8749
IMPORTANT: PLEASE KEEP FOR FUTURE REFERENCE!
For helpful tips and instructions, please visit our website: www.northstatesind.com or
contact our Customer Care department via email: CustomerService@northstatesind.com
Phone: (763) 486-1756 or Toll Free: (800) 848-8421
Intended for use with children 6-24 months
PN 11360
Rev 05/2017
Publicidad
Tabla de contenido

Resumen de contenidos para NORTH STATES 8748
- Página 1 Quality Products for the way you live INSTRUCTIONS FOR MODELS 8748 / 8749 IMPORTANT: PLEASE KEEP FOR FUTURE REFERENCE! For helpful tips and instructions, please visit our website: www.northstatesind.com or contact our Customer Care department via email: CustomerService@northstatesind.com Phone: (763) 486-1756 or Toll Free: (800) 848-8421...
- Página 2 D. Wall Hinge E. Screws To ensure safe operation, additional or replacement parts should be obtained only from North States or its authorized distributors. Contact information appears on the cover of these instructions. Replacement parts can be ordered at http://northstatesind.com/main/shop-parts/...
- Página 3 Page 3 Installation Step 1 Determine the direction you want your gate to swing. This gate is a hinged mounted gate (it swings like a door on hinges). See Figure 1. WARNING: Never mount the gate so it swings over a stairway. FIGURE 1 Right side opening Wall Hinge...
- Página 4 Page 4 Step 6 Insert the locking clip into place. Note: The locking clip is very FIGURE 6 hard to remove and once installed determines the top of the gate from the bottom. The locking clip is always on top. See Figure 6. Operating the Gate To operate the gate, simply slide it FIGURE 8...
- Página 5 Productos de calidad para su estilo de vida INSTRUCCIONES PARA LOS MODELOS 8748 / 8749 IMPORTANTE: ¡CONSERVE COMO REFERENCIA FUTURA! Para obtener consejos útiles e instrucciones, visite nuestro sitio web: www.northstatesind.com, o Comuníquese con nuestro Departamento de Atención al Cliente por correo electrónico: CustomerService@northstatesind.com...
- Página 6 E. Tornillos Para asegurar el funcionamiento seguro, las piezas adicionales o de repuesto deben obtenerse únicamente de North States o de sus distribuidores autorizados. La información de contacto aparece en la portada de estas instrucciones. Se pueden pedir piezas de repuesto en http://northstatesind.com/main/shop-parts/ Cualquier daño a la propiedad durante la instalación de su puerta de seguridad es exclusiva responsabilidad...
-
Página 7: Instalación
Página 7 Instalación Paso 1 Determine la dirección en la que desea que se abra la puerta. Esta puerta se monta con bisagras (se abre como una puerta de bisagras). Vea la gura 1. ADVERTENCIA: Nunca monte la puerta de modo que se abra hacia una escalera. FIGURA 1 Apertura lateral derecha Bisagra de pared... -
Página 8: Funcionamiento De La Puerta
Página 8 Paso 6 Inserte el clip de bloqueo. Nota: El clip de bloqueo es muy duro FIGURA 6 de extraer y, una vez instalado, determina la parte superior de la puerta desde la parte inferior. El clip de bloqueo siempre va en la parte superior.


