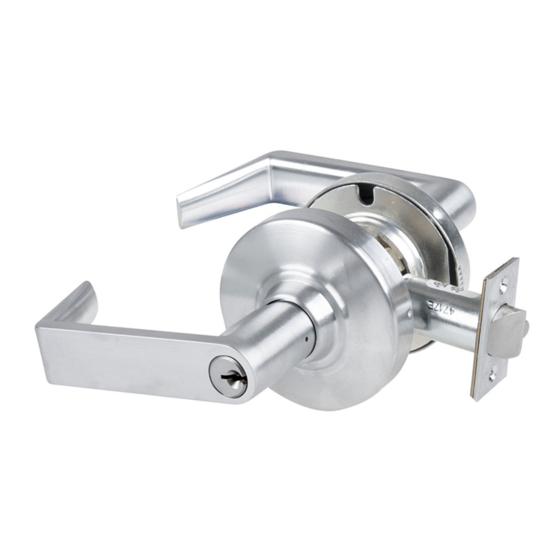
Schlage ND Serie Instrucciones De Instalación
Ocultar thumbs
Ver también para ND Serie:
- Instrucciones de instalación (8 páginas) ,
- Instrucciones y especificaciones sobre el cableado (3 páginas) ,
- Manual de instrucciones (2 páginas)
Publicidad
Enlaces rápidos
Standard Installation Instructions
P515-167
Outside Lever
Outside
Spring Cage
Adjustment
Plate
Chassis
Latch
Screws (2)
Strike
Strike
Screws (2)
Optional Spacer
Latch
for 1³⁄₈" Door (2)
Door Preparation
For door preparation use the template included in the package with the lock. For additional information, refer to the Schlage website:
securitytechnologies.ingersollrand.com
1
Install Latch
The bevel must face toward the door stop.
2
Install Chassis
³⁄₄
IF DOOR THICKNESS IS NOT 1
",
SEE "DOOR THICKNESS ADJUSTMENT".
Slide Clip
Optional Spacer
1³⁄₈" (35 mm) thick
door ONLY
Latch prongs fi t between slide and slide clip.
ND-Series
ND53 Function Shown
Cylinder Options
Full Size IC (FSIC)
Anti-Rotation
Plate
Inside Spring
Cage
Small Format (SFIC)
Mounting
Screws (2)
Pin Wrench
Standard Cylinder
See Keyed Levers/ Timing
for installation instructions
Rose
Inside Lever
Latch
Prongs
IMPORTANT!
Push latch to center of slide
Slide
3
Non-Keyed Outside Levers ONLY:
Install Outside Lever and Springcage
Keyed IC Outside Levers ONLY:
Install Outside Lever and Springcage - DO NOT
install IC cylinder
Non Keyed
Keyed IC
!
IMPORTANT! ALL Keyed Outside Levers:
Follow steps at Keyed Levers/Timing
Non-Keyed Levers ONLY, go to step 4
4
Install Anti-Rotation Plate
Align the tab with the indent
on the hub.
Indent
Anti-Rotation
Plate
Optional Spacer
³⁄₈
1
" (35 mm) door ONLY.
5
Install Inside Spring Cage Assembly
Lever catch
faces door edge.
Door
edge
6
Install Inside Rose
Align dimple
and groove.
7
Install Inside Lever
Rotate lever slightly
toward lever catch and
fi rmly push on until lever
catch engages.
Tab
Lever catch
8
Install Strike
9
Check Lock Function
If a keyed function does not work properly, see
KEYED LEVERS/TIMING.
Rotate rose
until it stops.
Publicidad

Manuales relacionados para Schlage ND Serie


Resumen de contenidos para Schlage ND Serie
- Página 1 Optional Spacer Latch for 1³⁄₈” Door (2) Rose Inside Lever Door Preparation For door preparation use the template included in the package with the lock. For additional information, refer to the Schlage website: Indent securitytechnologies.ingersollrand.com Lever catch Install Latch Anti-Rotation The bevel must face toward the door stop.
- Página 2 KEYED LEVERS / TIMING IMPORTANT: DO NOT insert key in outside cylinder (if applicable) before or during these steps. FAILURE TO PROPERLY TIME THE LOCK WILL RESULT IN IMPROPER FUNCTION, AND CAN CAUSE DAMAGE TO THE LOCK. ND70 and ND73 ONLY STANDARD CYLINDER: IC CYLINDER: Rotate key cam counterclockwise until it stops.
- Página 3 Aligner la languette avec la fente sur le collet. Para preparar la puerta, utilice la plantilla incluida en el paquete con la cerradura. Para obtener más información, consulte el sitio web de Schlage: Pour la préparation de la porte, utiliser le modèle inclus dans l’ensemble avec la serrure. Pour plus de renseignements, consulter le site Web de Schlage: securitytechnologies.ingersollrand.com...
- Página 4 P a l a n c a s En c h a v e t a d a s / S i n c r o n i z a c i ó n Leviers à Clé / Synchronisation IMPORTANTE: NO inserte la chaveta en el cilindro externo (si corresponde) antes o durante estos pasos. Si la cerradura no se sincroniza de forma adecuada, puede funcionar incorrectamente o dañarse. IMPORTANT: NE PAS insérer la clé...