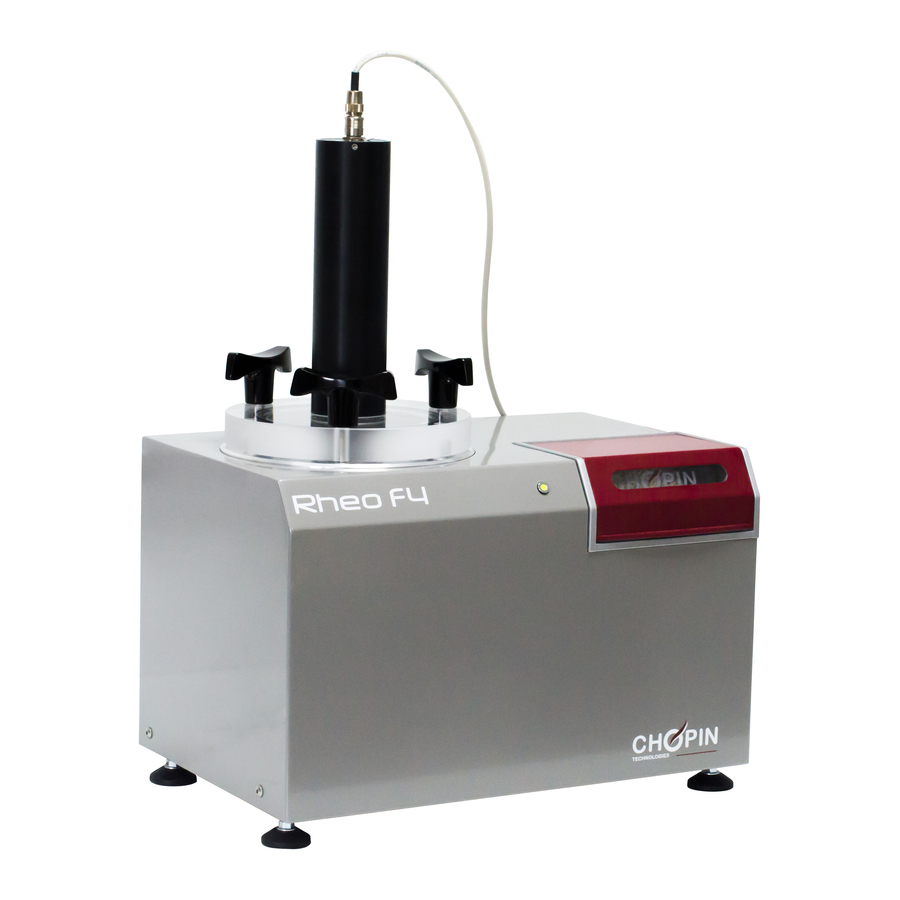
Resumen de contenidos para Chopin Rheo F4
- Página 1 Quick installation and first test Installation rapide et premier essai Instalación rápida y primer test Установка и проведение испытания...
- Página 2 On/Off switch Connect the equipment using the power cord. Connect the dough development sensor cable to the Rheo F4. Connect the equipment to a computer using the USB cable. Turn the Rheo F4 on using the On/Off switch on the back.
- Página 3 Access the connection menu by clicking on this icon : Select the COM port that corresponds with the RHEO F4 connection. Once the equipment is connected, the software shows the following message, and activates the status lights of the machine.
- Página 4 5. End of the test A. Stop and clean Once the test has been completed, the RHEO F4 will indicate it through a pop-up message screen. The test can be saved by clicking on the [Save] button. After each test, disconnect and clean:...
- Página 5 Brancher l’appareil au secteur à l’aide du cordon d’alimentation. Relier le capteur de déplacement à l’appareil à l’aide du câble spécifique. Connecter l’appareil à un ordinateur à l’aide du câble USB. Mettre le Rheo F4 sous tension (interrupteur I/O situé à l’arrière).
-
Página 6: Réaliser Un Premier Test
Double-cliquer sur l’icône d’installation du logiciel puis cliquer sur [Exécuter]. Suivre les indications fournies à l’écran par l’assistant d’installation. Une fois l’installation du logiciel terminée, lancer le logiciel en cliquant sur l’icône [RHEO F4]. C - Connexion PC - RHEO F4 Accéder au menu connexion en cliquant sur l’icône :... - Página 7 : 5. Fin de d’essai A. Arrêt nettoyage Le RHEO F4 indique la fin de l’essai par un écran d’avertissement. L’essai peut être sauvegardé en cliquant sur le bouton [Enregistrer]. Après chaque essai, retirer et nettoyer : - le panier et les poids avec une éponge humide.
-
Página 8: Cómo Instalar Su Rheo F4
Conecte el dispositivo a través del cable de alimentación. Conecte el cable del sensor de desplazamiento con el Reno F4. Conecte el Rheo F4 con su ordenador a través del cable USB. Ponga en funcionamiento el Rheo F4 pulsando el interruptor de encendido situado en el panel posterior. -
Página 9: Realizar Un Primer Test
Haga doble clic sobre el icono de instalación del software y después haga clic en [Ejecutar] Siga las instrucciones que el asistente de instalación le muestra en pantalla. Una vez finalice la instalación, inicie el programa haciendo clic sobre el icono [RHEO F4]. C - Conexión PC – RHEO F4 Acceda al menú... -
Página 10: Desarrollo Del Test
5. Final del test A. Finalización y limpieza Una vez finalizado el test, el RHEO F4 se lo indicará mediante una ventana de aviso. El test se puede guardar haciendo clic sobre el botón [Guardar]. Después de cada test, retirar y limpiar: - la cesta y los discos con una esponja húmeda... - Página 11 Разъем источника питания Разъём датчика тестообразования Разъём ПК Выключатель питания Подключите оборудование с помощью кабеля питания. Подключите кабель датчика тестообразования к Rheo F4. Подключите оборудование к компьютеру с помощью USB-кабеля. Включите Rheo F4 с помощью выключателя питания на задней стороне.
- Página 12 Дважды щелкните по значку установки программного обеспечения, а затем щелкните [run]. Следуйте инструкциям на экране. По окончании установки, запустите программное обеспечение, нажав значок [RHEO F4]. C - Подключение RHEO F4 к ПК Войдите в меню подключения, нажав на этот значок: Выберите...
- Página 13 с нормативной кривой, нажав на этот значок: 5. Окончание испытания A. Остановка и очистка Окончание испытания отображается на экране RHEO F4 всплывающим сообщением. Результаты испытания сохраняются нажатием кнопки [Save]. После каждого испытания отключите и очистите: - корзину и весы с помощью влажной губки...
- Página 14 Notes / Notas / Примe ания ч...
- Página 15 Notes / Notas / Примe ания ч...
- Página 16 Research, loans and training Tel. : +33 1 41 47 50 48 export@chopin.fr Tel. : +33 1 41 47 50 33 Tel. : +33 1 41 47 17 15 service@chopin.fr labo.application@chopin.fr Documentation produced by CHOPIN Technologies © 2016 – Pictures: CHOPIN Technologies...


