Publicidad
Enlaces rápidos
8020691//25.11.2016
SICK AG
Erwin-Sick-Straße 1
D-79183 Waldkirch
www.sick.com
KTS Core EasyTeach
Quickstart
en
These instructions are only valid in connection with the (8020709) operating
instructions. You can find the operating instructions under www.sick.com.
a The KTS sensor is equipped with LEDs. The sensor meets the criteria of risk group 1 accor-
ding to IEC 62471:2006. No special measures are required (e.g. eye protection).
de
Diese Anleitung ist ausschließlich in Verbindung mit der Betriebsanleitung
(8020709) gültig. Die Betriebsanleitung finden Sie unter www.sick.com.
a Der KTS-Sensor ist mit LEDs ausgestattet. Der Sensor entspricht der Risikogruppe 1
gemäß IEC 62471:2006. Es müssen keine besonderen Maßnahmen (z. B. zum Schutz der
Augen) vorgenommen werden.
it
Le presenti istruzioni sono valide solo in abbinamento alle istruzioni per l'uso
(8020709). Le istruzioni per l'uso sono a disposizione su www.sick.com.
a Il sensore KTS è dotato di LED. Il sensore corrisponde al gruppo di rischio 1 secondo IEC
62471:2006. Non devono essere adottate misure speciali (ad es. per protezione degli
occhi).
fr
Cette notice n'est valable qu'avec la notice d'instruction (8020709). Elle est
disponible sur le site Internet www.sick.com.
a Le capteur KTS est doté de LED. Il correspond au groupe à risque 1 selon la norme CEI
62471:2006. Aucune mesure particulière (comme la protection des yeux) ne doit être
prise.
es
Estas instrucciones solo son válidas junto con las instrucciones de uso
(8020709). Puede encontrar las instrucciones de uso en www.mysick.com.
a El sensor KTS está equipado con indicadores LED. Este sensor se incluye en el grupo de
riesgo 1 según IEC 62471:2006. No es necesario adoptar ningún tipo de medida especial
(p. ej., para proteger los ojos).
zh
本说明书仅在结合使用 (8020709) 操作指南情况下有效。查看操作指南可访问 www.sick.
com 网页。
a KTS 传感器配有 LED。此传感器符合风险组 1(依据 IEC 62471:2006)。不必采取特
别措施(例如为保护眼睛)。
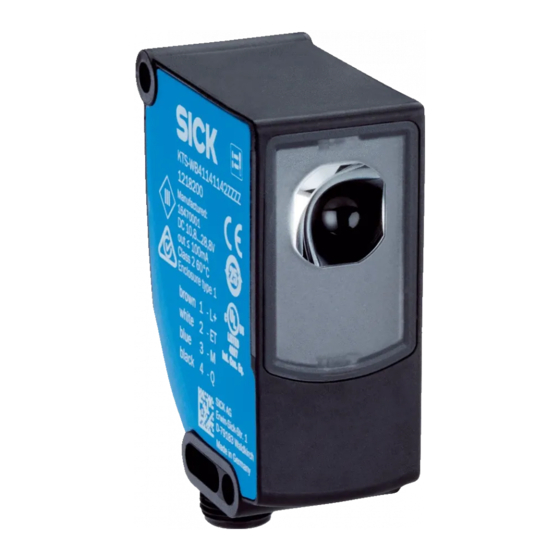
1 Electrical connection (A)
Elektrischer Anschluss
Collegamento elettrico
Elektrischer Anschluss
Der Anschluss der Sensoren muss spannungsfrei (UV = 0 V) erfolgen.
The sensors must be connected in a voltage-free state (VS = 0 V).
Il collegamento dei sensori deve avvenire in assenza di tensione (UV = 0 V).
Le raccordement des capteurs doit s'effectuer hors tension (UV = 0 V).
Il collegamento dei sensori deve avvenire in assenza di tensione (UV = 0 V).
必须在无电压状态 (UV = 0 V) 连接传感器。
Standard 4-Pin
A
1
brn
brown
1
2
wht
white
2
3
blu
blue
3
4
blk
black
4
8020691/25.11.2016
Elektrischer Anschluss
Elektrischer Anschluss
2-P
- L+
L+
ET
- ET
M
- M
- Q
Q
2 Control panel (B)
Bedienfeld
Pannello di comando
Panneau de commande
Control panel
B
1
LOCK
>10s
PWR Q
2
3
3 Mounting (C)
Montage
Montaggio
Montage
en
1 Install sensor and fixing hole so that the light spot enters the mark horizontally
and horizontal and vertical movements of the test object can be compensated
for to the highest possible degree. Note sensing range while doing so.
2 Compensate for the vertical and horizontal movements of the test object using
marks of suitable lengths.
3 Ensure that any sensor movement does not affect the sensing range.
de
1 Sensor über Befestigungsbohrung so einbauen, dass Lichtfleck längs in
Markierung eintritt und Seiten- und Höhenbewegungen des Prüfobjekts best-
möglich ausgeglichen werden. Dabei Tastweite beachten.
2 Seiten- und Höhenbewegungen des Prüfobjektes durch entsprechend lange
Markierungen ausgleichen.
3 Bewegung des Sensors mit Tastweiteneinfluss ausschließen.
it
1 Montare il sensore nel foro di fissaggio in modo che il punto luminoso longi-
tudinalmente entri nella marcatura e che i movimenti laterali e verticali siano
compensati nel migliore modo possibile. Attenersi alla distanza di rilevamento.
2 Compensare i movimenti laterali e verticali dell'oggetto di verifica con marca-
ture di lunghezza adeguata.
3 Escludere un possibile movimento del sensore con effetto sulla distanza di
rilevamento.
fr
1 Monter le capteur sur le trou de fixation de sorte que le spot lumineux pénètre
dans le repère dans le sens longitudinal et que la compensation des mou-
vements en longueur et en hauteur soit optimale. Tenir compte de la plage de
balayage.
2 Compenser les mouvements en hauteur et en longueur de l'objet de détection
en procédant aux repérages correspondants.
3 Empêcher tout mouvement du capteur avec le régulateur de détection.
es
1 Sirviéndose del orificio de fijación, monte el sensor de tal modo que el spot
incida longitudinalmente en la marca y así compensar de la forma más optima
los movimientos laterales y verticales del objeto de comprobación. Para ello,
debe tenerse en cuenta el alcance de detección.
2 Compense los movimientos laterales y verticales del objeto mediante marcas
de longitud apropiada.
3 Asegúrese de que el movimiento del sensor no influye en el alcance de
detección.
zh
1
通过安装孔安装传感器,使光点顺沿进入标记,并且检查物体在侧向和高度方向的移
动尽可能最佳地获得补偿。在此注意检测距离。
2
通过适当长度的标记对检查物体在侧向和高度方向的移动进行补偿。
3
确保传感器的移动不会对检测距离产生影响。
Panel de control
操作面板
1 Bar graph
2 Teach-in button
Bargraph
Teach-In Knopf
Bar graph
Pulsante teach-in
Afficheur bargraph
Bouton d'apprentissage
Indicador de barras
Botón de aprendizaje
条形光柱
示教键
3 LEDs (status indicators)
LEDs (Statusanzeigen)
LED (indicatori di stato)
LED (affichages d'état)
LED (indicadores de estado)
LED(状态指示灯)
Montaje
安装
I
Publicidad

Manuales relacionados para SICK KTS Core EasyTeach


Resumen de contenidos para SICK KTS Core EasyTeach
- Página 1 3 Ensure that any sensor movement does not affect the sensing range. Le presenti istruzioni sono valide solo in abbinamento alle istruzioni per l‘uso (8020709). Le istruzioni per l‘uso sono a disposizione su www.sick.com. 1 Sensor über Befestigungsbohrung so einbauen, dass Lichtfleck längs in a Il sensore KTS è...
- Página 2 TEACH-LED Q-LED (gelb) Kontrastunterschied reicht – Sensor neu justieren blinkt nicht aus für eine stabile – Einsatzbedingungen – Obere Bargraphanzeige Kontrasterkennung prüfen PWR Q (grün) blinkt und – Teach-Vorgang erneut – Kein Schaltausgang bei starten Objektdetektion KTS Core EasyTeach | SICK...
- Página 3 Indicatore, schermata di Causa Provvedimento errore – L‘indicatore bar graph – Messaggio di corto – Scollegare il sensore superiore (verde) circuito: dalla rete elettrica lampeggia – Sensore non corretta- – Controllare l‘occupazi- – Q-LED (giallo) lampeggia mente collegato. one pin –...
- Página 4 KTS Core EasyTeach | SICK...