Publicidad
sauder.com
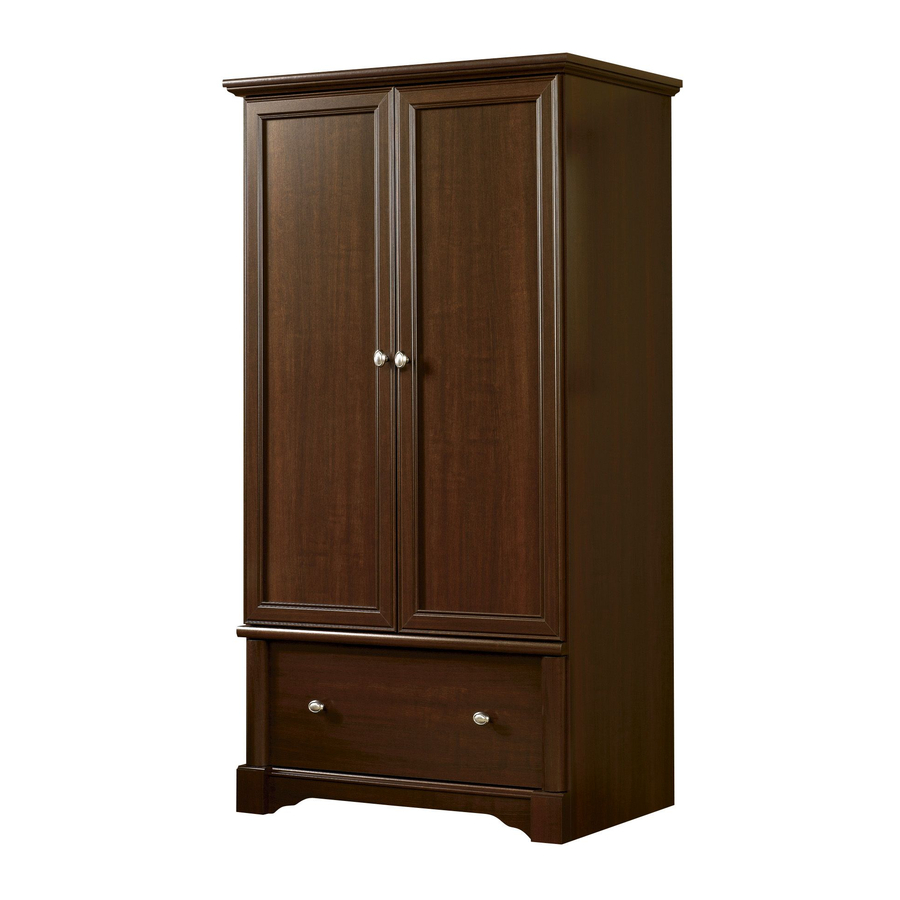
Armoire
Palladia Collection | Model 411843
Need help? Visit Sauder.com to view video assembly tips or chat with a live rep.
Prefer the phone? Call 1-800-523-3987.
Share your journey!
Your holder for all
things awesome.
NOTE: THIS INSTRUCTION
BOOKLET CONTAINS IMPORTANT
SAFETY INFORMATION.
PLEASE READ AND KEEP FOR
FUTURE REFERENCE.
English pg 1-27
Français pg 28-31
Español pg 32-35
Lot # 397181
10/03/16
Purchased: __________________
Be sure to give us a ring before
making any returns. 1-800-523-3987
Publicidad
Tabla de contenido

Manuales relacionados para Sauder Armoire 411843


Resumen de contenidos para Sauder Armoire 411843
- Página 1 Palladia Collection | Model 411843 NOTE: THIS INSTRUCTION BOOKLET CONTAINS IMPORTANT SAFETY INFORMATION. Need help? Visit Sauder.com to view video assembly tips or chat with a live rep. PLEASE READ AND KEEP FOR FUTURE REFERENCE. Prefer the phone? Call 1-800-523-3987.
- Página 2 FRONT MOLDING (1) D260 RIGHT DRAWER SIDE (1) SHELF (1) SHELF MOLDING (1) D261 DRAWER BACK (1) BACK (1) BOTTOM MOLDING (1) D263 LEFT DRAWER SIDE (1) DOOR (2) RIGHT MOLDING (1) D996 DRAWER BOTTOM (1) Page 2 411843 www.sauder.com/services...
-
Página 3: Part Identifi Cation
While not all parts are labeled, some of the parts will have a label or an inked letter on the edge to help distinguish similar parts from each other. Use this part identifi cation to help identify similar parts. D260 D261 D996 D263 www.sauder.com/services 411843 Page 3... - Página 4 BRACKET - 1 SAFETY DRYWALL DRAWER FRONT SAFETY STRAP - 1 WASHER - 1 ANCHOR - 1 BRACKET - 1 Locate this nylon SAFETY STRAP (60M) to be used later in assembly. Do not accidentally throw away. Page 4 411843 www.sauder.com/services...
- Página 5 BLACK 9/16" LARGE HEAD SCREW - 21 GOLD 1" MACHINE SCREW - 2 BLACK 1/2" FLAT HEAD SCREW - 12 NAIL - 50 3S GOLD 5/16" FLAT HEAD SCREW - 8 30S BLACK 1-9/16" FLAT HEAD SCREW - 5 www.sauder.com/services 411843 Page 5...
- Página 6 fl oor. Scan this QR code or go to this address: http://qr.sauder.com/?ID=1610 To begin assembly, push a SAUDER TWIST-LOCK® å to watch a video on how to assemble your unit. FASTENER (Z) into the large holes in the ENDS (A2 and B2).
- Página 7 Do not tighten the HIDDEN CAMS in this step. Arrow Insert the metal end of the CAM DOWEL into the HIDDEN CAM. Arrow Arrow Hole The arrow in the HIDDEN CAM must point toward the hole in the edge of the board. www.sauder.com/services 411843 Page 7...
- Página 8 Step Step 3 Turn four CAM SCREWS (BB2) into the DRAWER FRONT (J) å and BOTTOM MOLDING (P). Page 8 411843 www.sauder.com/services...
- Página 9 MOLDINGS (N, Q, and R). Just think. The sooner you do this, the sooner you do something else. Use your hammer to tap the MOLDING CONNECTORS (JJ) into the notches in the MOLDINGS. Flat end Flat end www.sauder.com/services 411843 Page 9...
- Página 10 NOTE: Do not overtighten the SCREWS into the TOP. å Push a DOOR STOP (LL) into the hole in the å FRONT MOLDING (N). BLACK 1-1/4" FLAT HEAD SCREW (7 used in this step) Rounded edge Page 10 411843 www.sauder.com/services...
- Página 11 *patent pending glide system å BLACK 9/16" LARGE HEAD SCREW (2 used in this step) Edge with TWIST-LOCK® FASTENER Glide end Edge with TWIST-LOCK® FASTENER Glide end GOLD 5/16" FLAT HEAD SCREW (4 used for the CABINET RAILS) www.sauder.com/services 411843 Page 11...
- Página 12 Fasten the LEFT END (B2) to the LEFT MOLDING (R) on å ® How to use the SAUDER TWIST-LOCK FASTENER the TOP (C2). Tighten two TWIST-LOCK® FASTENERS. 1. Insert the dowel end of the FASTENER into the hole of the adjoining part.
- Página 13 END (B2). Tighten four TWIST-LOCK® FASTENERS. Edge with holes Edge with CAM DOWELS r f a I S T w i t - L O ® r f a I S T w i t - L O ® www.sauder.com/services 411843 Page 13...
- Página 14 Fasten the RIGHT END (A2) to the BOTTOM (D), å SHELF (E), and RIGHT MOLDING (Q) on the TOP (C2). Don't worry. It isn't Tighten six TWIST-LOCK® FASTENERS. Rome. This can be built in a day. Edge with TWIST-LOCK® FASTENER Page 14 411843 www.sauder.com/services...
- Página 15 Tighten Risk of damage or Arrow injury. HIDDEN CAMS must be completely Arrow Maximum tightened. HIDDEN 210 degrees CAMS that are not completely tightened may loosen, and parts may separate. To Minimum completely tighten: 190 degrees www.sauder.com/services 411843 Page 15...
- Página 16 BLACK 9/16" LARGE HEAD SCREWS (UU). Fasten the SKIRT (H) to the BOTTOM (D). Use three å BLACK 9/16" LARGE HEAD SCREWS (UU). Curved edge Curved edge BLACK 9/16" LARGE HEAD SCREW (10 used for the METAL BRACKETS Page 16 411843 www.sauder.com/services...
- Página 17 (50 used in this step) å PLINTHS (R2). Use four BLACK 9/16" LARGE HEAD SCREWS (UU). These holes must line up over the SHELF (E). BLACK 9/16" LARGE HEAD SCREW (4 used for the TIE PLATES) www.sauder.com/services 411843 Page 17...
- Página 18 Step Step 13 Fasten the HINGES (DD) to the DOORS (G). Use å twelve BLACK 1/2" FLAT HEAD SCREWS (VV). BLACK 1/2" FLAT HEAD SCREW (12 used in this step) Page 18 411843 www.sauder.com/services...
- Página 19 Fasten a KNOB (MM) to the DOOR (G). Use a BLACK 1-1/8" å MACHINE SCREW (SS). Repeat this step for the other DOOR (G). å Stop Mounting screw Hinge BLACK 1-1/8" MACHINE SCREW (2 used for the KNOBS) www.sauder.com/services 411843 Page 19...
- Página 20 To adjust the DOORS in or out (depth), loosen the å mounting screw one turn and move the DOORS in or out, as needed. Tighten the mounting screw after making adjustments. Mounting screw (depth) Adjusting screw (horizontal) (vertical adjustment) Page 20 411843 www.sauder.com/services...
- Página 21 Use four BLACK 1-1/4" FLAT HEAD SCREWS (RR). NOTE: There are no pre-drilled holes in the MOLDINGS. å The SCREWS will tighten into the grooves. BLACK 1-1/4" FLAT HEAD SCREW (4 used in this step) Groove www.sauder.com/services 411843 Page 21...
- Página 22 With the palm of your hand, tap the DRAWER BOTTOM down into the groove. Groove D260 r f a i s h fi n D996 D263 D260 Be sure the DRAWER BOTTOM inserts into the DRAWER FRONT groove. Page 22 411843 www.sauder.com/services...
- Página 23 Start each screw a few turns before completely tightening any of them. Surface with HIDDEN CAM BLACK 1-9/16" FLAT HEAD SCREW (5 used in this step) D261 D260 D263 Be sure the DRAWER BOTTOM inserts into the DRAWER BACK groove. www.sauder.com/services 411843 Page 23...
- Página 24 Fasten two KNOBS (MM) to the DRAWER FRONT (J). Use two å GOLD 1" MACHINE SCREWS (TT). Glide end GOLD 1" MACHINE SCREW (2 used for the KNOBS) D263 Glide end D260 GOLD 5/16" FLAT HEAD SCREW (4 used for the DRAWER GLIDES) Page 24 411843 www.sauder.com/services...
- Página 25 This is a permanent label. Do not remove. Cette étiquette est permanente. Ne pas l’enlever. Esta es una etiqueta permanente. No remover. 10/16 395783 www.sauder.com/services 411843 Page 25...
- Página 26 NOTE: Before moving your unit to a diff erent location, unscrew the SAFETY DRYWALL ANCHOR (61M) from your wall. The nylon sheath will remain behind your wall. BLACK 9/16" LARGE HEAD SCREW (1 used in this step) Page 26 411843 www.sauder.com/services...
- Página 27 This completes assembly. Clean with your favorite furniture polish or a damp cloth. Wipe dry. å And to celebrate, why not share your success story? No load 40 lbs. Place the glide on the SLIDE behind the glide on the RAIL. 40 lbs. 35 lbs. www.sauder.com/services 411843 Page 27...
-
Página 28: Liste De Pièces
EXTRÉMITÉ DROITE ..........1 AA2 EXCENTRIQUE ESCAMOTABLE ..... 7 pour future référence. BB2 VIS D'EXCENTRIQUE ..........4 EXTRÉMITÉ GAUCHE...........1 Pour contacter Sauder CC2 CHEVILLE D'EXCENTRIQUE ......3 DESSUS ................1 en ce qui concerne cet CHARNIÈRE ..............6 élément, faire référence DESSOUS ..............1... - Página 29 B2). Utiliser deux VIS NOIRES TÊTE LARGE 14 mm (UU). Pour commencer l'assemblage, enfoncer une FIXATION TWIST-LOCK® SAUDER (Z) dans les gros trous des EXTRÉMITÉS (A2 et B2). *La patente del sistema de deslizamiento se encuentra en trámite. Répéter cette étape pour le DESSOUS (D) et la TABLETTE (E).
- Página 30 Fixer les PLAQUES DE LIAISON (GG) à la PLINTHE (H) et aux PLINTHES (R2). Utiliser quatre VIS NOIRES TÊTE LARGE 14 mm (UU). ÉTAPE 13 Fixer les CHARNIÈRES (DD) aux PORTES (G). Utiliser douze VIS NOIRES TÊTE PLATE 13 mm (VV). Page 30 411843 www.sauder.com/services...
- Página 31 REMARQUE : Prière de lire attentivement les importantes informations concernant la sécurité qui fi gurent sur la couverture arrière du manuel d'instructions. Ceci complète l'assemblage. Pour nettoyer, utiliser l'encaustique pour meubles préférée ou un chiff on humide. Essuyer. www.sauder.com/services 411843 Page 31...
-
Página 32: Lista De Partes
EXTREMO IZQUIERDO ..........1 PLACA DE CONEXIÓN ............2 pour future référence. PANEL SUPERIOR ............1 CONECTOR DE MOLDURA ........... 2 Pour contacter Sauder FONDO ..................1 SOPORTE DE VARILLA ............. 2 en ce qui concerne cet ESTANTE .................. 1 TOPE DE PUERTA .............. - Página 33 Cómo utilizar el SUJETADOR TWIST-LOCK® SAUDER Para comenzar el ensamblaje, empuje un SUJETADOR 1. Inserte el extremo con cabilla del SUJETADOR dentro del TWIST-LOCK® SAUDER (Z) dentro de los agujeros grandes agujero de la parte adjunta. de los EXTREMOS (A2 y B2).
- Página 34 BISAGRAS. Consulte el próximo paso para ajustar las puertas. Fije un TIRADOR (MM) a la PUERTA (G). Utilice un TORNILLO NEGRO PARA METAL de 28 mm (SS). Repita este paso para la otra PUERTA (G). Page 34 411843 www.sauder.com/services...
- Página 35 NOTA: Por favor lea las páginas fi nales del folleto de instrucciones para información importante sobre la seguridad. Esto completa el ensamblaje. Limpie con su pulimento para muebles preferido o un paño húmedo. Seque con un paño. www.sauder.com/services 411843 Page 35...
- Página 36 Moving furniture that is not designed to be moved or equipped with casters may result in injury or damage to furnishings or personal property. ALWAYS unload shelves and drawers, starting with the top surfaces, before moving. NEVER push or pull furniture on carpet. Have a friend help lift properly to move and/or reposition it. Page 36 411843 www.sauder.com/services...
- Página 37 TOUJOURS décharger les tablettes et les tiroirs, en commençant par les surface supérieures, avant de déplacer le meuble. NE JAMAIS pousser ou tirer un meuble sur de la moquette. Demander à une autre personne de le soulever correctement pour le déplacer et/ou le repositionner. www.sauder.com/services 411843 Page 37...
- Página 38 SIEMPRE descargue los estantes y cajones, empezando con las superfi cies superiores, antes de moverlo. NUNCA empuje ni tire de los muebles sobre una alfombra. Obtenga que un amigo le ayude a levantarlo correctamente para moverlo y/o reposicionarlo. Page 38 411843 www.sauder.com/services...
-
Página 39: Garantie Limitée De 5 Ans
à compter de la date d'achat la première fois et qui sont signalés à Sauder dans les limites de couverture de la contre tout défaut de matériaux ou de fabrication des composantes de mobilier Sauder. - Página 40 Dear Valued Customer: So, how did it go? Thanks so much for choosing Sauder® furniture. I hope the Set a world record for speed? purchase and assembly process was a positive experience Feeling good about yourself? and you feel good about the furniture you just built. If you Nice.