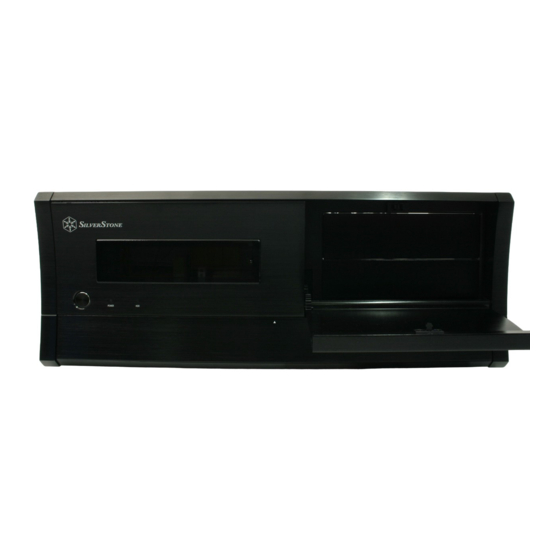
SilverStone GRANDIA Serie Manual Del Usuario
Ocultar thumbs
Ver también para GRANDIA Serie:
- Manual de instrucciones (42 páginas) ,
- Manual (48 páginas) ,
- Manual (36 páginas)
Publicidad
Enlaces rápidos
Publicidad

Resumen de contenidos para SilverStone GRANDIA Serie
- Página 1 GD01 GRANDIA SERIES MANUAL...
-
Página 2: Product Overview
Product Overview GD01 Specification Material Aluminum front panel, 0.8 mm SECC body Black Color Silver Motherboard Standard ATX, Micro ATX SST-GD01B-R (black, card reader) SST-GD01S-R (silver, card reader) Model SST-GD01B-MXR (black, multimedia, card reader) SST-GD01S-MXR (silver, multimedia, card reader) 5.25" x 2 External 3.5"... -
Página 3: Disassemble Chart
GD01MX SST-GD01 (B-R) GD01 SST-GD01 (S-R) SST-GD01 (B-MXR) GD01 MX SST-GD01 (S-MXR) Disassemble Chart TOP PANEL 5.25 BAY*2 3.5 BAY PS2 POWER SUPPLY STANDARD ATX M/B 5.25 BAY DOOR 3.5BAY*6(HIDDEN) LOWER DOOR MULTI-LANGUAGE LCD(GD01 MX) POWER SWITCH 8025mm X 2 FANS(OPTIONAL) 9225mm X 2 FANS(OPTIONAL) - Página 4 ENGLISH Begin by loosening the four screws behind top panel as pictured. Beginnen Sie bitte mit dem Lösen der vier Deckelschrauben an der DEUTSCH Rückseite des Gehäuses, wie auf dem Bild beschrieben. Commencez par dévisser les 4 vis à l’arrière du boîtier comme montré. FRANCAIS Afloje los 4 tornillos que se encuentran detrás del panel superior, ESPANOL...
- Página 6 Installation Guide Position and install the motherboard, and secure the motherboard by fasten ENGLISH the screws on the standoffs. Positionieren Sie das Motherbaord über den Abstandshaltern und DEUTSCH schrauben Sie es fest. Positionnez et installez la carte mère, puis fixez la carte mère en serrant FRANCAIS les vis sur les plots.
- Página 7 Installation Guide Place the 5.25” drive bracket back in the chassis (make sure it gets placed on top ENGLISH of the 3.5” external drive bracket’s rails), secure it with the screws from step3. Schieben Sie den 5,25” Laufwerkskäfig wieder in das Gehäuse( vergewissern Sie sich dass der Käfig richtig in den darunterliegenden 3,5"...
- Página 8 Installation Guide Connect all the cables and wires and put the center brace back ENGLISH on the chassis. Schließen Sie alle Kabel an und bringen Sie die mittlere Stabilitätsschien DEUTSCH wieder an das Gehäuse an. Schrauben Sie diese fest. Branchez tous les câbles et remettez la barre de renfort centrale dans le boîtier. FRANCAIS Conecte todos los cables y recoloque la abrazadera central en el chasis.
- Página 9 SilverStone GD01 MX LCD/IR Inserire l’USB dal modulo LCD/IR alla scheda madre. È possible utilizzare un adattatore USB e connetterlo al connettore esterno d’entrata ed uscita della scheda madre.
- Página 10 ENGLISH Connect the included ATX adapter to your power supply's ATX connector. Verbinden Sie den im Lieferumfang enthaltenen ATX Adapter mit DEUTSCH Ihrem Netzteil. Reliez l´adaptateur ATX inclus aux connecteurs de votre boîtier FRANCAIS d´alimentation. Conecte el adaptador ATX que se incluye, a su conector ATX o ESPANOL administrador de corriente.
-
Página 11: Warranty Information
The warranty is voided by removal or alteration of product or parts identification labels. Warranty period is region specific, please contact your reseller or SilverStone authorized distributor for more information. This instruction will help you make the most out of your product. Please read through it before installation. - Página 12 March, 2012 NO:G11202041...


