
Manuales relacionados para Weston 65-0501-W


Resumen de contenidos para Weston 65-0501-W
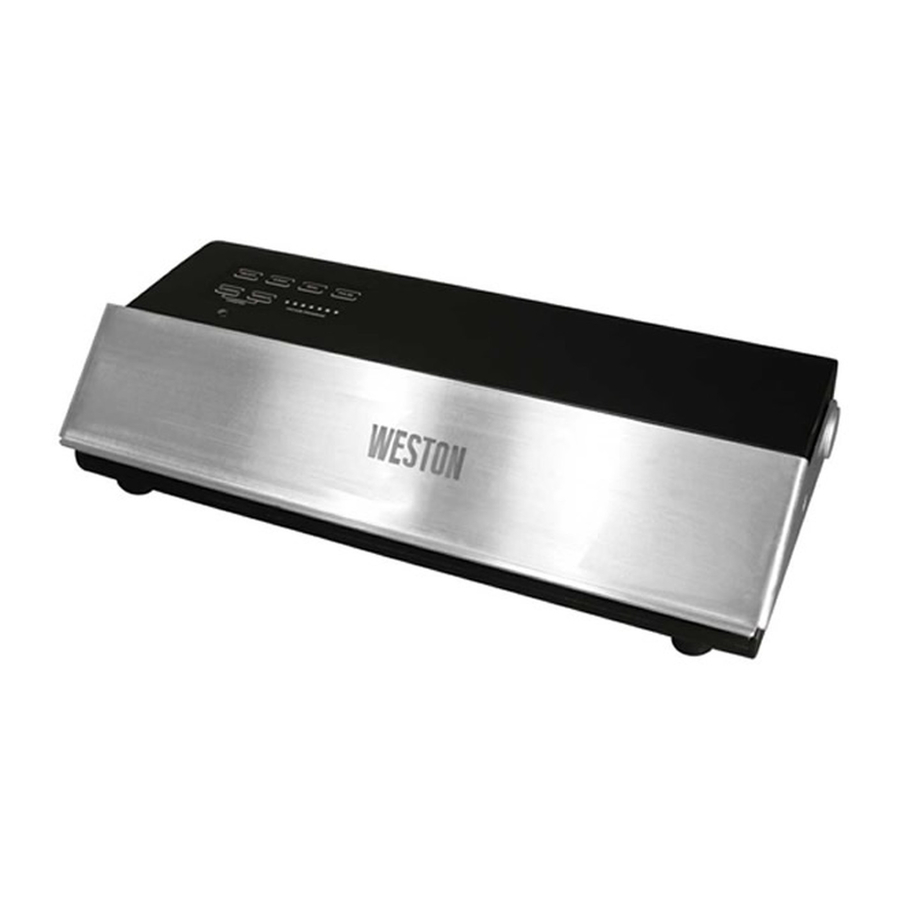
- Página 1 VACUUM SEALER MAINTENANCE KIT MODEL NO. 65-0501-W, MODEL NO. 65-0501-RT and MODEL NO. 65-0501-RT-EU LID ASSEMBLY MAINTENANCE KIT Model No. 65-0512 Model No. 65-0510...
-
Página 2: Component List
If any components of this unit are broken, the unit does not operate properly or you need a replacement instruction manual, visit us on the web at WestonProduct.com/support 1-800-814-4895 Or call Weston Products LLC Toll Free at Monday thru Friday 8:00am-5:00pm EST. Outside the U.S. call 440-638-3131... - Página 3 SERVICE INSTRUCTIONS WARNING! Before cleaning, assembling or disassembling the appliance, make sure the appliance is OFF and the PLUG IS REMOVED FROM THE OUTLET/POWER SOURCE! Some parts of the Vacuum Sealer may need Figure 1 replacing after repeated use. A Maintenance Kit (Sold Separately) (Figure 1) may be Vacuum Sealer necessary for the Vacuum Sealer to properly...
- Página 4 REPLACING THE VACUUM Plastic Lid Base CHAMBER LID SEAL: Vacuum 1. Press the ON/OFF Button on the Control Chamber Panel to turn the Vacuum Sealer “OFF”. Lid Seal Figure 3 2. Disconnect the Vacuum Sealer from the power supply. 3. Make sure the Vacuum Sealer is completely cool.
- Página 5 REPLACING THE LID ASSEMBLY: 1. Press the ON/OFF Button on the Control Panel to turn the Vacuum Sealer “OFF”. 2. Disconnect the Vacuum Sealer from the power supply. 3. Make sure the Vacuum Sealer is completely cool. 4. Press both of the Lid Release Buttons on each side of the Vacuum Sealer to release the lid lock, then lift the Vacuum Lid to open.
- Página 6 REPLACING THE SEAL BAR TAPE: Figure 6 1. Press the ON/OFF Button on the Control Panel to turn the Vacuum Sealer “OFF”. 2. Disconnect the Vacuum Sealer from the power supply. 3. Make sure the Vacuum Sealer is completely cool. 4.
-
Página 7: Selladora Al Vacío Juego De Mantenimiento
SELLADORA AL VACÍO JUEGO DE MANTENIMIENTO MODELO N° 65-0501-W MODELO N° 65-0501-RT y MODELO N° 65-0501-RT-EU CONJUNTO DE LA TAPA JUEGO DE MANTENI- Modelo N° 65-0512 MIENTO Modelo N° 65-0510... -
Página 8: Lista De Componentes
Web en WestonProduct.com/support 1-800-814-4895 O llame a Weston Products LLC larga distancia sin costo De lunes a viernes, de 8:00 am a 5:00 pm EST Fuera de Estados Unidos llame al 440-638-3131... -
Página 9: Instrucciones De Mantenimiento
INSTRUCCIONES DE MANTENIMIENTO ¡ADVERTENCIA! Antes de limpiar, ensamblar o desarmar el aparato, cerciórese de que esté APAGADO y que LA CLAVIJA ESTÉ RETIRADA DEL TOMACORRIENTE O FUENTE DE ENERGÍA. Algunas partes de la selladora al vacío Figura 1 podrían necesitar ser reemplazadas después del uso repetido. -
Página 10: Cómo Reemplazar El Sello De La Tapa De La Cámara De Vacío
CÓMO REEMPLAZAR EL Base de la tapa de plástico SELLO DE LA TAPA DE LA CÁMARA DE VACÍO Cámara de vacío 1. Oprima el INTERRUPTOR del panel de Sello de la tapa control para apagar la selladora al vacío. Figura 3 2. -
Página 11: Cómo Reemplazar El Conjunto De La Tapa
CÓMO REEMPLAZAR EL CONJUNTO DE LA TAPA 1. Oprima el INTERRUPTOR del panel de control para apagar la selladora al vacío ("off"). 2. Desconecte la selladora al vacío del tomacorriente. 3. Revise que la selladora al vacío esté completamente fría. 4. -
Página 12: Para Reemplazar La Cinta De La Barra Selladora
PARA REEMPLAZAR LA CINTA Figura 6 DE LA BARRA SELLADORA: 1. Oprima el INTERRUPTOR del panel de control para apagar la selladora al vacío. 2. Desconecte la selladora al vacío del tomacorriente. 3. Revise que la selladora al vacío esté completamente fría. - Página 13 KIT DE MAINTENANCE DE LA SCELLEUSE SOUS VIDE POUR LE MODÈL Nº 65-0501-M, MODÈLE Nº 65-0501-RT et MODÈLE Nº 65-0501-RT-EU COUVERCLE KIT DE MAINTENANCE Modèle nº 65-0512 Modèle nº 65-0510...
-
Página 14: Liste Des Pièces
Web à WestonProduct.com/support +1 (800) 814-4895 Vous pouvez également contacter Weston Products LLC au numéro sans frais suivant Du lundi au vendredi de 8h00 à 17h00 (Heure de New York). En dehors des États-Unis, appelez le 440-638-3131 -14-... - Página 15 INSTRUCTIONS DE SERVICE AVERTISSEMENT! Avant de procéder au nettoyage, au montage ou au démontage de l'appareil, s'assurer que l'appareil est HORS TENSION et que la FICHE A ÉTÉ RETIRÉE DE LA PRISE/SOURCE D'ALIMENTATION! Il peut s'avérer nécessaire de remplacer Figure 1 certaines pièces scelleuse...
- Página 16 REMPLACEMENT DU JOINT DU Base du couvercle en plastique COUVERCLE DE LA CHAMBRE SOUS VIDE: Chambre sous vide 1. Appuyez sur le bouton de Marche/ Joint de couvercle Arrêt (ON/OFF) situé sur le panneau de Figure 3 commande pour mettre la scelleuse sous vide à...
- Página 17 REMPLACEMENT DU COUVERCLE: 1. Appuyez sur le bouton de Marche/Arrêt (ON/OFF) situé sur le panneau de commande pour mettre la scelleuse sous vide à l'Arrêt. 2. Débranchez la scelleuse sous vide de l'alimentation 3. Assurez-vous que la scelleuse sous videa totalement refroidi. 4.
- Página 18 REPLACEMENT DU RUBAN DE LA BARRE SCELLANTE: Figure 6 1. Appuyez sur le bouton de Marche/ Arrêt (ON/OFF) situé sur le panneau de commande pour mettre la scelleuse sous vide à l'Arrêt. 2. Débranchez la scelleuse sous vide de l'alimentation 3.
- Página 19 NOTES...
- Página 20 Para todas aquellas preguntas referentes al uso del producto, partes faltantes, daño del producto, dificultad o activación de la garantía, comuníquese con el equipo de servicio al cliente de weston products: desde las 8:00 am hasta las 5:00 pm est, de lunes a viernes CustomerService@WestonProducts.com...