Tabla de contenido
Publicidad
Idiomas disponibles
Idiomas disponibles
Enlaces rápidos
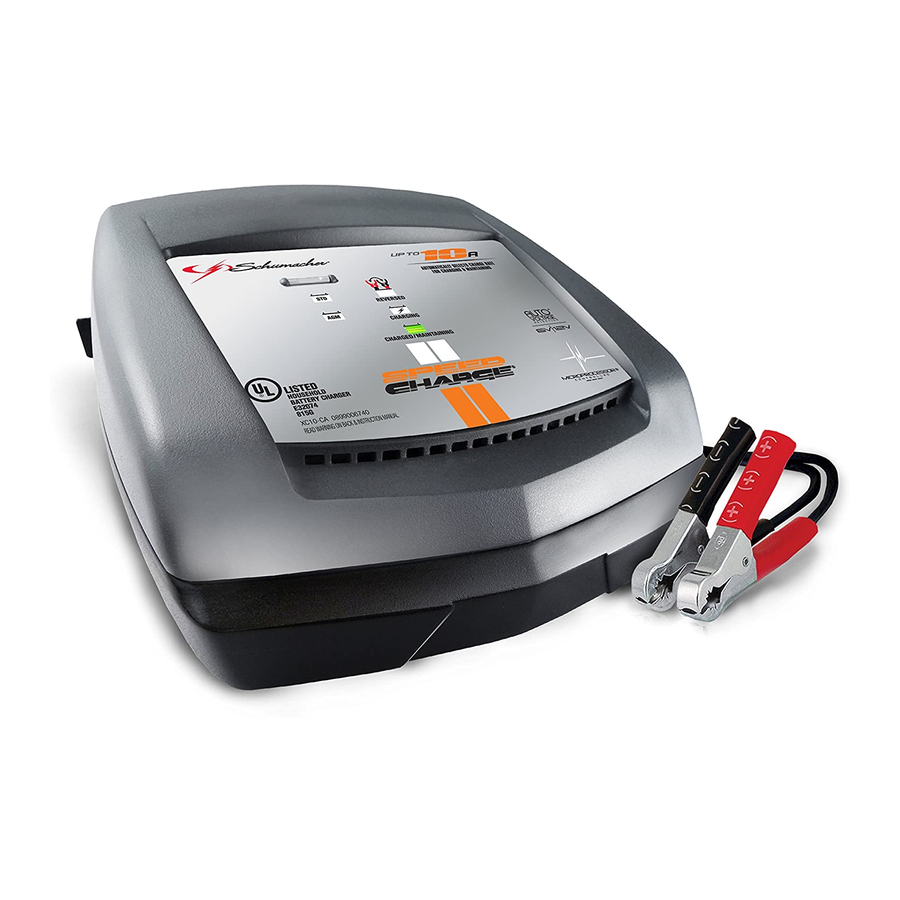
Models / Modelos:
Automatic Battery Charger / Cargador de batería automático
READ THE ENTIRE MANUAL BEFORE USING THIS PRODUCT.
FAILURE TO DO SO COULD RESULT IN SERIOUS INJURY OR DEATH.
ADVERTENCIA
LEA EL MANUAL COMPLETO ANTES DE UTILIZAR ESTE PRODUCTO.
CUALQUIER FALLA PODRÍA RESULTAR EN SERIAS LESIONES O PODRÍA SER MORTAL.
XC6, XC10, XC12 & XCS15
XC6
XC12
DO NOT RETURN THIS PRODUCT TO THE STORE!
Call Customer Service for Assistance: 800-621-5485
¡NO LO DEVUELVA ESTE PRODUCTO A LA TIENDA!
Llame a Servicios al Cliente para Asistencia: 800-621-5485
OWNER'S MANUAL
MANUAL DEL USUARIO
XC10
XCS15
0099001037WB-02
Publicidad
Tabla de contenido

Manuales relacionados para Schumacher Electric XC6


Resumen de contenidos para Schumacher Electric XC6
- Página 1 OWNER’S MANUAL MANUAL DEL USUARIO XC6, XC10, XC12 & XCS15 Models / Modelos: Automatic Battery Charger / Cargador de batería automático XC10 XC12 XCS15 DO NOT RETURN THIS PRODUCT TO THE STORE! Call Customer Service for Assistance: 800-621-5485 ¡NO LO DEVUELVA ESTE PRODUCTO A LA TIENDA! Llame a Servicios al Cliente para Asistencia: 800-621-5485 READ THE ENTIRE MANUAL BEFORE USING THIS PRODUCT.
- Página 2 IMPORTANT: READ AND SAVE THIS SAFETY AND INSTRUCTION MANUAL. SAVE THESE INSTRUCTIONS – This manual will show you how to use your charger safely and effectively. Please read, understand and follow these instructions and precautions carefully, as this manual contains important safety and operating instructions.
- Página 3 1.10 To reduce the risk of a battery explosion, follow these instructions and those published by the battery manufacturer and the manufacturer of any equipment you intend to use in the vicinity of the battery. Review the cautionary markings on these products and on the engine. 1.11 This charger employs parts, such as switches and circuit breakers, that tend to produce arcs and sparks.
-
Página 4: Charger Location
CHARGER LOCATION RISK OF EXPLOSION AND CONTACT WITH BATTERY ACID. Locate the charger as far away from the battery as the DC cables permit. Never place the charger directly above the battery being charged; gases from the battery will corrode and damage the charger. Do not set the battery on top of the charger. -
Página 5: Control Panel
Connect the POSITIVE (RED) charger clip to the POSITIVE (POS, P, +) post of the battery. Position yourself and the free end of the cable you previously attached to the NEGATIVE (NEG, N, -) battery post as far away from the battery as possible – then connect the NEGATIVE (BLACK) charger clip to the free end of the cable. - Página 6 Digital Display (models XC12 and XCS15) The display will show the battery VOLTAGE when the charger is not charging a battery. When it goes into charging mode, the display will automatically change to ON (to show charging has started) and then show the percent-of-charge of the battery being charged and either 6 or 12 (the voltage the charger determined the battery is).
- Página 7 Aborted Charge Models XC6 and XC10: If charging cannot be completed normally, charging will abort. When charging aborts, the charger’s output is shut off and the CHARGING LED will flash. In that state, the charger ignores all buttons. To reset after an aborted charge, unplug the charger from the AC outlet, wait a few moments and plug it back in.
-
Página 8: Calculating Charge Time
The times given are for batteries with a 50% charge prior to recharging. Add more time for severely discharged batteries. NR means that the charger setting is NOT RECOMMENDED. Model XC6 CHARGE RATE/CHARGING TIME BATTERY SIZE/RATING 2 AMP... -
Página 9: Maintenance Instructions
Model XC12 CHARGE RATE/CHARGING TIME BATTERY SIZE/RATING 2 AMP 8 AMP 12 AMP Motorcycle, 6 – 12 Ah 2 - 3 ¾ hrs SMALL Garden BATTERIES 12 – 32 Ah 3 ¾ - 10 hrs Tractor, etc. 200-315 CCA 40 – 60 RC 2 ¾... -
Página 10: Troubleshooting
TROUBLESHOOTING Failure Codes ERROR DESCRIPTION REASON/SOLUTION CODE The battery voltage is still Could be caused by trying to charge a 6 under 10V (for a 12V battery) volt battery on the 12 volt setting, or the or 5V (for a 6V battery) after 2 battery could be bad, have it checked or hours of charging. -
Página 11: Before Returning For Repairs
Manufacturer does not provide any warranty for any accessories used with this product that are not manufactured by Schumacher Electric Corporation and approved for use with this product. This Limited Warranty is void if the product is misused, subjected to careless handling, repaired, or modified by anyone other than Manufacturer or if this unit is resold through an unauthorized retailer. - Página 12 MANUFACTURER NEITHER ASSUMES OR AUTHORIZES ANYONE TO ASSUME OR MAKE ANY OTHER OBLIGATION TOWARDS THE PRODUCT OTHER THAN THIS WARRANTY. Schumacher Electric Corporation Customer Service 1-800-621-5485 Monday – Friday 7:00 a.m. to 5:00 p.m. CST Schumacher and the Schumacher Logo are registered trademarks of...
- Página 13 The warranty card should be submitted within 30 days of purchase. The customer must keep the ORIGINAL receipt because it will be required for any warranty claims. This warranty is not transferable. Mail To: Schumacher Electric Corporation 801 Business Center Drive Mount Prospect, IL 60056-2179 Name_______________________________________________________________...
- Página 14 • •...
-
Página 15: El Riesgo De Descarga Eléctrica O Incendio
IMPORTANTE: LEA Y GUARDE ESTE MANUAL DE INSTRUCCIONES Y SEGURIDAD. GUARDE ESTAS INSTRUCCIONES: Este manual le mostrará cómo utilizar su cargador en forma segura y efectiva. Por favor, lea, comprenda y siga estas instrucciones y precauciones cuidadosamente, ya que este manual contiene instrucciones operativas y de seguridad de importancia. - Página 16 RIESGO DE GASES EXPLOSIVOS. 1.10 RESULTA PELIGROSO TRABAjAR EN FORMA CERCANA A UNA BATERÍA DE PLOMO. LAS BATERÍAS GENERAN GASES EXPLOSIVOS DURANTE SU NORMAL FUNCIONAMIENTO. POR ESTE MOTIVO, RESULTA DE SUMA IMPORTANCIA qUE SIGA LAS INSTRUCCIONES CADA VEZ qUE UTILIZA EL CARGADOR. 1.11 Para reducir el riesgo de explosión de una batería, siga estas instrucciones y aquellas publicadas por el fabricante de la batería y por el fabricante de cualquier equipo que...
-
Página 17: Ubicación Del Cargador
bicarbonato de sodio y agua para neutralizar el ácido de la batería y ayudar a eliminar la corrosión producida por aire. No toque sus ojos, nariz o boca. Agregue agua destilada a cada pila hasta que el ácido de la batería alcance el nivel especificado por el fabricante de la batería. -
Página 18: Siga Estos Pasos Cuando La Batería Se Encuentre Fuera Del Vehículo
En un vehículo con descarga a tierra por borne positivo, conecte el gancho NEGATIVO (NEGRO) del cargador de batería al borne NEGATIVO (NEG, N, -) sin descarga a tierra de la batería. Conecte el gancho POSITIVO (ROJO) al chasis del vehículo o al bloque motor alejado de la batería. -
Página 19: Instrucciones Para Ensamble
Tamaño AWG mínimo recomendado para alargadore: Consumo nominal de Tamaño del cable en AWG, Longitud del cable, en C.A., Amperes* pies (metros) Pero menos menor a (7.6) (15.2) (30.5) (45.6) *Si el consumo nominal del cargador se expresa en vatios en lugar de amperes, el consumo en amperes correspondiente se determinará... -
Página 20: Led Cargando
(ver a continuación) automáticamente después que la batería se cargue. Carga anulada Modelos XC6 y XC10: Si no se puede completar la carga normalmente, la carga se anulará. Cuando se anule la carga, la salida del cargador se apagará y se ilumina el LED CARGANDO , Para reajustar después de una carga rechazada, desenchufe el... - Página 21 Modo de mantenimiento (Monitoreo a modo de flote) Cuando el LED CARGADO se enciende, el cargador ha comenzado el Modo de mantenimiento. En este modo el cargador mantiene la batería totalmente cargada mediante una pequeña corriente cuando corresponda. La tensión se mantiene a un nivel determinado por el tipo de batería seleccionado.
-
Página 22: Calculando El Tiempo De Carga
50% de carga antes de volver a cargar. Agregue más tiempo para las baterías que se descargaron varias veces. NR significa que las configuraciones del cargador NO SE RECOMIENDAN. Modelo XC6 ÍNDICE/TIEMPO DE CARGA TAMAÑO/ÍNDICE DE LA BATERÍA... - Página 23 Modelo XCS15 ÍNDICE/TIEMPO DE CARGA TAMAÑO/ÍNDICE DE LA BATERÍA 2 AMP 10 AMP 15 AMP Motocicleta, 6 – 12 Ah 2 - 3 ¾ hrs BATERÍAS tractor de PEqUEÑAS 12 – 32 Ah 3 ¾ - 10 hrs jardín, etc. 200-315 CCA 40 –...
-
Página 24: Descripción
CÓDIGO DESCRIPCIÓN RAZÓN/SOLUCIÓN ERROR Podría ser causado al intentar cargar una batería grande o baterías en serie en un ajuste bajo de energía o tal vez la batería La batería no alcanzó “su puede tener una célula en cortocircuito. carga completa”, voltaje. Intente otra vez con un ajuste más alto de corriente o verifíque o reempláce la batería. -
Página 25: Antes De Devolver El Cargador Para Reparación
AL COMPRADOR MINORISTA ORIGINAL DE ESTE PRODUCTO. LA PRESENTE GARANTÍA LIMITADA NO PUEDE TRANSFERIRSE NI CEDERSE. Schumacher Electric Corporation (el “Fabricante”) otorga garantía por este cargador de batería por un plazo de 5 años contados a partir de la fecha de compra por menor por la existencia de cualquier material o de mano de obra defectuosos que pudieran surgir por su uso y cuidado normal. - Página 26 El Fabricante no presta garantía por lo accesorios utilizados con este producto que no sean los fabricados por Schumacher Electric Corporation y que no estén aprobados para su uso con este producto. La presente Garantía Limitada será nula si el producto se utiliza en forma errónea, se trata de manera inadecuada, es reparado o modificado...