Publicidad
Idiomas disponibles
Idiomas disponibles
Enlaces rápidos
Publicidad

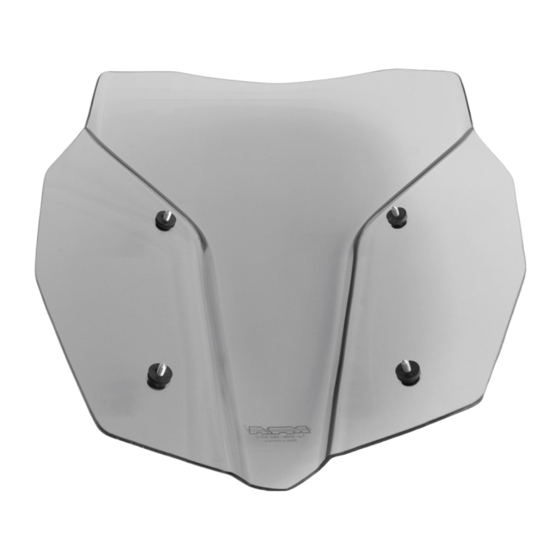
Resumen de contenidos para MRA BMW F850GS 2018
- Página 1 MONTAGEANLEITUNG MOUNTING INSTRUCTIONS INSTRUCTIONS DE MONTAGE INSTRUCCIONES DE MONTAJE GUIDA AL MONTAGGIO BMW F850GS 2018- © by MRA-Klement GmbH – 2/2019 4025066165056 MRA-Klement GmbH Siemensstr. 6 D-79331 Teningen Tel.: +49 7663 93890 Email: info@mra.de...
- Página 2 Neoprenscheiben [10634] durch die Bohrungen der MRA-Scheibe. 4. Stecken Sie nun von hinten die dickeren Kunststoffscheiben [10635] dagegen. 5. Montieren Sie die MRA-Scheibe an das Motorrad und ziehen Sie die Schrauben fest. Wichtiger Hinweis: Der Lenker muss auf Nullstellung stehen! Das heißt, die Markierung auf dem Lenker (kleiner Punkt) muss mit dem Ende der unteren Lenkeraufnahme fluchten (=Werkseinstellung).
- Página 3 [10634] into the holes in the MRA windscreen. 4. Afterwards, attach the thicker plastic washers [10635] from the rear. 5. Mount the MRA windscreen to the motorcycle and tighten the screws. Important information: The handlebar must be in neutral position! This means, the marking at the handlebar (small dot) must be aligned with the end of the lower handlebar support (=factory setting).
-
Página 4: Remarque Importante
[10634] à travers les trous du pare-brise MRA. 4. Placez maintenant les rondelles plastiques plus épaisses [10635] de derrière. 5. Montez le pare-brise MRA sur la moto et serrez les vis. Remarque importante : Le guidon doit se trouver en position zéro ! Cela signifie que le repère sur le guidon (petit point) doit être aligné... -
Página 5: Avvertenza Importante
1. Sistemare la moto su una superficie piana. 2. Smontare il parabrezza originale. 3. Prendere le viti di fissaggio originali e inserirle nei fori del parabrezza MRA con le sottili rondelle in neoprene comprese nella fornitura [10634]. 4. Inserire ora da dietro,contro di esse, le rondelle più spesse in plastica [10635]. -
Página 6: Indicación Importante
MRA con los discos finos de neopreno [10634] suministrados. 4. Ahora, inserte desde atrás los discos de plástico más gruesos [10635] a la contra. 5. Monte el parabrisas MRA a la motocicleta y apriete los tornillos. Indicación importante: ¡El volante debe estar en la posición neutral! Esto significa que la marca en el volante (punto pequeño) debe estar alineada con el extremo del soporte...


