Tabla de contenido
Publicidad
Idiomas disponibles
Idiomas disponibles
Enlaces rápidos
Publicidad
Tabla de contenido

Manuales relacionados para Viking DrawerMicro VMOD5240


Resumen de contenidos para Viking DrawerMicro VMOD5240
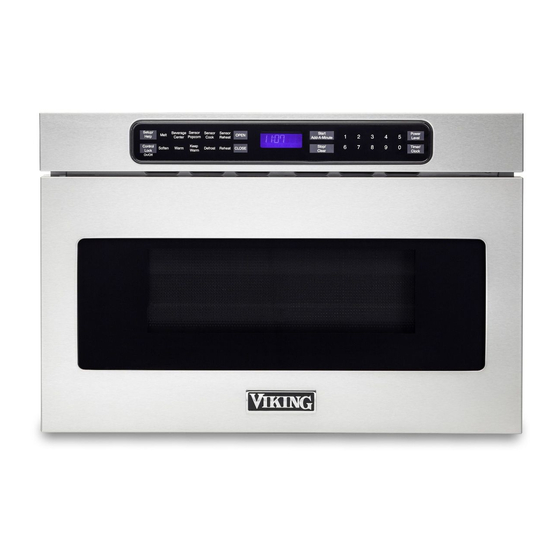
- Página 1 Installation Guide DrawerMicro Oven ™ VMOD5240 / CVMOD5240...
-
Página 2: Important Safety Instructions
IMPORTANT–Please Read and Follow! IMPORTANT SAFETY • Before beginning, read these instructions thoroughly and carefully. INSTRUCTIONS • Because the kit includes metal parts, caution should be used in handling and installation to avoid the pos- sibility of injury. • WARNING: If the information in this manual is not •... -
Página 3: Grounding Instructions
Unpacking your Clearances and DrawerMicro Oven Dimensions ™ • Remove all packing materials from inside the Drawer- • Dimensions that are shown in figure 1 must be used. Micro Oven. DO NOT REMOVE THE WAVEGUIDE Given dimensions provide minimum clearance. Locate COVER, which is located on the top of the appliance. - Página 4 DrawerMicro Oven Measurements A. 21-5/8" (549.28 mm) B. 4-11/16" (119.06 mm) C. 1-3/4" (44.45 mm) A. 6" (152.40 mm) D. 21-7/8" (555.60 mm) B. Suggested electrical outlet location* E. 23-7/8" (606.43 mm) C. Anti-Tip block F. 15-7/8" (403.22 mm) D. 5" (127 mm) G.
- Página 5 Anti-Tip Block Electrical Outlet NORMAL INSTALLATION STEPS The electrical requirements are a 120 volt 60 Hz, AC only, 15 amp. or more protected electrical supply. It is Anti-Tip Block Installation Instructions recommended that a separate circuit serving only this • To reduce the risk of tipping of the drawer, the Anti-Tip appliance be provided.
-
Página 6: Model And Serial Number Location
1/16" bit. See figure 5A. 5. Secure the drawer with the 4 screws supplied. See figure 5B. Viking Range, LLC 111 Front Street Greenwood, Mississippi 38930 USA (662) 455-1200 For product information, call 1-888-845-4641 or visit our web site at vikingrange.com in the US... - Página 7 Guía de instalación Horno DrawerMicro ™ VMOD5240 / CVMOD5240...
-
Página 8: Instrucciones De Seguridad Importantes
IMPORTANTE – ¡Lea y siga con atención! INSTRUCCIONES • Antes de comenzar, lea estas instrucciones detenida y atentamente. DE SEGURIDAD • El juego incluye partes de metal por lo que debe manipularlo e instalarlo con precaución para evitar el IMPORTANTES riesgo de lesiones. -
Página 9: Desembalaje De Su Horno Drawermicro
Desembalaje de su Espacios Libres y Horno DrawerMicro Dimensiones ™ • Retire todos los materiales de embalaje que están • Las dimensiones mostradas en la figura 1 deben ser dentro de la gaveta. NO RETIRE LA CUBIERTA DE utilizadas. Las dimensiones suministradas proporcio- LA GUÍA DE ONDAS, ubicada en la parte superior nan un espacio libre mínimo. -
Página 10: Medidas Del Horno Drawermicro
Medidas del Horno DrawerMicro A. 21-5/8" (549.28 mm) B. 4-11/16" (119.06 mm) A. 6" (152.40 mm) C. 1-3/4" (44.45 mm) B. Ubicación del tomacorriente* D. 21-7/8" (555.60 mm) C. Bloque antivolcaduras E. 23-7/8" (606.43 mm) D. 5" (127 mm) F. 15-7/8" (403.22 mm) E. -
Página 11: Bloque Antivolcaduras
Bloque Antivolcaduras Tomacorriente Eléctrico PROCE DIMIENTO NORMAL DE Los requisitos eléctricos son 120 V, 60 HZ, 15 A o más de suministro protegido de electricidad. Se recomienda INSTALACIÓN un circuito por separado que sea sólo para este electro- Instrucciones de instalación del bloque doméstico. -
Página 12: Instalación De La Gaveta
1/16". Vea la figura 5A. 5. Asegure la gaveta con los 4 tornillos suministrados. Vea la figura 5B. Viking Range, LLC 111 Front Street Greenwood, Mississippi 38930 EE.UU (662) 455-1200 Para mayor información sobre productos,... - Página 13 Guide d’installation Four DrawerMicro ™ VMOD5240 / CVMOD5240...
- Página 14 IMPORTANT - S’il vous plaît lire et suivre INSTRUCTIONS • Prière de lire attentivement toutes ces directives avant de commencer. DE SÛRETÉ • Le kit comprend des parties métalliques, il faut faire attention lors de la manipulation et de l’installation IMPORTANTES pour éviter éventuelles blessures.
- Página 15 Déballage du Four Dégagements et DrawerMicro Dimensions ™ • Retirez tout le matériau d’emballage du DrawerMicro • Les dimensions indiquées au Schéma 1 doivent être Oven. N’ENLEVEZ PAS LE COUVERCLE DU GUIDE observées. Ces dimensions offrent un dégagement D’ONDES, qui se trouve sur le dessus du Four minimal.
- Página 16 Mesures pour le Four DrawerMicro A. 21-5/8 po (549,28 mm) B. 4-11/16 po (119,06 mm) C. 1-3/4 po (44,45 mm) A. 6 po (152,40 mm) D. 21-7/8 po (555,60 mm) B. Emplacement de la prise électrique* E. 23-7/8 po (606,43 mm) C.
-
Página 17: Prise De Courant
Prise de Courant Bloc Anti-Basculement ÉTAP ES D’INSTA LLATION NORMA LE Le courant alimentation est 120 volts, 60 Hz, CA seule- ment, 15 A ou plus et doit être protégé. Il est recom- DIRECTIVES D’INSTALL ATION DU BLOC mandé d’alimenter cet appareil par un circuit séparé. ANTI-BASCULEMENT Le four est équipé... -
Página 18: Avant D'appeler Un Technicien
4. Ouvrir le tiroir. À l’aide des 4 trous du tiroir comme gabarit, percer des avant-trous dans l’armoire avec un foret de 1/16 po. Voir Schéma 5A. 5. Fixer le tiroir avec les 4 vis fournies. Voir Schéma 5B. Viking Range, LLC 111 Front Street Greenwood, Mississippi 38930 USA (662) 455-1200 Pour plus d’information sur le produit, appeler... - Página 20 Viking Range, LLC 111 Front Street Greenwood, Mississippi 38930 USA (662) 455-1200 For product information, call 1-888-845-4641 or visit our web site at vikingrange.com in the US or brigade.ca in Canada 060037-000 TINSLB057MRR0...