Publicidad
Enlaces rápidos
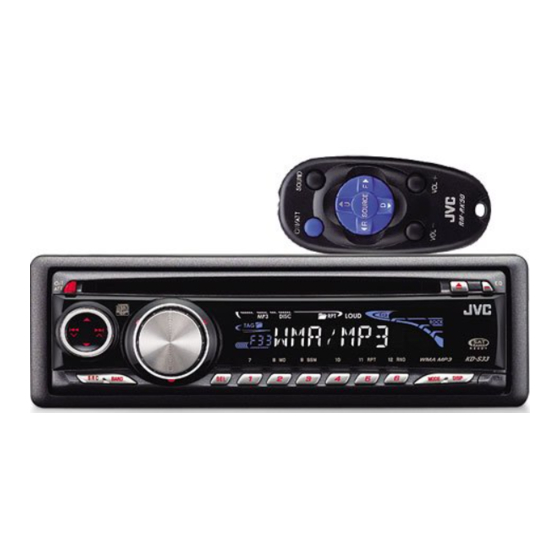
KD-S33
Installation/Connection Manual
Manual de instalación/conexión
GET0401-002A
[J]
ENGLISH
PREPARATIONS
You need the installation kits which corresponds to your car.
• Mark all the check boxes (
) to make sure you have follow the instructions and the listed parts.
Check the battery system in your car
12 V DC, NEGATIVE ground
Prepare this before installation
A
/
B
Hard case/Control panel
F
G
Washer (ø5)
Lock nut (M5)
INSTALLATION
If you are not sure how to install this unit correctly, consult your JVC car audio dealer.
Do the required electrical
connections.
When using the optional stay
Fire wall
Dashboard
Screw (option)
ESPAÑOL
Parts list for installation and connection
H
Mounting bolt—
M5 × 20 mm (M5 × 13/16")
In dash-mounting
When you stand the unit, be careful
not to damage the fuse on the rear.
Bend the appropriate tabs
to hold the sleeve firmly
in place.
Stay (option)
Install the unit at an angle of
less than 30˚.
TROUBLESHOOTING
• The fuse blows.
* Are the red and black leads connected correctly?
• Power cannot be turned on.
* Is the yellow lead connected?
• No sound from the speakers.
* Is the speaker output lead short-circuited?
• Sound is distorted.
* Is the speaker output lead grounded?
* Are the "–" terminals of L and R speakers grounded in common?
• Noise interfere with sounds.
* Is the rear ground terminal connected to the car's chassis using shorter and thicker cords?
• This unit becomes hot.
* Is the speaker output lead grounded?
* Are the "–" terminals of L and R speakers grounded in common?
• This unit does not work at all.
* Have you reset your unit?
C
Sleeve
I
Rubber cushion
Before removing the unit, release the rear section.
When installing the unit without using the sleeve
In a Toyota car for example, first remove the car radio and install the unit in its place.
Flat type screws
—M5 × 8 mm (M5 × 3/8")*
Bracket*
Pocket
Bracket*
1
© 2006 Victor Company of Japan, Limited
D
E
Trim plate
Power cord
J
K
Handles
Remote controller
Removing the unit
* Not supplied for this unit.
Flat type screws
—M5 × 8 mm (M5 × 3/8")*
0706DTSMDTJEIN
EN, SP
L
Battery
Publicidad

Resumen de contenidos para JVC KD-S33
- Página 1 Remote controller Battery M5 × 20 mm (M5 × 13/16") INSTALLATION If you are not sure how to install this unit correctly, consult your JVC car audio dealer. In dash-mounting Removing the unit Before removing the unit, release the rear section.
- Página 2 (A) JVC CD changer, SIRIUS Satellite radio, XM Satellite radio, Apple iPod®, or JVC D. player Set “CHANGER” for the external input setting (See page14 of the INSTRUCTIONS.) • For listening to the SIRIUS Satellite radio, connect a JVC DLP—Down Link Processor (separately purchased) to this unit. CAUTION: •...
- Página 3 M5 × 20 mm (M5 × 13/16 pulgada) seguridad (M5) INSTALACION Si usted no está seguro de cómo instalar correctamente la unidad, consulte con su concesionario de JVC de equipos de audio para automóviles. Montaje en el tablero Extracción de la unidad Antes de extraer la unidad, libere la sección trasera.
- Página 4 (A) Cambiador de CD de JVC, radio satelital SIRIUS, radio satelital XM, iPod® de Apple o reproductor JVC D. Seleccione “CHANGER” para el ajuste de entrada externa (Consulte la página14 del MANUAL DE INSTRUCCIONES.) • Para escuchar la radio satelital SIRIUS, conecte un DLP (Down Link Processor) de JVC (adquirido por separado) al receptor. PRECAUCION: •...


