Tabla de contenido
Publicidad
Idiomas disponibles
Idiomas disponibles
Enlaces rápidos
Publicidad
Tabla de contenido

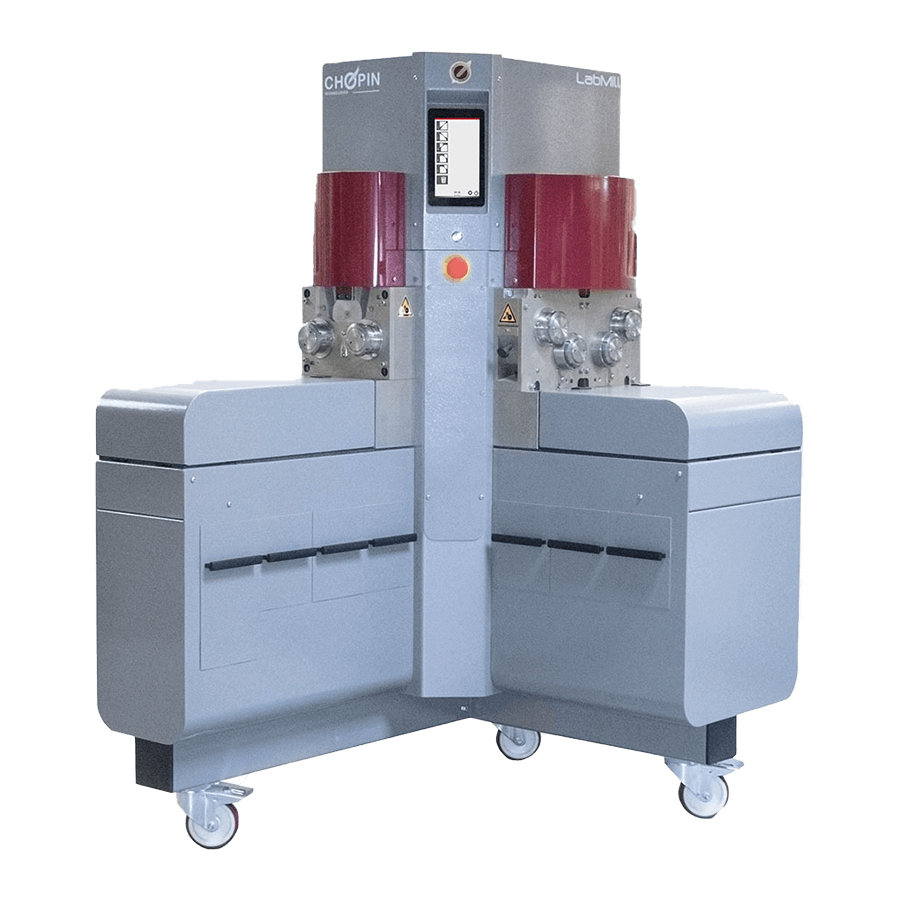
Resumen de contenidos para Chopin LabMill
-
Página 2: Connecting The Power
Your LabMill must be installed by a CHOPIN Technologies technician. The LabMill does not require air-conditioned premises, but the environmental conditions indicated in the user’s manual must be respected. • The LabMill must be placed on a flat, horizontal surface (maximum slope: 3°). - Página 3 OPERATION A. Starting up for the first time Switch on the ON/OFF button at the back of the device. Wait a few seconds and then click on Choose your language and click on Set the time and date and click on To access the main operation page, click on the icon The operation screen is displayed.
- Página 4 PERFORM A FIRST TEST A. Breaking Breaking cycle block diagram (steps 1 & 2) Weigh the grain (between 50 g and 3.5 kg) and put it in the breaking hopper. Select Breaking cycle 1 by clicking on the icon and then When the cycle ends, recover the material from drawers A, B, C, D and weigh them.
-
Página 5: Cleaning The Device
POWER DOWN To shut down the device, click on the icon The next screen is displayed. Click on the icon Shut down the LabMill by switching off the ON/OFF button at the back of the device. -
Página 6: Mise En Place
L’installation du LabMill doit être effectuée par un agent CHOPIN Technologies. Le LabMill ne requiert pas de local climatisé, mais doit respecter les conditions environnementales indiquées dans le mode d’emploi. • Disposer le LabMill sur une surface horizontale et plane (maximum 3°). - Página 7 UTILISATION A. Première mise en service Mettre le LabMill sous tension à l’aide du bouton ON/OFF situé à l’arrière. Attendre quelques secondes pour que l’écran tactile s’active puis appuyer sur l’icône pour valider. Choisir la langue et appuyer sur Régler l’heure et la date et appuyer sur Cliquer sur l’icône...
-
Página 8: Realiser Un Premier Test
REALISER UN PREMIER TEST A. Broyage Synoptique du cycle de broyage (étape 1 & 2) Mettre le grain préalablement pesé (entre 50 g et 3,5 kg) dans la trémie de broyage. Lancer le cycle de broyage 1 à partir de l’écran tactile en cliquant sur l’icône puis sur Récupérer et peser le contenant des tiroirs A, B, C... -
Página 9: Nettoyage De L'appareil
Pour redémarrer l’appareil, appuyer sur le bouton situé entre l’écran et le bouton d’arrêt d’urgence. MISE HORS TENSION Arrêter l’application en appuyant sur la touche La fenêtre ci-contre s’affiche, cliquer sur l’icône Arrêter le LabMill à l’aide du bouton ON/OFF situé à l’arrière. -
Página 10: Instalación Del Labmill
La instalación del LabMill debe ser efectuada por un agente CHOPIN Technologies. El LabMill no requiere de un local climatizado, pero se deben respetar las condiciones ambientales indicadas en el modo de empleo. • Instalar el LabMill sobre una superficie horizontal y plana (máximo 3°). -
Página 11: Utilización
UTILIZACIÓN A. Encender el dispositivo Pulsar el botón ON que está en la parte trasera del LabMill. Esperar algunos minutos, para visualizar la información en la pantalla táctil y validar pulsando Escoger el idioma y validar pulsando Ajustar la hora y la fecha y validar pulsando Para acceder al menú... -
Página 12: Realización Del Primer Test
REALIZACIÓN DEL PRIMER TEST A. Trituración Esquema sinóptico del ciclo de trituración (etapas 1 y 2) Poner el grano previamente pesado (entre 50 gr y 3,5 kg) en la tolva de trituración. Seleccionar el ciclo de trituración 1 desde la tableta táctil pulsando el icono y después pulsando en Recuperar y pesar el contenido de los cajones... -
Página 13: Limpieza De La Unidad
C. Reducción Esquema sinóptico de reducción (etapa 4 & 5) Poner la sémola fina recuperada de las trituraciones 1 y 2 y de la purificación en la tolva de purificación / reducción. Seleccionar el ciclo de reducción desde la tableta táctil pulsando el icono después Recuperar y pesar el contenido de cada uno de los cajones H y I al final del ciclo. - Página 14 " "...
- Página 20 Research, loans and training Tel. : +33 1 41 47 50 48 export@chopin.fr Tel. : +33 1 41 47 50 33 Tel. : +33 1 41 47 17 15 service@chopin.fr labo.application@chopin.fr © Documentation produced by CHOPIN Technologies 2017 – Pictures: CHOPIN Technologies...


