Daikin FFA25A2VEB Manual De Instalación Y Funcionamiento
Ocultar thumbs
Ver también para FFA25A2VEB:
- Guía de referencia (36 páginas) ,
- Manual de instalación y funcionamiento (24 páginas) ,
- Manual del usuario (24 páginas)
Tabla de contenido

Manuales relacionados para Daikin FFA25A2VEB


Resumen de contenidos para Daikin FFA25A2VEB
- Página 1 Installation and operation manual Split system air conditioners FFA25A2VEB FFA35A2VEB FFA50A2VEB FFA60A2VEB FFA25A2VEB9 FFA35A2VEB9 Installation and operation manual FFA50A2VEB9 English Split system air conditioners FFA60A2VEB9...
- Página 2 3P480520-1A...
- Página 3 3P480520-7B...
-
Página 4: Tabla De Contenido
Latest revisions of the supplied documentation may be available on 11.1 Cleaning the air filter, suction grille, air outlet and outside the regional Daikin website or via your dealer. panels ..................16 The original documentation is written in English. All other languages 11.1.1... -
Página 5: For The Installer
2 About the box Technical engineering data ▪ The full set of latest technical data is available on the Daikin extranet (authentication required). ▪ A subset of the latest technical data is available on the regional Daikin website (publicly accessible). -
Página 6: Guidelines When Installing The Drain Piping
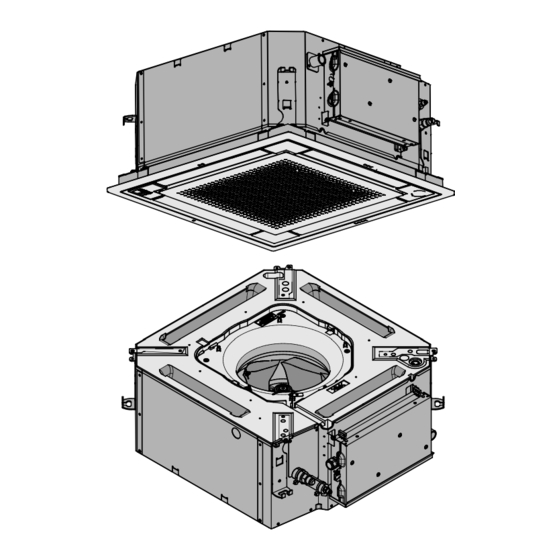
4 Installation ▪ Ceiling strength. Check whether the ceiling is strong enough to support the weight of the unit. If there is a risk, reinforce the ceiling before installing the unit. ▪ For existing ceilings, use anchors. ▪ For new ceilings, use sunken inserts, sunken anchors or other field supplied parts. -
Página 7: To Check For Water Leaks
4 Installation ▪ Pipe size. Keep the pipe size equal to or greater than that of the 2 Tighten the metal clamp until the screw head is less than 4 mm connecting pipe (vinyl pipe of 25 mm nominal diameter and from the metal clamp part. -
Página 8: Connecting The Refrigerant Piping
4 Installation Clamp ▪ Insulation. Insulate the refrigerant piping on the indoor unit as Terminal board for transmission wiring follows: Opening for cables Wiring diagram label (on the back of the control box lid) Remote controller wiring 2 Turn ON the power. 3 Start cooling operation (see "6.2 ... -
Página 9: Specifications Of Standard Wiring Components
5 Configuration 1~ 50 Hz 4.3.1 Specifications of standard wiring 220-240 V components Component Specification Interconnection cable Minimum cable section of (indoor↔outdoor) 2.5 mm² and applicable for 230 V User interface cable Vinyl cords with 0.75 to 1.25 mm² sheath or cables (2‑core wires) Maximum 500 m 4.3.2 To connect the electrical wiring on the... -
Página 10: Commissioning
6 Commissioning You read the complete installation instructions, as described in the installer reference guide. The indoor units are properly mounted. In case a wireless user interface is used: The indoor unit decoration panel with infrared receiver is installed. All-round air flow The outdoor unit is properly mounted. -
Página 11: Error Codes When Performing A Test Run
6 Commissioning Action Action Result Open the liquid stop valve (A) and gas stop valve (B) Press. The home menu is by removing the stem cap and turning displayed. counterclockwise with a hex wrench until it stops. 5 Stop the test run. Action Result Press at least 4 seconds. -
Página 12: Disposal
Technical data ▪ A subset of the latest technical data is available on the regional Daikin website (publicly accessible). ▪ The full set of latest technical data is available on the Daikin extranet (authentication required). Piping diagram: Indoor unit Liquid pipe connection... -
Página 13: Wiring Diagram
8 Technical data Wiring diagram Unified Wiring Diagram Legend For applied parts and numbering, refer to the wiring diagram on the unit. Part numbering is by Arabic numbers in ascending order for each part and is represented in the overview below by symbol “*” in the part code. CIRCUIT BREAKER PROTECTIVE EARTH CONNECTION... -
Página 14: For The User
9 About the system For the user For more information about the user interface, see the operation About the system manual of the installed user interface. The indoor unit of this split system air conditioner can be used for heating/cooling applications. Operation NOTICE Do NOT use the system for other purposes. -
Página 15: Operating The System
10 Operation Outdoor units Cooling Heating The indoor unit will indicate defrost operation on the display 2MXM50 –10~46°C DB –15~24°C DB Hot start 3MXM40~68 –16~18°C WB In order to prevent cold air from blowing out of an indoor unit at the start of heating operation, the indoor fan is automatically stopped. 18~32°C DB 10~30°C DB 4MXM68~80... -
Página 16: Maintenance And Service
11 Maintenance and service Cooling Heating NOTICE ▪ When the room temperature is ▪ When starting operation. When cleaning the heat exchanger, make sure to remove lower than the switch box, fan motor, drain pump and float switch. ▪ When the room temperature is temperature. -
Página 17: To Clean The Suction Grille
11 Maintenance and service 5 Reattach the air filter and close the suction grille (steps 2 and 1 in reverse order). 6 Turn ON the power. 7 Press the FILTER SIGN RESET button. Result: The TIME TO CLEAN AIR FILTER notification disappears from the user interface. -
Página 18: About The Refrigerant
12 Troubleshooting ▪ Clean air filters and casings of indoor units (see "11.1.1 To clean Malfunction Measure the air filter" on page 16 "11.1.3 To clean the air outlet and If a safety device such as a fuse, a Turn OFF the main power outside panels" on page 17). -
Página 19: Symptom: The Fan Speed Does Not Correspond To The Setting
13 Relocation ▪ If "Under Centralized Control" is displayed on the user interface, 12.1.8 Symptom: Noise of air conditioners pressing the operation button causes the display to blink for a few (Indoor unit, outdoor unit) seconds. The blinking display indicates that the user interface cannot be used. - Página 20 4P456960-1B 2018.08...