Tabla de contenido
Publicidad
Idiomas disponibles
Idiomas disponibles
Enlaces rápidos
H-9608
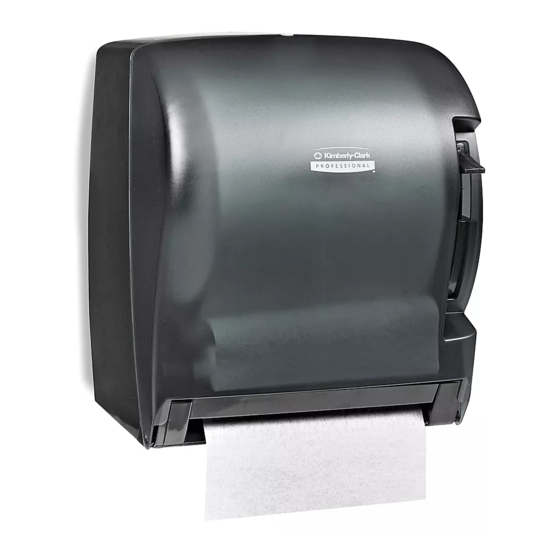
MANUAL PAPER
TOWEL DISPENSER
TOOLS NEEDED
Electric Drill
1/4" Drill Bit
Dispenser x 1
NOTE: Snap-in key sold separately. Contact
Uline Customer Service at 1-800-295-5510 to
purchase.
1. Align snap-in key with lock on top of dispenser
and push in until it snaps into place.
(See Figure 1)
Figure 1
PAGE 1 OF 9
1-800-295-5510
uline.com
Phillips Screwdriver
Tape Measure
PARTS
Metal Key x 1
Plastic Snap-In Key x 1
(not included)
OPTIONAL SNAP-IN KEY
Level
Wall Anchor x 5
2. Rotate snap-in key clockwise to open dispenser.
(See Figure 2)
Figure 2
NOTE: Snap-in key cannot be removed once
inserted.
Para Español, vea páginas 4-6.
Pour le français, consulter les pages 7-9.
Screw x 5
1021 IH-9608
Publicidad
Tabla de contenido

Resumen de contenidos para Uline H-9608
- Página 1 (not included) OPTIONAL SNAP-IN KEY NOTE: Snap-in key sold separately. Contact 2. Rotate snap-in key clockwise to open dispenser. Uline Customer Service at 1-800-295-5510 to (See Figure 2) purchase. Figure 2 1. Align snap-in key with lock on top of dispenser and push in until it snaps into place.
- Página 2 MOUNTING NOTE: Recommended mounting height is 52" Figure 3 from floor to bottom of dispenser. NOTE: Ensure that proper mounting hardware is used for appropriate wall composition as enclosed hardware may not be compatible with wall surface. Insert metal key all the way into lock opening on top of dispenser and rotate clockwise until the cover opens.
- Página 3 Remove the main roll from the upper roll holders by pushing it into the dispenser and locking it onto the lower roll holders. (See Figure 9) 2. Repeat step three of loading instructions. 1-800-295-5510 uline.com PAGE 3 OF 9 1021 IH-9608...
-
Página 4: Despachador Manual De Toallas De Papel
2. Gire la llave de ajuste en sentido de las manecillas separado. Comuníquese con Servicio a del reloj. (Vea Diagrama 2) Clientes de Uline al 800-295-5510 para comprarla. Diagrama 2 1. Alinee la llave de ajuste con la cerradura encima del despachador y presiónela hasta que entre en... -
Página 5: Instalación
INSTALACIÓN NOTA: La altura de instalación recomendada Diagrama 3 es de 52" del piso hasta la parte inferior del despachador. NOTA: Asegúrese de utilizar la tornillería de instalación adecuada para el tipo de pared en la que se realizará la instalación ya que la tornillería incluida podría no ser compatible con la superficie de la pared. -
Página 6: Cargar El Rollo Auxiliar
Retire el rollo principal de los soportes para rollo superiores presionándolo hacia el despachador y cambiándolo a los soportes para rollo inferiores. (Vea Diagrama 9) 2. Repita el paso tres de las instrucciones de carga. 800-295-5510 uline.mx PAGE 6 OF 9 1021 IH-9608... -
Página 7: Outils Requis
2. Faites tourner la clé à enclenchement dans le sens séparément. Contactez le service à la clientèle horaire pour ouvrir le distributeur. (Voir Figure 2) de Uline au 1 800 295-5510 si vous souhaitez l'acheter. Figure 2 Positionnez la clé à enclenchement dans la serrure située sur le dessus du distributeur, puis enfoncez-la... - Página 8 MONTAGE REMARQUE : Il est recommandé de fixer le bas Figure 3 du distributeur à une hauteur de 52 po du sol. REMARQUE : Assurez-vous que le matériel d'installation utilisé convient à la composition du mur, car le matériel inclus pourrait ne pas être compatible avec la surface du mur.
- Página 9 (Voir Figure 9) 2. Répétez l'étape trois des instructions de chargement. 1-800-295-5510 uline.ca PAGE 9 OF 9 1021 IH-9608...


