Tabla de contenido
Publicidad
Idiomas disponibles
Idiomas disponibles
Enlaces rápidos
Publicidad
Capítulos
Tabla de contenido
Solución de problemas

Manuales relacionados para Truper EXPERT PIPI-440X


Resumen de contenidos para Truper EXPERT PIPI-440X
- Página 1 Instructivo de Pistola de gravedad Este Instructivo es para: Modelo Código PIPI-440X 14031 172,3 kPa 248,2 kPa PSI - Presión de trabajo Lea este Instructivo por completo ATENCIÓN antes de usar la herramienta.
-
Página 2: Tabla De Contenido
ndice Í ATENCIÓN Especificaciones técnicas Para poder sacar el máximo Requerimientos neumáticos provecho de la herramienta, alargar su vida útil, hacer válida Advertencias de Seguridad para uso de herramientas neumáticas la garantía en caso de ser necesario y evitar riesgos o Advertencias de Seguridad lesiones graves, es fundamental para uso de pistolas para pintar... -
Página 3: Advertencias De Seguridad
Advertencias de Seguridad para uso de herramientas neumáticas Mantenga su área de trabajo limpia, ordenada y bien Utilice equipo adecuado de protección personal. iluminada. ATENCIÓN Utilice protección para los ojos. Mascarilla antipolvo, ATENCIÓN Áreas desordenadas y obscuras pueden provocar zapatos de seguridad antideslizantes, casco y protección accidentes. -
Página 4: Advertencias De Seguridad
Advertencias de Seguridad para uso de pistolas para pintar Substancias y materiales Mientras opera el equipo ATENCIÓN • El equipo está diseñado para aplicar • Nunca apunte la pistola para pintar ATENCIÓN materiales de recubrimiento como pintura, barniz, esmalte, hacia usted ni a otras personas o animales. etc. -
Página 5: Partes
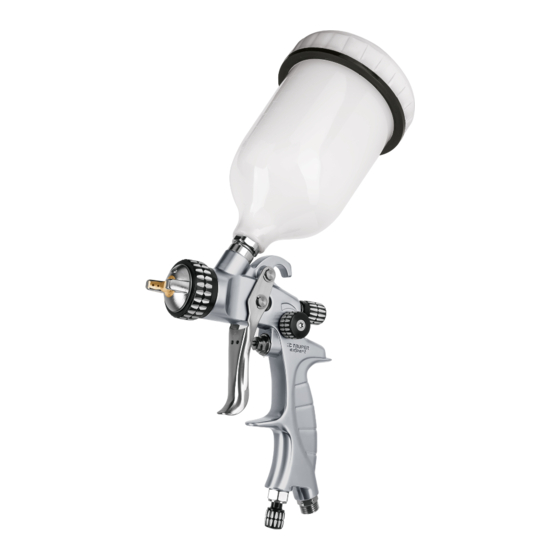
Partes Tapa del vaso Tornillo de ajuste de volumen de fluido Vaso Resorte Aguja Conector Filtro Tornillo de ajuste de amplitud de rocío Boquilla Mango Gatillo Tobera Entrada de aire Llave Tornillo de ajuste de entrada de aire Cepillo ESPAÑOL... -
Página 6: Preparación
Preparación • Para obtener un buen trabajo es importante que prepare la superficie a rociar y adelgace la pintura o material para que obtenga la viscosidad correcta antes de su aplicación. • Confirme siempre que la superficie a rociar esté libre de polvo, suciedad y grasa. •... -
Página 7: Puesta En Marcha
Puesta en marcha Ajustes de rocío Encendido • Gire el tornillo (A) para ajustar el volumen de fluido a • Encienda el compresor. rociar. En sentido contrario a las manecillas del reloj el • Presione el gatillo (E) para abrir el flujo de aire y volumen disminuye y en el sentido de las manecillas del comience a succionar el fluido del vaso. -
Página 8: Mantenimiento
Mantenimiento Limpieza y cuidados • Es muy importante limpiar la pistola por completo después de cada uso. Una limpieza inadecuada a la larga ADVERTENCIA dará como resultado un mal funcionamiento e invalidará la garantía. • Vacíe el fluido sobrante del vaso en un contenedor adecuado. -
Página 9: Solución De Problemas
Solución de problemas Patrón de rocío correcto Problema Causa Solución Patrones • Retire las obstrucciones de la boquilla. • Acumulación de pintura en la boquilla. ATENCIÓN No use objetos de de rocío metal para limpiar los orificios del embudo. incorrectos: Media luna •... -
Página 10: Garantía
Asimismo, si desea algún otro servicio comuníquese con nosotros. 01-800-690-6990 Llame sin costo al: TRUPER, S.A. de C.V. Importado por: Parque Industrial No.1, Jilotepec, C.P. 54240, Estado de México, México TEL. 01(761) 782 91 00, FAX 01(761) 782 91 70, R.F.C.: THE-791105-HP2 www.truper.com... - Página 11 Manual Gravity Spray Gun Applies for: Model Code PIPI-440X 14031 PSI - Work pressure Read this manual thoroughly CAUTION before using the tool.
-
Página 12: Technical Data
Contents CAUTION Technical Data To gain the best performance of Pneumatic Requirements the tool, prolong the duty life, make the Warranty valid if Safety Warnings for the Use of Pneumatic Tools necessary, and to avoid hazards of fatal injuries please read and Safety Warnings for the Use of understand this Manual before Spray Guns... - Página 13 Safety Warnings for the Use of Pneumatic Tools Keep your work area clean, tidy and well lit. Use adequate personal protection. CAUTION Cluttered and dark areas may cause accidents. CAUTION Using safety glasses, anti-dust mask, safety non-skid shoes, helmet and earplugs used in adequate conditions Never use the tool in explosive environments considerably reduce the risk of injury.
- Página 14 Safety Warnings for the Use of Spray Guns Substances and Materials While operating the device • The unit is designed to apply covering • Never point the sprayer towards your CAUTION CAUTION materials like paint, varnish, enamel, etc. These should body, passersby or animals.
-
Página 15: Parts
Parts Fluid Volume Adjusting Screw Spring Needle Connector Filter Spray Width Adjusting Screw Sprayer Handle Trigger Liquid Nozzle Inlet Wrench Air Inlet Adjusting Screw Brush ENGLISH... -
Página 16: Preparation
Preparation • To get a good job done it is important to prepare the surface to be sprayed. Thin the paint of fluid to get the right viscosity before applying. • Always confirm that the surface to spray is free of dust, dirt and grease. •... -
Página 17: Start Up
Start Up Volume Selector Start up • Turn the screw (A) to adjust the volume of the fluid to be • Start the compressor. sprayed. Turning counterclockwise the volume diminishes • Press the trigger (E) to open the air flow and starts and turning clockwise the volume increases. -
Página 18: Maintenance
Maintenance Cleansing and Care • It is very important to clean the paint gun thoroughly after each use. WARNING Inadequate cleansing will result in malfunctioning and will cancel the Warranty. • Pour the remaining fluid into an adequate container. • Without removing the jar press the trigger to remove all the fluid inside the system. -
Página 19: Troubleshooting
Troubleshooting Right Mist Pattern Problem Cause Solution Wrong • Remove the obstructions from the nozzle. • Paint build up in the nozzle. CAUTION Do not use metal objects Mist to clean the funnel orifices. Patterns: Half Moon • Paint build up in the nozzle or asperser. •... -
Página 20: Notes
Notes...