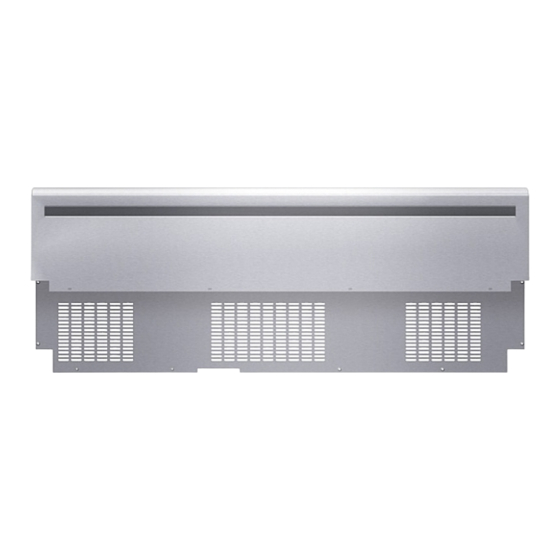
Thermador Pro Grand Serie Manual De Instrucciones
Ocultar thumbs
Ver también para Pro Grand Serie:
- Manual de instalación (12 páginas) ,
- Manual de uso y cuidado (111 páginas)
Resumen de contenidos para Thermador Pro Grand Serie
- Página 1 Installation INSTRUCTIONS ® Professional Series Pro Grand Range Low Backguard and Toe Kick Accessory THERMADOR.COM...
- Página 2 Installation INSTRUCTIONS ® Professional Series Pro Grand Range Low Backguard and Toe Kick Accessory Models | Modèles | English....................2 Modelos: Français ....................5 PA36JLBG Español....................8 PA48JLBG PA48JLBSG PA60RLBG PA36JTKG PA48JTKG PA60RTKG THERMADOR.COM...
- Página 3 • When installing against a combustible surface, a designed specifically for this appliance must be Thermador low backguard is required for a 0'' rear installed whenever the appliance is used. clearance to the combustible surface. A Thermador low backguard must be purchased separately.
- Página 4 Low backguard installation To install the low backguard 1. Align the low backguard with the range side panel’s Tools needed right and left rear corners. The backguard is inserted inside the guide channels on the back of the range. • T-20 torx head screwdriver or drill •...
- Página 5 Toe kick panel installation 3. Press the toe kick panel into the mounting clips. Tools needed • Protective work gloves To remove the front foot cover assemblies 1. The mating part has dimples that seize the top piece of the foot cover. Spread the top cover out and slide it down to clear these dimples.
- Página 6 (0 po). Il faudrait cuisinière doit être installé avant son utilisation. acheter séparément un dosseret bas Thermador. • Quand une surface est couverte d'une matière non combustible (métal, céramique, brique, ...
- Página 7 Installation de la garniture 3. Alignez le panneau arrière du nouvel accessoire avec les brides des coins arrière droit et gauche des l'îlot panneaux latéraux de la cuisinière. Assurez-vous que la face du dosseret est à l'extérieur des brides, vers l'avant de la cuisinière.
- Página 8 Installation du panneau 3. Enclenchez le panneau décoratif sur les brides de fixation. décoratif du piédestal Outils requis • Gants de protection Retrait des protège-pattes avant 1. La pièce à accoupler comporte des petites alvéoles qui retient la pièce supérieure du panneau décoratif. Déployez le panneau supérieur et coulissez-le vers le bas pour dégager ces petites alvéoles.
-
Página 9: Instalación
0'' utilizarla. para todos los modelos. Se debe comprar por separado una consola trasera de protección baja de Thermador. • Una separación trasera respecto a una superficie cubierta con un material no combustibles (metal, *... -
Página 10: Instalación De La Consola Trasera
Instalación de la consola 3. Alinee el panel trasero del nuevo accesorio con las pestañas de los rincones de izquierda y derecha de los trasera paneles laterales. La consola trasera se inserta en los canales guías situados detrás de la estufa. Herramientas requeridas •... -
Página 11: Instalación Del Panel De Protección Inferior
Instalación del panel de 3. Presionar el panel de protección inferior en los clips de montaje. protección inferior Herramientas necesarias • Guantes de trabajo de protección Extracción de los ensambles de la cubierta inferior delantera 1. La parte de acoplamiento tiene hoyuelos que agarran la parte superior de la cubierta inferior. - Página 12 Marcone: 1-800-287-1627 peuvent être achetés auprès de nos distributeurs. Marcone: 1-800-287-1627 Reliable Parts: 1-800-663-6060 Reliable Parts: 1-800-663-6060 Marcone: 1-800-287-1627 Reliable Parts: 1-800-663-6060 1901 MAIN STREET, SUITE 600, IRVINE, CA 92614 // 800-735-4328 // WWW.THERMADOR.COM © 2018 BSH Home Appliances Corporation 9001227789...


