Publicidad
Idiomas disponibles
Idiomas disponibles
Enlaces rápidos
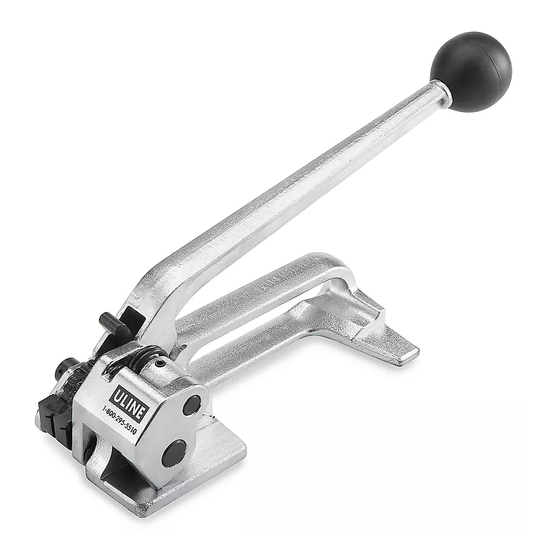
H-242
INDUSTRIAL STEEL
TENSIONER
THREADING TENSIONER
1.
Wrap both ends of strapping around product.
2. Sandwich strapping with the bottom strap facing
towards you. (See Figure 1)
Figure 1
3. Squeeze handle towards base and insert strapping
under the gripper.
4. Pull strapping as close to product as possible to
reduce amount of tensioning that will be necessary
TENSIONING
1.
Move handle back and forth to begin tensioning
2. Continue back and forth motion until strapping has
reached desired tension. (See Figure 2)
Figure 2
PAGE 1 OF 3
1-800-295-5510
uline.com
INSTRUCTIONS
SEALING
1.
Place the seal. Seal should be placed open side
down on top of both pieces of strapping. (See Figure 3)
Figure 3
2. Close nose of sealer around seal.
3. Crimp tightly around strapping.
4. Repositioning the tightening handle:
• If handle is in forward position you will need to push
Handle Pawl forward and allow handle to fall to the
base (this allows you to remove the tensioner when
finished or to realign strapping during tensioning)
5. Remove excess strapping:
• When finished, cut excess strapping with a strapping
cutter.
MAINTENANCE
Tools do need to be cleaned and maintained
periodically with a steel brush or dry compressed air.
Lubricate all moving parts with light machine oil.
Para Español, vea página 2.
Pour le français, consulter la page 3.
Seal
0521 IH-242
Publicidad

Manuales relacionados para Uline H-242


Resumen de contenidos para Uline H-242
- Página 1 Para Español, vea página 2. Pour le français, consulter la page 3. H-242 1-800-295-5510 uline.com INDUSTRIAL STEEL TENSIONER INSTRUCTIONS THREADING TENSIONER SEALING Wrap both ends of strapping around product. Place the seal. Seal should be placed open side down on top of both pieces of strapping. (See Figure 3) 2.
- Página 2 H-242 800-295-5510 uline.mx TENSIONADORA INDUSTRIAL DE ACERO INSTRUCCIONES COLOQUE FLEJE EN TENSIONADORA SELLE Envuelva ambos extremos del fleje alrededor del 1. Coloque el sello. El sello debe colocarse con el producto. lado abierto hacia abajo encima de ambos trozos de fleje. (Vea Diagrama 3) 2.
- Página 3 H-242 1-800-295-5510 uline.ca TENDEUR INDUSTRIEL EN ACIER INSTRUCTIONS ENFILAGE DU TENDEUR SCELLEMENT Entourez le produit avec les deux extrémités du Placez le joint. Celui-ci doit être placé sur le dessus feuillard de cerclage. des deux morceaux du feuillard, côté ouvert vers le bas.