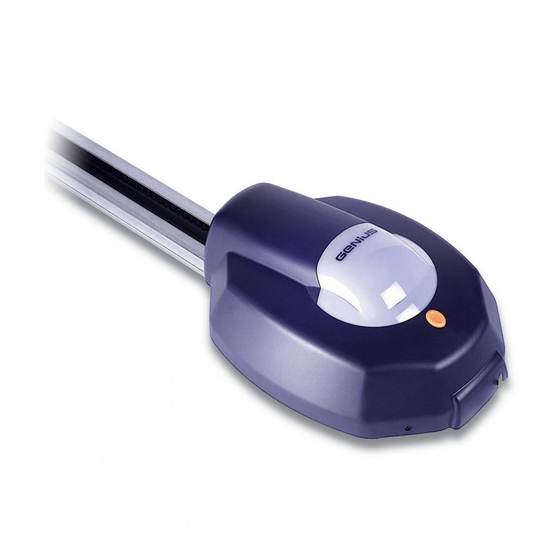
Genius G60 Guia De Inicio Rapido
Ocultar thumbs
Ver también para G60:
- Manual del usuario (23 páginas) ,
- Manual del usuario (23 páginas)
Tabla de contenido
Publicidad
Enlaces rápidos
Publicidad
Tabla de contenido

Resumen de contenidos para Genius G60
- Página 1 G60 - G100...
- Página 2 à un personnel qualifié. 6) GENIUS declines all liability caused by improper use or use other than that for which the automated 26) Ne pas mettre en court-circuit les pôles des batteries et ne pas tenter de les recharger avec system was intended.
-
Página 3: Ancillary Electrical Equipment
These instructions apply to the following models: 1. TECHNICAL SPECIFICATIONS G60 - G100 MODEL G100 Automatic systems G60 and G100 allow the automation of sec- Power supply (Vac +6 -10% 50Hz) tional, overhead spring-balanced and counterbalanced (with special accessory) doors for residential garages. Electric motor (Vdc) -
Página 4: Preliminary Checks
ENGLISH ENGLISH 4. DESCRIPTION Ceiling fixture Plastic housing Courtesy light Electronic equipment Motor Operator support Rear connection Operator fixing bracket Sliding guide Drive carriage Release knob Door connection bracket ... -
Página 5: Sliding Guide
ENGLISH ENGLISH 3) Fit the front connection (fig. 8 ref. B) to the transmission unit 6. A SSEMBLY (fig. 8 ref. A). 6.1. SLIDING GUIDE 4) Tighten the chain a little by tightening the nut (fig. 8 ref. When using the “two pieces sliding guide”, carry out assembly as described below. - Página 6 ENGLISH ENGLISH 6.3. OUTSIDE RELEASE DEVICE (optional) 3) Position the front connection fixing bracket with bottom edge at least 5 mm above the intersection point of the lines When using the outside release device, fit the cable in the seat and centred with the vertical line (fig. 13). See par. 7.2. for before starting installation.
- Página 7 ENGLISH ENGLISH 8) Lift the sliding guide bringing the rear connection to the connection and front connection bracket fixing holes is not more same level as the front one, or, with sectional doors, until than 20 cm (fig. 18). For correct working of the automatic reaching the same angle as the door horizontal rail.
- Página 8 ENGLISH ENGLISH 7.3. OPERATOR After installing the sliding guide, install the operator: 1) Remove the plastic housing. 2) Unscrew the courtesy light. 3) Insert the gear motor shaft in the coupling located in the sliding guide rear connection (fig. 20). 4) Fix the operator to the guide (fig. 21). 7.4. AUTOMATIC SYSTEM RELEASE 1) Establish the height of the release knob and cut off the excess cord.
-
Página 9: Technical Specifications
Terminal board connections ces/Failsafe/Flasher Courtesy light timer 2 min 8.2. 531MPS AND 576MPS CARD COMPONENTS Motor fuse (G60=10A, G100=15A) Accessories protection 0.25A automatic reset Low voltage terminal board for inputs /accessories Quick connector for 5-pin radio-receiver module 230V power supply input terminal board Transformer primary connector Courtesy light connector Fig. -
Página 10: Courtesy Light
ENGLISH ENGLISH on the set force value: if the value is too low, unwanted inter- 8.4. CONNECTIONS ventions of the device could occur, whereas if the value is too IMPORTANT: Always turn the power off before any intervention high, efficiency will be excessively decreased. on the card (connections, programming, maintenance). - Página 11 ENGLISH ENGLISH The procedure also determines the operational logic. 8.5. PROGRAMMING The logic tables gives the behaviour of the automation in the 8.5.1. Card settings various conditions and following commands or safety device Carry out the equipment settings by means of the Dip-Switch intervention.
- Página 12 During the learning phase, the operator seeks the ground stop flashing and remains on for 5 seconds. using the maximum deliverable force (600N for the G60, 600 During these 5 seconds, in order to reduce the load on the re- lease system, OPEN pulses can be sent within 2 seconds of each or 1000N for the G100).
-
Página 13: Troubleshooting Guide
ENGLISH ENGLISH 9. START-UP Check the state of the equipment inputs and make sure all the safety devices are correctly connected (the relevant LEDs must be on). Do a few complete cycles to check correct operation of the automatic system and the accessories connected to it, with particular attention to the safety devices and the operator anticrushing device. - Página 14 ENGLISH ENGLISH 13. ACCESSORIES Automatic systems G60 and G100 can automate overhead counterbalanced doors using the special accessory (fig. 32) Use of the safety edge with conductive element is facilitated by the possibility of housing the special control unit (fig. 33) on the operator.
-
Página 15: Allgemeine Sicherheitsvorschriften
26) No pongan en cortocircuito los polos de las baterías y no intenten recargarlas con alimentadores 9) GENIUS is niet aansprakelijk als de regels der goede techniek niet in acht genomen zijn bij de bouw diferentes de las tarjetas Master o Slave. - Página 16 Les descriptions et les illustrations du présent manuel sont fournies à titre indicatif. GENIUS se réserve le droit d’apporter à tout moment les modifications qu’elle jugera utiles sur ce produit tout en conservant les caractéristiques essentielles, sans devoir pour autant mettre à...


