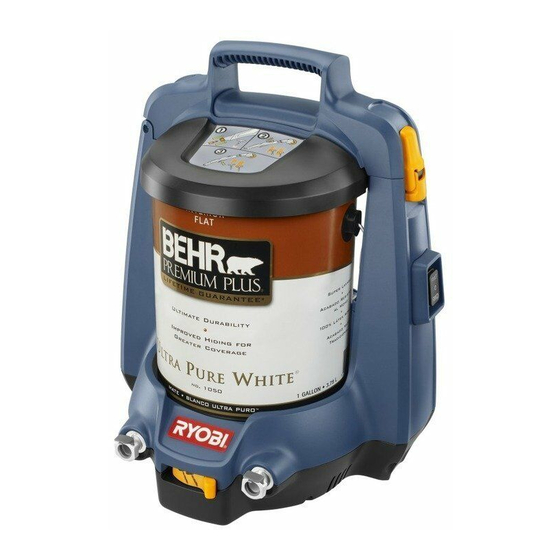
Publicidad
Enlaces rápidos
WARNING:
This How To Get Started sheet is
not a substitute for reading the operator's manual.
To reduce the risk of injury or property damage, user
must read and understand operator's manual before
using this product.
For detailed instructions on how to
perform any of the steps at right,
please see the operator's manual.
6
10
5
7
988000-048
3-29-10 (REV:02)
how to get started
1
8
9
4
For set-up when using two-person operation,
please see the operator's manual.
1
Place plastic paint container lid onto the paint can.
Insert paint can into unit and lock handle closed.
2
Push dual control lever to the left to choose one person
3
operation.
Attach the paint tube to the quick-connect main outlet on unit.
4
Attach the other end of the paint tube to the quick connect outlet on
5
the handle.
6
Attach roller to handle.
Plug in the unit, place the forward/reverse switch in the forward
7
position.
Open the variable flow control valve, then squeeze and hold the
8
trigger on the roller handle to get paint flowing through the paint
tube.
2
9
Test the roller on a scrap surface before beginning.
3
10
Adjust the variable paint flow valve for desired paint coverage.
When finished, clean all parts before storing.
Publicidad

Resumen de contenidos para Ryobi DUET FPR200
- Página 1 how to get started WARNING: This How To Get Started sheet is not a substitute for reading the operator’s manual. To reduce the risk of injury or property damage, user must read and understand operator’s manual before using this product. Place plastic paint container lid onto the paint can.
- Página 2 PoUr dÉBUter CÓMo AVERTISSEMENT : Le présent feuillet ADVERTENCIA: Comprender esta intitulé « Pour débuter l’utilisation du produit » ne hoja sobre Cómo comenzar no equivale a L’UtILIsatIoN CoMeNZar remplace en aucune façon le manuel d’utilisation. leer el manual del operador. Para reducir el Pour réduire les risques de blessures et de riesgo de lesiones o daños a la propiedad, el dommages matériels, l’utilisateur doit lire et...


