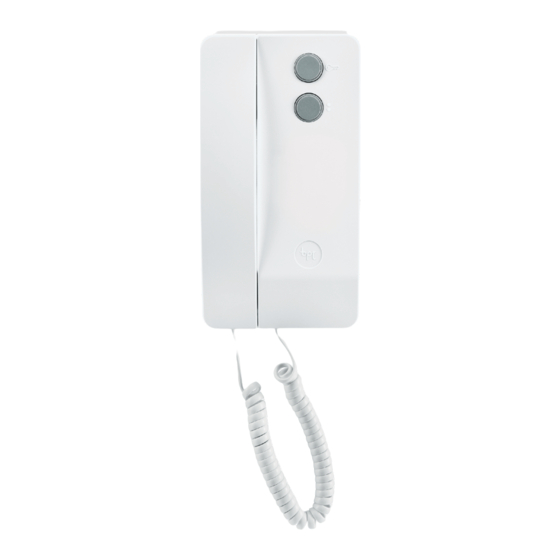
Resumen de contenidos para Bpt AGATACITO200-HPC
- Página 1 Manuale di Installazione Installation Manual Handbuch für den Installateur Manuel d’Installation Manual para el Instalador Manual para o Instalador Installatiehandleiding AGATACITO200-HPC 24806760/08-05-2013...
- Página 2 AGK200C03UK HPC/1 AGATA C/200 AG2K200C03UK HPC/2 HA/200 AGATAK200C03E A/200R HPC/1 AGATAK200CB03 HPC/1 AGATA C/B 200 HA/200 AGATA2K200CB03 HPC/2 A/200R...
- Página 3 Agata C 200 - Agata C/B 200 AGATA C 200-AGATA C/B 200 Une fois les connexions effectuées, raccrocher la coque au fond de l’appareil INSTALLAZIONE A PARETE (fig. ). Aprire l’apparecchio premendo sullla leva posta sul fondo (figura ). Separare il guscio dal fondo dell’apparecchio.
- Página 4 Agata C 200 - Agata C/B 200 AGATA C 200 - Caratteristiche tecniche - Características técnicas - Technical features - Características técnicas - Technische merkmale - Technische kenmerken - Caractéristiques techniques Temperatura di stoccaggio - Storage temperature - Lagerungstemperatur - Température de stockage - Temperatura de almacenamiento - Temperatura de armazenagem - Bewaringstemperatuur -25°C +70 °C Temperatura di funzionamento - Operating temperature - Betriebstemperatur - Température de fonctionnement - Temperatura de funcionamiento - Temperatura de funcionamento - Werkingstemperatuur +5°C +0°C...
- Página 5 Agata C 200 - Agata C/B 200 AGATA C/B 200 - Togliere il ponticello SW per rendere il pulsante apriporta ( ) attivo solo a cornetta sollevata. - In order to make the door open ( ) button active only when the reciever is up, remove the jumper SW. - Entfernen Sie die Drahtbrücke SW, damit der Türöffner ( ) nur dann aktiviert ist, wenn der Hörer abgehoben ist.
-
Página 6: Trasferimento Di Chiamata
Agata C 200 - Agata C/B 200 - Funzioni - Funzioni - Funzioni - Funzioni - Funzioni - Funzioni - Funzioni Intercomunicazione Per chiamare uno degli interni, sollevare la cornetta e premere il pulsante dell’interno desiderato. Int. 1 Intercommunication To call an extension, take the handset and press the desired extension button. Intercom-Funktion Zum Aufruf einer Innensprechstelle heben Sie den Hörer ab und drücken die Taste der gewünschten Innensprechstelle. -
Página 7: Instalación
A/200r A/200R INSTALLAZIONE INSTALACIÓN • L’alimentatore deve essere installato SEMPRE in orizzontale. • El alimentador debe instalarse SIEMPRE en horizontal. • L’apparecchio è installabile su guida DIN (EN 50022) in un apposito quadro • El aparato puede instalarse en guía DIN (EN 50022) dentro de un cuadro eléc- elettrico o a parete utilizzando i coprimorsetti di protezione. - Página 8 A/200r -MORSETTIERE -TERMINAL BOARDS -KLEMMENBRETTER Rete Mains Netz Ingresso 2 V cc (*) 2 V DC input (*) Eingang 2 V DC (*) Massa Ground Masse 21 Uscita V cc V DC output Ausgang V DC Uscita comune chiamata call common ...
- Página 9 Targha 200 TARGHA 200 - ACCESSORI - ACCESSORIES - ZUBEHÖR - ACCESSOIRES - ACCESORIOS - ACESSÓRIOS - ACCESSOIRES Scatola incasso/Embedding box Base da parete/Surface housing Up-Kasten/Boîtier d’ e ncastrement Wandbasis/Support pour paroi Caja de empotrar/Caixa de encastre Base de pared/Base de parede Inbouwdoos Basis voor wandmontage Copriforo/Hole plugs...
-
Página 10: Instalación Empotrada
Targha 200 - INSTALLAZIONE DA INCASSO - INSTALLATION À ENCASTRER La scatola incasso HTS va murata a filo muro e ad un’altezza adeguata. Nella Le boîtier d’ e ncastrement HTS doit être muré à fleur du mur et à une hauteur messa in opera delle scatole incasso saranno evitate possibili deformazioni adéquate. - Página 11 Targha 200 Breng het microcontact (onderaan rechts) op zijn plaats aan (fig. 5). - INBOUWUITVOERING LET OP. De plaat is voorzien van een gemeenschappelijke draad De inbouwdoos HTS moet op een geschikte hoogte verzonken in de muur oproepen voor de microcontacten, om te gebruiken (fig. 6) als worden ingemetseld.
- Página 12 Targha 200 (fig. ). In geval van installaties waar het Larsen-effect kan optreden (audio feedback of rondzingen), dient de microfoon op afstand gemonteerd te wor- den, zoals weergegeven op fig. . Breng het microcontact (rechts onderaan) aan op de daarvoor bestemde plaats (fig. 5). LET OP.
- Página 13 Targha 200 INSTALACIÓN CONTIGUA SOBRE PARED -AFFIANCABILITÀ A INCASSO Pour des combinaisons horizontales, installer à l’ e xtérieur les deux cache- Per combinazioni in orizzontale (fig. -2) o in verticale (fig. 3-), togliere i trous et, à l’intérieur, appliquer le joint passe-câble en bas et en haut le joint copriforo e inserire i giunti passacavo.
- Página 14 Targha 200 - FUNZIONE DEI MORSETTI - TERMINAL FUNCTION - BELEGUNG DER KLEMMLEISTEN - FONCTIONS DES BORNES - FUNCIÓN DE LOS BORNES - FUNÇÃO DOS BORNES - DE KLEMMEN Regolazioni Einstellungen Regulaciones Afstellingen Adjustments Réglages Regulações Audio altoparlante Audio Lautsprecher Audio altavoz Geluid luidspreker Loudspeaker audio...
- Página 15 SMALTIMENTO ELIMINACION Assicurarsi che il materiale d’imballaggio non venga disperso nell’ambiente, ma smaltito seguendo le norme vigenti nel Comprobar que no se tire al medioambiente el material de embalaje, sino que sea eliminado conforme a las normas paese di utilizzo del prodotto. vigentes en el país donde se utilice el producto.
- Página 16 BPT S.p.A. a Socio Unico Via Cornia, 1 33079 Sesto al Reghena-PN-Italy www.bpt.it-info@bpt.it 6...


