Tabla de contenido
Publicidad
Idiomas disponibles
Idiomas disponibles
Enlaces rápidos
CONTACT US FIRST
CONTACT US FIRST
sauder.com
sauder.com
sauder.com
BEFORE MAKING ANY RETURNS TO THE STORE.
BEFORE MAKING ANY RETURNS TO THE STORE.
sauder.com/service
Visit
Prefer the phone? Give us a ring at
Customer Service is available Monday-Friday - 9 a.m. to 5:30 p.m. EST (except holidays)
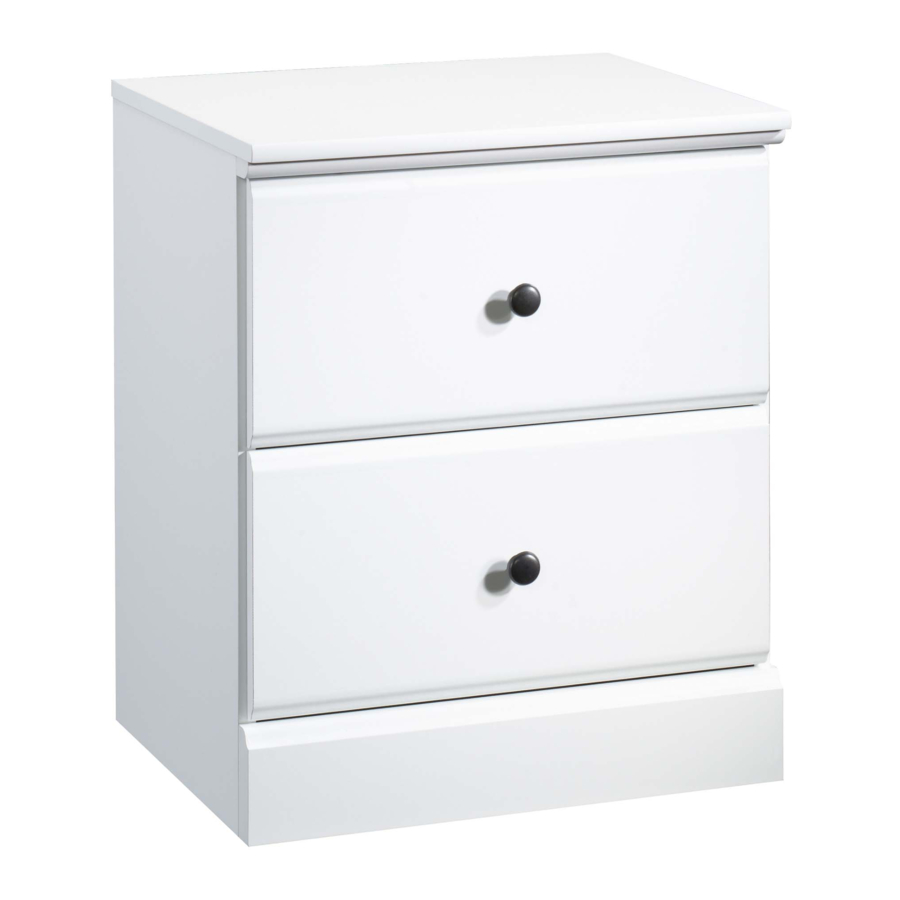
Night Stand
Parklane Collection | Model 423106
Share your journey!
to order replacement parts, view video assembly tips, or chat with a live rep.
1-800-523-3987
.
WARNING
CHOKING HAZARD - Small Parts
Not for children under 3 years.
Adult assembly required.
NOTE: THIS INSTRUCTION
BOOKLET CONTAINS IMPORTANT
SAFETY INFORMATION.
PLEASE READ AND KEEP FOR
FUTURE REFERENCE.
English pg 1-15
Français pg 16-18
Español pg 19-21
Lot # 529356
Purchased: __________________
05/14/19
Publicidad
Tabla de contenido

Manuales relacionados para Sauder Parklane 423106


Resumen de contenidos para Sauder Parklane 423106
- Página 1 CONTACT US FIRST CONTACT US FIRST sauder.com sauder.com sauder.com BEFORE MAKING ANY RETURNS TO THE STORE. BEFORE MAKING ANY RETURNS TO THE STORE. sauder.com/service Visit to order replacement parts, view video assembly tips, or chat with a live rep. 1-800-523-3987 Prefer the phone? Give us a ring at Customer Service is available Monday-Friday - 9 a.m.
- Página 2 Assembly Tools Required Part Identifi cation No. 2 Phillips Screwdriver Tip Shown Actual Size Hardware Identifi cation Assembly Steps 5-15 Hammer Not actual size Français 16-18 Español 19-21 Skip the power trip. Safety This time. Warranty Page 2 423106 www.sauder.com/services...
-
Página 3: Part Identifi Cation
RIGHT END (1) RIGHT DRAWER SIDE (2) BASE (1) LEFT END (1) LEFT DRAWER SIDE (2) BRACE (1) TOP (1) D158 DRAWER BACK (2) DRAWER FRONT (2) BACK (1) D964 DRAWER BOTTOM (2) TOP MOLDING (1) D158 D964 www.sauder.com/services 423106 Page 3... - Página 4 3S GOLD 5/16" FLAT HEAD SCREW - 16 BLACK 9/16" LARGE HEAD SCREW - 16 30S BLACK 1-9/16" FLAT HEAD SCREW - 8 SILVER 1-1/8" FLAT HEAD SCREW - 2 GOLD 1" MACHINE SCREW - 2 Page 4 423106 www.sauder.com/services...
- Página 5 Look for this icon. It means a Step 1 video assembly tip is available at www.sauder.com/services/tips Assemble your unit on a carpeted fl oor or on the empty å carton to avoid scratching your unit or the fl oor. Push eight HIDDEN CAMS (1F) into the ENDS (A3 and B3) å...
- Página 6 *patent pending glide system å GOLD 5/16" FLAT HEAD SCREW (8 used in this step) Glide end Finished edge Glide end Glide end Finished edge Glide end BLACK 9/16" LARGE HEAD SCREW (4 used for the METAL BRACKETS) Page 6 423106 www.sauder.com/services...
- Página 7 Tighten Risk of damage or Arrow injury. HIDDEN CAMS must be completely Arrow Maximum tightened. HIDDEN 210 degrees CAMS that are not completely tightened may loosen, and parts may separate. To Minimum completely tighten: 190 degrees www.sauder.com/services 423106 Page 7...
- Página 8 Fasten the TOP (C) to the ENDS (A3 and B3). Tighten four å HIDDEN CAMS. Maximum Arrow 210 degrees Minimum 190 degrees Rounded edge S u r f a c i t h h o l Page 8 423106 www.sauder.com/services...
- Página 9 Fasten the TOP MOLDING (H) to TOP (C). Use two å SILVER 1-1/8" FLAT HEAD SCREWS (10S). Side Step: Make nachos. (Optional, but recommended.) SILVER 1-1/8" FLAT HEAD SCREW (2 used in this step) Rounded edge www.sauder.com/services 423106 Page 9...
- Página 10 Fasten BASE (E2) to the ENDS (A3 and B3). Use four BLACK å 9/16" LARGE HEAD SCREWS (1S) through the METAL BRACKETS on the ENDS and into the holes in the BASE. BLACK 9/16" LARGE HEAD SCREW (4 used in this step) Page 10 423106 www.sauder.com/services...
- Página 11 Fasten the BACK (D) to your unit using the NAILS (1N). å Peel a FELT DISC from the FELT DISC CARD (1M) and stick å them on the ENDS (A3 and B3) and BASE (E) as shown. NAIL (30 used in this step) www.sauder.com/services 423106 Page 11...
- Página 12 D45). Use four BLACK 1-9/16" FLAT HEAD SCREWS (30S). Slide the DRAWER BOTTOM (D964) into the å grooves in the DRAWER SIDES (D44 and D45 ) Repeat this step for the remaining drawer. å and DRAWER FRONT (G2). Page 12 423106 www.sauder.com/services...
- Página 13 Fasten a KNOB (5K) to the DRAWER FRONT (G2). Use a GOLD 1" MACHINE SCREW (50S). å Repeat this step for the remaining drawer. å Glide end GOLD 1" MACHINE SCREW (2 used for the KNOBS) Glide end GOLD 5/16" FLAT HEAD SCREW (8 used for the DRAWER SLIDES) www.sauder.com/services 423106 Page 13...
- Página 14 Lift the front of the drawer up and slide it into the unit. See the next step for drawer adjustments. å Place the glide on the SLIDE behind the glide on the RAIL. Page 14 423106 www.sauder.com/services...
- Página 15 Drawer Slide Adjust the drawer up or down. To adjust the DRAWER FRONTS using the DRAWER SLIDE, loosen the SCREW in the slotted hole, adjust the drawer up or down as needed, then tighten the SCREW. www.sauder.com/services 423106 Page 15...
-
Página 16: Liste De Pièces
élément et conserver le livret pour future référence. EXTRÉMITÉ DROITE ..........1 35AA GLISSIÈRE D'ÉLÉMENT UNIVERSELLE 4 Pour contacter Sauder EXTRÉMITÉ GAUCHE ..........1 35AC TIROIR DROIT ............2 en ce qui concerne cet DESSUS ................1 35AD TIROIR GAUCHE .............2 élément, faire référence... - Página 17 D45). Utiliser quatre VIS TÊTE PLATE 40 mm NOIRES (30S). Répéter cette étape pour l'autre tiroir. ÉTAPE 5 Fixer la MOULURE DE DESSUS (H) au DESSUS (C). Utiliser deux VIS TÊTE PLATE 28 mm ARGENTÉES (10S). www.sauder.com/services 423106 Page 17...
- Página 18 Pour insérer les tiroirs dans l’unité, incliner le devant du tiroir vers le bas et faire tomber les coulisses du tiroir derrière les coulisses de l’unité. Relever le devant du tiroir et l'enfi ler dans l'élément. Consulter l'étape suivante pour ajuster les tiroirs. Page 18 423106 www.sauder.com/services...
-
Página 19: Mesa De Noche
EXTREMO IZQUIERDO ........1 35AC CAJÓN DERECHO ..........2 necesita ponerse en PANEL SUPERIOR ...........1 35AD CAJÓN IZQUIERDO ..........2 contacto con Sauder en DORSO ................1 SOPORTE DE METAL ..........4 cuanto a esta unidad, refi érase al número LADO DERECHO DE CAJÓN ......2 MÉNSULA DE CARA DE CAJÓN ....2... - Página 20 CAJÓN (D44 y D45). Utilice cuatro TORNILLOS NEGROS DE CABEZA PERDIDA de 40 mm (30S). Fije la MOLDURA DE PANEL SUPERIOR (H) al PANEL Repita este paso para el otro cajón. SUPERIOR (C). Utilice dos TORNILLOS PLATEADOS DE CABEZA PERDIDA de 28 mm (10S). Page 20 423106 www.sauder.com/services...
- Página 21 Levante la parte delantera del cajón y deslícelo dentro de la unidad. Consulte el próximo paso para ajustar los cajones. www.sauder.com/services 423106 Page 21...
- Página 22 Además, el peso y la ubicación del tubo de imagen tienden a causar la inestabilidad de televisores y son propensos a inclinarse hacia adelante. Page 22 423106 www.sauder.com/services...
-
Página 23: Garantie Limitée De 5 Ans
à compter de la date d'achat la première fois et qui sont signalés à Sauder dans les limites de couverture de la contre tout défaut de matériaux ou de fabrication des composantes de mobilier Sauder. -
Página 24: If You Need Assistance
Walmart.com in the product detail page. General Conformity Certifi cate 1. This certifi cate applies to the Sauder Woodworking Product identifi ed by this Instruction Book. 2. This certifi cate applies to compliance of this product with the CPSC Ban on Lead-Containing Paint (16 CFR 1303).