Publicidad
Enlaces rápidos
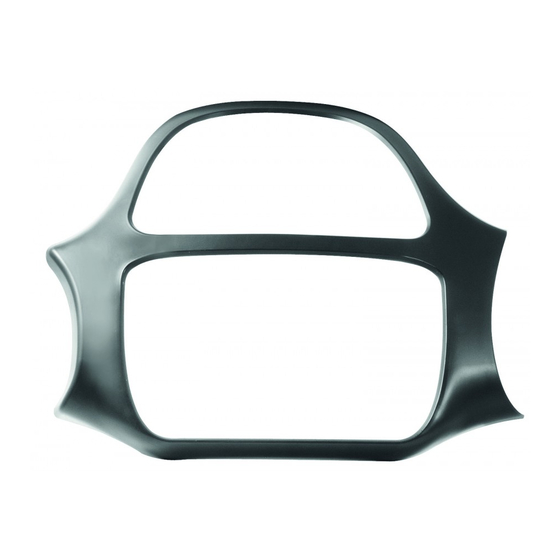
KIT DI FISSAGGIO PER SORGENTI DOPPIO DIN
INSTALLATION-KIT FOR DOUBLE-DIN CAR-RADIOS
KIT D'INSTALLATION POUR LES AUTORADIOS DOUBLE-DIN
KOMPLETTE HALTERUNG FUER DOPPEL-DIN AUTORADIOS
KIT DE FIJACIÓN PARA FUENTES DE SONIDO DOBLE DIN
FIAT
Punto '12> - Punto Evo
Colori nero opaco e lucido / Matt and shiny black colour
Istruzioni di montaggio
Instructions manual
Instructions de montage
Montageanleitung
Instrucciones para el montaje
03750
07/2017
Publicidad

Manuales relacionados para Phonocar 03750


Resumen de contenidos para Phonocar 03750
- Página 1 KIT DE FIJACIÓN PARA FUENTES DE SONIDO DOBLE DIN FIAT Punto ‘12> - Punto Evo Colori nero opaco e lucido / Matt and shiny black colour Istruzioni di montaggio Instructions manual Instructions de montage Montageanleitung Instrucciones para el montaje 03750 07/2017...
- Página 2 Dima Staffe Pannello Tenplate Metal brackets Panel Mascherina Telaio inferiore Radio frame Lower frame Rimuovere OEM radio e la gabbia metallica originale. Dopo aver riposizionato il telaio originale in auto, avvitare la dima fornita nel kit “A” come indicato (Fig.1). Seguendo la sagoma della dima, tracciare con una matita la curvatura in corrispondenza (Fig.2).
- Página 3 Estrarre e scollegare pulsantiera e bocchette aria originali (Fig.3). Rimuovere OEM cruscotto prestando attenzione alle due viti Torx T25 poste nel vano porta oggetti (Fig.4). Utilizzando una lama, tagliare il cruscotto OEM lungo la linea curva tracciata precedentemente con la dima “A” (Fig.5). Pull out and disconnect the keypad and the original air vents (Fig.3).
- Página 4 Tagliare dove indicato nella Fig.6 e nella Fig.10. Rimuovere gli elementi indicati nella Fig.7, Fig.8 e Fig.9. Smontare le prestole originali evidenziate sopra ed utilizzarle in seguito (vedi Fig.13). PS.: come indicato nella Fig.6 tagliare il più interno possibile. Cut where indicated in Fig.6 and Fig.10.Remove the elements shown in Fig.7, Fig.8 e Fig.9. Remove the original clips highlighted above and use them later (see Fig.13).
- Página 5 Montare staffe “B” e la radio aftermarket al cruscotto e forare con punta ø 4 dove indicato (Fig.11). Allargare i fori, creati precedentemente, con una punta ø 9 (Fig.12). Applicare le prestole OEM (Fig.7 e Fig.9) in corrispondenza dei 4 fori appena allargati e sul climatizzatore dell’aria (Fig.13). Fit metal brackets “B”...
- Página 6 Montare le staffe metalliche “B” sulla radio (Fig.14). Verificare la corretta posizione della radio in auto ed installare la radio collegandola (Fig.15). Mount the metal brackets “B” onthe radio (Fig.14). Check the correct position of the radio in your car and install the radio by connecting it (Fig.15). Monter les étriers métalliques “B”...
- Página 7 Installare la pulsantiera OEM al telaio “D” e montare le n.4 clips (Fig.18). Avvitare la mascherina ”E” al telaio “D” (Fig.19). Install the OEM push-button on lower frame“D” and mount the 4 clips (Fig.18). Screw the mask ”E” to the lower frame “D” (Fig.19). Installer le clavier OEM sur le châssis “D”...
- Página 8 Phonocar S.p.a. - Via F.lli Cervi, 167/C - 42124 REGGIO EMILIA (RE) Tel. 0522.941.621 - Fax 0522.1602093 • www.phonocar.com • e-mail:info@phonocar.it...