Publicidad
Enlaces rápidos
SIGMA BIKE COMPUTER
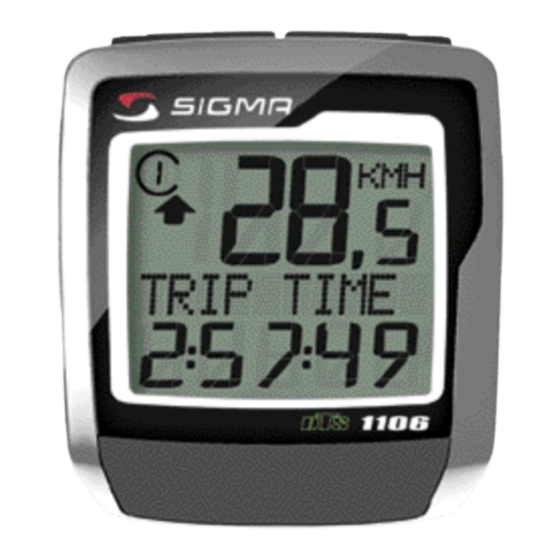
BC 1106L DTS
SIGMA EUROPA:
SIGMA USA:
SIGMA Elektro GmbH
North America
Dr.- Julius - Leber - Straße 15
1067 Kingsland Drive
D-67433 Neustadt a.d.W.
Batavia, IL 60510, USA
Tel. +49-(0)6321-9120-118
Tel. +1-630-761-1106
Fax +49-(0)6321-9120-34
Fax +1-630-761-1107
Toll Free: 888-744-6277
W W W. SI GMA SP O RT. CO M
Printed in USA
SIGMA ASIA:
Asia, Australia, South America
7F-1, No. 193, Ta-Tun 6th Street,
Taichung City, Taiwan
Tel. +886-4-2475 3577
Fax +886-4-2475 3563
BIKE COMPUTER
TOPLINE
W W W. SI GMA SP O RT. CO M
BC 11 06 L D TS
G
E
R M
A N
Y
Publicidad

Resumen de contenidos para Sigma BC 1106L DTS
- Página 1 SIGMA BIKE COMPUTER BIKE COMPUTER BC 1106L DTS TOPLINE W W W. SI GMA SP O RT. CO M SIGMA EUROPA: SIGMA USA: SIGMA ASIA: SIGMA Elektro GmbH North America Asia, Australia, South America Dr.- Julius - Leber - Straße 15 1067 Kingsland Drive 7F-1, No.
- Página 2 Contents / Contenu / Contenudo Installation / Montage / Montaje handlebar stem 42 mm 32 mm go to go to step 2 step 3...
- Página 3 Installation of mounting bracket Montage du support / Montaje del soporte de bicicleta remove yellow tape stem mount The harness comes ready to mount on your handlebars. To mount on a stem, remove the 4 screws on the back of the harness, turn base 90 degrees. 90°...
- Página 4 Installation of mounting bracket Installation of magnet / Montage de l'aimant / Montaje del imán the SIGMA logo on the harness must always face the front of the bike. 2 mm Foam pad included for use with bladed spokes...
- Página 5 Installation of speed transmitter Montage de l'émett. Vit. / Montaje del emisor de velocidad...
- Página 6 Installation of speed transmitter Montage de l'émett. Vit. / Montaje del emisor de velocidad max. 30˚ max. 90 cm Left side Right side...
- Página 7 Installation of speed transmitter Installation of Bike Computer To reach the required 20mm or less, move magnet Test: Battery and transmitter towards center of wheel. Note: 20mm = 3/4 inches 1_ 5 : 2 3 Max. 20 mm...
- Página 8 Mode / Reset >3 sec = RESET >3 sec = RESET >3 sec = RESET • MODE: Change the functions • RESET: Reset the functions TRIP DIST KM JOUR KM DIA DAILY KM/M, TRIP TIME, AVERAGE SPEED and MAX SPEED to zero TRIP TIME TEMPS PARC TIEMPO PAR...
- Página 9 Pairing / Connection / Apareado Pairing / Connection / Apareado • After installing the bike computer into mounting bracket, SPEED display will blink ZERO. • There are two ways to pair your transmitter and computer. TRIP DIST 0 TRIP DIST 0 BC1106 DTS •...
- Página 10 Pairing / Connection / Apareado Pairing / Connection / Apareado • Monter le compteur sur son support. Le zéro de la vitesse clignote • Il y a deux possibilités pour connecter la vitesse et la cadence: 1. Rouler, après env. 20 secondes (max. 5 min.) le récepteur s'est connecté TRIP DIST 0 TRIP DIST 0 BC1106 DTS...
- Página 11 Pairing / Connection / Apareado Pairing / Connection / Apareado • Encajar el BC 1106 DTS sobre el soporte. El cero de las indicaciones de velocidad parpadea • Hay dos posibilidades de emparejar la velocidad: TRIP DIST 0 TRIP DIST 0 BC1106 DTS 1.
-
Página 12: Changing Modes
Changing modes Changement d’affichage / Cambio de visualización How to change modes Affichage des fonctions • Press MODE button until the desired function is displayed • Appuyer sur la touche MODE jusqu'à ce que la fonction (TRIP DISTANCE, TRIP TIME, AVG. SPEED, MAX. SPEED, souhaitée soit affichée (DISTANCE JOURNALIERE, TEMPS CLOCK 15: 2 3 CLOCK, TOTAL ODO, TOTAL TIME)


