
Manuales relacionados para Danfoss DANVALVE SVA 10


Resumen de contenidos para Danfoss DANVALVE SVA 10
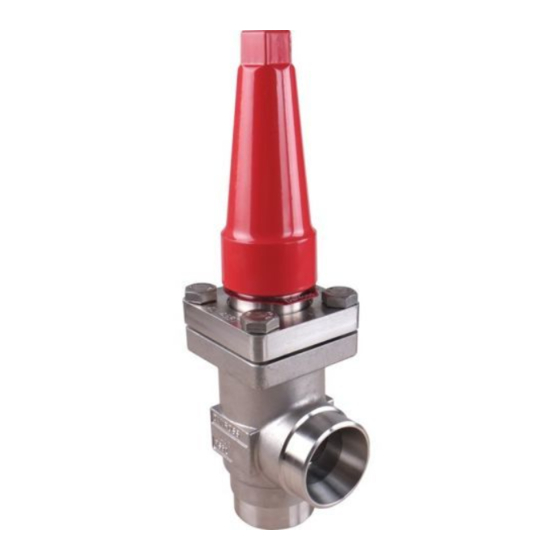
- Página 1 Installation Instructions SVA/REG 10-40 Fig. 2a Fig. 2b Fig. 1 Fig. 3 LB-feet DN 10-25 = DN 25-40 = Fig. 5b Fig. 4a Fig. 5a Fig. 4b No 2516+262 Sheet: 1/2 Rev. 2 11-1999...
-
Página 2: Installation Instructions
Der tages forbehold for fejl og mangler. especial sentido del flujo (Fig. 2a). No uti- TEFLON CONE RING. Danfoss forbeholder sig ret til uden forud- lizar herramientas para abrir o cerrar la gående varsel at foretage ændringer af válvula (Fig. 3). - Página 3 Unscrew the cone screw (Pos. D) by means of an BACKSEATING (FIG. 6) replaced. Allen wrench NV 2 (part of Danfoss’s set of gas- To backseat the valve, turn the spindle anticlock- kets). Remove the balls (Pos. E – 10 or 14 balls wise until the valve is fully open.
- Página 4 Kontrollér, at O-ringen (Pos. A) er ubeskadiget. foss Dichtungssatz enthalten). Zunächst die tas de Danfoss). Desmontar las bolas (Pos. E – Kugeln (Pos. E – Anzahl von der Ventilgrösse 10 ó 14 bolas, dependiendo del tamaño de la Keglens teflonring kan ikke skiftes.
- Página 5 Installation Instructions SVA/REG 10-40 Fig. 2b Fig. 2a Fig. 1 Fig. 3 LB-feet DN 10-25 = DN 25-40 = Fig. 5b Fig. 4a Fig. 5a Fig. 4b No 2516-262 Sheet: 1/2 Rev. 1...
- Página 6 Installation Instructions SVA/REG 10-40 SVEJSNING FARBE ENGLISH Topstykket skal afmonteres før svejsning SVA Absperrventil: Die Ventile werden (Fig. 4a+4b). werksseitig mit rotbraunem Grundier- REFRIGERANTS: ungsanstrich versehen. R717 (ammonia), R22, R134a, R404A, OBS: TEFLONRINGEN PÅ KEGLEN MÅ REG Regelventil: Die Ventile werden R407, R407B, R407C, R744, R600, R600a IKKE BESKADIGES.
- Página 7 Maintenance SVA/REG 10-40 Fig. 8 Fig. 6 Fig. 7 Fig. 9 Fig. 11b Fig. 11a Fig. 10 zed by slowly unscrewing the packing gland. DISASSEMBLAGE OF THE VALVE (FIG. 11A) ENGLISH OBS: Do not remove the top part, while the REMOVAL OF PACKING GLAND (FIG.
- Página 8 Maintenance SVA/REG 10-40 ASSEMBLAGE DEUTSCH ESPAÑOL Remove dirt, if any from housing before the val- ve is assembled. Check that the cone has been DICHTUNGSSTOPFBUCHSE EMPAQUETADURA screwed back towards the top part, before the top part is screwed into the housing (Fig. 11a). Beim Demontieren der Dichtungsstopfbuchse Como regla general, no debe desmontarse la sollte das Ventil drucklos sein.