Tabla de contenido
Publicidad
Idiomas disponibles
Idiomas disponibles
Enlaces rápidos
PRECAUCIÓN. EVITE RIESGOS. INSTALE SU APARATO DE ACUERDO CON LAS
CAUTION. AVOID RISKS. INSTALL YOUR APPLIANCE ACCORDING TO THE
modelos/
models
EM5110BE
JEM5110TLLE
EM5110LE
LEM5110BBE
EM5110TBE
LEM5110LLE
JEM5110TBBE
LEM5110TBBE
instructivo/
INDICACIONES DE SU INSTRUCTIVO/
INSTRUCTIONS ON THE USER'S MANUAL
LEM5110TLLE
PREM200BBE
PREM200LLE
PREM200NNE
No de parte/Part Number: 183D9489P152 Rev. 58
manual
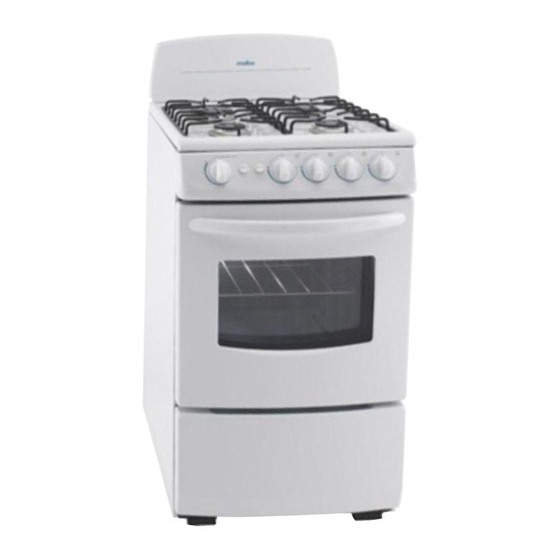
estufa a gas/
gas range
1
Publicidad
Tabla de contenido

Manuales relacionados para mabe EM5110BE


Resumen de contenidos para mabe EM5110BE
- Página 1 PRECAUCIÓN. EVITE RIESGOS. INSTALE SU APARATO DE ACUERDO CON LAS INDICACIONES DE SU INSTRUCTIVO/ CAUTION. AVOID RISKS. INSTALL YOUR APPLIANCE ACCORDING TO THE INSTRUCTIONS ON THE USER'S MANUAL modelos/ models EM5110BE JEM5110TLLE LEM5110TLLE EM5110LE LEM5110BBE PREM200BBE EM5110TBE LEM5110LLE...
-
Página 3: Recomendaciones Generales
¡felicidades! Acabas de adquirir una estufa de calidad internacional, esta marca se ha asegurado de que tu producto dure por muchos años. recomendaciones generales 1. Retira todos los elementos de mi empaque, adhesivos y películas en late- rales y cubierta. 2. -
Página 4: Indicaciones Para La Instalación, Conexión Y Ensamble De Su Producto
indicaciones para la instalación, conexión y ensamble de su producto copete Existen 2 copetes que se instalan de manera diferente dependiendo del modelo de la es- tufa. Puedes diferenciarlos ya que la "Opción 1" trae 4 perforaciones en la ceja inferior trasera y la "Opción 2"... - Página 5 quemador estándar Con dos tamaños, 3” y 4” de diámetro. ¡importante! Antes de encender mis quemadores, asegúrate de que las tapas estén BIEN colocadas en su sitio (excepto en económicos). Los pernos deben en- trar en la ranura del quemador para asegurar su colo- cación.
-
Página 6: Indicaciones Para El Cuidado Y Mantenimiento De Su Producto
enciende mi horno 1. Verifica que mi perilla esté en posición de apagado y acerca un cerillo al orificio del piso de horno. 2. Si estoy provista de termostato: Empuja y gira la pe- rilla a la posición “min”. Cuando encienda el quemador, gira mi perilla a la posición deseada. - Página 7 quemadores: Remójalos en una solución de detergente y agua caliente por un periodo de 20 a 30 minutos, puedes usar una fibra plástica, (NUNCA ME- TÁLICA), enjuaga y seca perfectamente antes de reinstalar, ASEGURAN DOTE DE QUE LOS ORIFICIOS ESTÉN LIMPIOS. parrillas: Lávalas con agua caliente jabonosa.
-
Página 8: General Recommendations
¡congratulations! You have just bought an international quality range. This brand made sure that this product will last for many years to come. general recommendations 1. Remove all packaging elements, adhesives and plastic films in lateral pan- els and cooktop. 2. -
Página 9: Instructions For The Installation, Connection And Assembly Of Your Product
instructions for the installation, connection and assembly of your product backguard There are 2 different backguards that are installed in a different way depending on the model of your range. "Option 1" has 4 perforations in the rear bottom flange and "Op- tion 2"... - Página 10 standard burners In two sizes 3” and 4” diameter. important! Before lighting my surface burners, make sure caps are PROPERLY seated in their place (except porcelain enamel burners). Pins must fit into the burner’s slot in order to assure its place. warning: My cooktop is sealed and cannot be re- moved to clean the interior since it is unnecessary.
-
Página 11: Oven Bottom
turn on my oven 1. Make sure my control knob is in the OFF position and place a lighted match next to the hole on the oven bot- tom. 2. If I’m equipped with a thermostat: Push in my control knob and turn it to the “min”... - Página 12 Burners: Soak them 20 - 30 minutes in a detergent and hot water solution. You can use a plastic scouring pad (NEVER A STEEL WOOL PAD), rinse and dry thoroughly before replacing them, MAKE SURE THE PORTS ARE CLEAN AND CLEAR. Surface grates: Wash them using hot soapy water.
-
Página 13: Centros De Servicio
Antes de solicitar un servicio de garantía: 1. Asegúrese de haber seguido las indicaciones de instalación, uso y cuidados que menciona el instructivo. 2. Localice y tenga a la mano su garantía debidamente sellada o bien la factura, nota o comprobante de compra. -
Página 14: Póliza De Garantía
póliza de garantía "Leiser S. DE R.L. de C.V. garantiza este producto modelo EM5110TBE, EM5110LE, JEM5110TBBE, JEM5110TLLE, LEM5110BBE, LEM5110LLE, LEM5110TBBE, LEM5110TLLE, PREM200BBE, PREM200LLE y PREM200NNE en todas sus piezas, componentes y mano de obra por el tiempo de 1 año en su producto final —contado a partir de la fecha de adquisición del producto—... - Página 16 www.serviplus.com.mx Pólizas de extensión de garantía: (0155) 5329.1322 Lada sin costo: 01.800.9029.900...