Capítulos
Tabla de contenido

Manuales relacionados para Ikegami ISD-A20


Resumen de contenidos para Ikegami ISD-A20
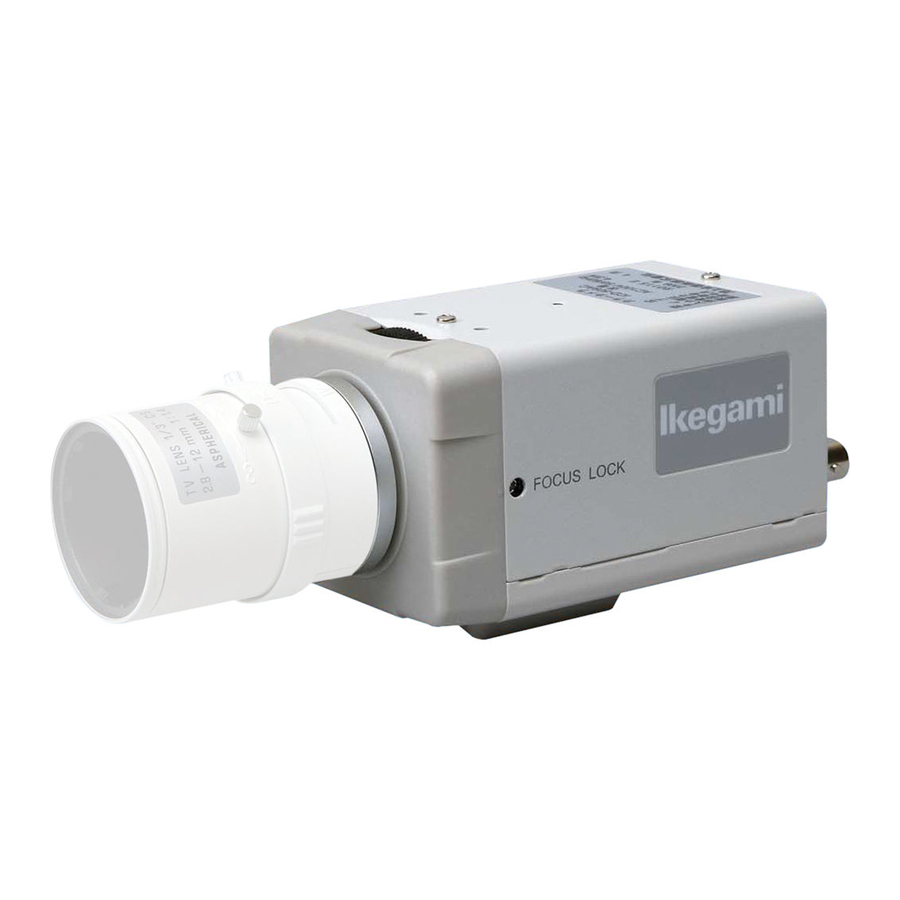
- Página 1 INSTRUCTION MANUAL Color Camera MODEL ISD-A20 OUTDOOR USE WARNING WARNING – TO PREVENT FIRE OR ELECTRIC SHOCK, DO NOT EXPOSE THIS APPLIANCE TO RAIN OR MOISTURE. Ikegami Tsushinki Co., Ltd.
-
Página 2: Tabla De Contenido
Thank you very much for your wise choice of the Ikegami DPS Camera. Please carefully read this Instruction Manual to keep your camera at full capacity. This DPS camera with a 1/3” WDR digital image device. Contents Page 1. Handling precautions ................E-1 2. -
Página 3: Handling Precautions
1. Handling precautions • Do not install the camera in a water-splashed or highly humid place. • Do not use the camera where the ambient temperature drops below -10°C or rises above +50°C. The images and component parts may be adversely affected or the camera may get in trouble. -
Página 4: Features
3. Features (1)Wide dynamic range (WDR) The WDR function provides for backlight compensation in a wide dynamic range. Being shot even in wide-illumination-fluctuating spots, bright-and-dark subjects can be captured clearly and in a natural look. (2)Automatic white balance Thanks to the automatic follow-up white balance control (ATW), the white balance adjusts itself no matter how greatly the subject's color temperature fluctuates. -
Página 5: Names Of Parts And Their Functions
4. Names of parts and their functions A VIEW CLASS2 AC24V50/60Hz245mA DC12V230mA... - Página 6 ① Lens mount (CS mount) This is used to mount the lens on the camera. Many types of CS mountlens can be attached. ② Flange focal distance adjuster Used to readjust the flange focal distance (distance between lens mounting face and imaging area), if the camera fails to come into focus with the lens’...
-
Página 7: Operation
Numbers of connector pins ⑦ - ⑪ Camera setup function switches Refer to the Operation chapter. ⑫ Video output terminal (VIDEO OUT) Used to give out the video signal. Connect this to the video input terminal of a monitor, switcher etc. (To be terminated with 75-ohm impedance.) ⑬... -
Página 8: Setup Switches And Their Functions
5-2. SETUP switches and their functions The pushbuttons and their markings at left are provided on the back SET UP of the camera. Up Switch (U) Used to select SETUP items (up and down). Down Switch (D) Right Switch (R) Used to modify the settings. -
Página 9: Setup Procedures
5-3-2. SPECIAL MENU Highlight EXIT on the SETUP MENU SPECIAL MENU V1.00 screen. Hold down the L and R buttons →PAGE 1/2 together, and the screen at left appears CHROMA DETAIL onscreen. SETUP 7.5IRE (Page 1/2 shown at left) MONITOR CRT DNR OFF RET (1) PAGE Selection of page 1/2 or 2/2. - Página 10 (2)ID characters setting ID EDIT Keep CAMERA ID highlighted and press →ID..... the E button. The screen at right shows up. ① ID ID ALL CLEAR ID POSITION UP Press the E button on ID, and the RET cursor appears. With the L or R button, select a character.
- Página 11 ② 1SPOT 1SPOT ZONE Select “ISPOT” and press the “E” button, →ADJUST ZONE and the screen shown at right appears. RET Highlight “ADJUST ZONE” and press the “E” button, and the photometric range setting screen shows up. Each time the E button is pressed, the photometric frame color turns blue, green and red in this order SPOT ZONE−1 ENT:2SEC→RET...
- Página 12 ① AUTO The automatic iris lens control function is enabled. ②MANUAL This is selected with a manual iris lens in use. White saturation at high illumination is suppressed. In other words, too bright a subject can be reproduced rather clearly than usual. (6) FFD Select this item, and the flicker reduction function can be turned on and off with the “L”...
- Página 13 ③ LOW This fixed-gain mode keeps the sensitivity low for brighter spots. ④ MID This fixed-gain mode keeps the sensitivity middle between HIGH and LOW. ⑤ HIGH The fixed-gain mode keeps the sensitivity high for darker spots. (3)SENS UP The electronic sensitivity up modes can be selected with the L and R buttons. At all the positions but OFF, the automatic gain control function turns on itself.
- Página 14 ③ AWC This is the so-called one-push automatic white balance control. Shoot a target white subject and press the E button, and the white balance will be adjusted. ④ MANUAL WHITE BALANCE Select MANUAL, press the E button →R GAIN and the screen at left appears onscreen.
- Página 15 5-4-7. SPECIAL MENU (1)Highlight SETUP on the main menu SPECIAL MENU V1.00 screen and hold down the L and R →PAGE 1/2 buttons together. The SPECIAL MENU CHROMA DETAIL screen at right shows up. SETUP 7.5IRE MONITOR CRT DNR OFF RET (2)PAGE Pages can be selected with the “L” and SPECIAL MENU V1.00...
-
Página 16: Warranty And After-Sale Service
A warranty accompanies this product. Read and fill out the warranty card that you have received at your dealer. Keep this card in a safe place. • Please consult Ikegami Electronics (U.S.A.) Inc. or Ikegami Electronics (Europe) GmbH or your dealer for full warranty information. Your dealer will repair or replace free of charge within the warranty period according to the warranty coverage. -
Página 17: Specifications
7. Specifications (1) Imaging device: 1/3-inch WDR digital imaging device (2) No. of effective pixels: Approx. 380,000 pixels, 720(H) x 540(V) (3) Scanning system: NTSC system (4) Sync system: INT/Line-Lock (phase adjustable) (5) Video output: VBS 1.0 Vp-p/75 ohms (6) Horizontal resolution: 480 TV lines (7) S/N ratio: 50 dB (luminance signal, at rated illumination, Detail OFF... - Página 18 Muchas gracias por haber elegido sabiamente la cámara DPS de Ikegami. Lea cuidadosamente este manual de instrucciones para mantener su cámara en las mejores condiciones de funcionamiento. La cámara DPS está equipada con un dispositivo de imagen digital WDR de 1/3".
-
Página 19: Precauciones De Manejo
1. Precauciones de manejo • No instale la cámara en un lugar donde se salpique agua o donde haya mucha humedad. • No utilice la cámara donde la temperatura ambiental sea inferior a -10°C o superior a +50°C. Las imágenes y las piezas componentes podrían ser afectadas o la cámara podría funcionar mal. -
Página 20: Características
3. Características (1)Gama dinámica amplia (WDR) La función WDR proporciona compensación de luz de fondo en una amplia gama dinámica. Filmados incluso en lugares donde la iluminación fluctúa considerablemente, los motivos brillantes y oscuros se pueden captar claramente con un aspecto natural. (2)Balance automático del blanco Gracias al control del balance del blanco de seguimiento automático (ATW), el balance del blanco se ajusta automáticamente sin importar lo grande que sean las fluctuaciones... -
Página 21: Nombres De Las Partes Y Sus Funciones
4. Nombres de las partes y sus funciones A VIEW VISTA A CLASS2 AC24V50/60Hz245mA DC12V230mA... - Página 22 ① Montura del objetivo (montura CS) Ésta se utiliza para montar el objetivo en la cámara. Acepta muchos tipos de objetivos de montura CS. ② Ajustador de distancia focal de brida Se utiliza para volver a ajustar la distancia focal de brida (distancia entre la cara de montaje del objetivo y el área de formación de la imagen), si la cámara no enfoca con el anillo de enfoque del objetivo.
-
Página 23: Ajuste
Número de contactos de conexión ⑦ - ⑪ Conmutadores de funciones de ajuste de la cámara Utilícelos consultando cada elemento de la operación. ⑫ Terminal de salida de vídeo Se utiliza para dar salida a la señal de vídeo. Conecte este terminal al terminal de entrada de vídeo de un monitor, conmutador, etc. -
Página 24: Conmutadores De Ajuste Y Sus Funciones
5-2. Conmutadores de ajuste y sus funciones Los conmutadores y sus marcas, mostrados en la ilustración de la SET UP izquierda, se encuentran en la parte posterior de la cámara. Conmutador de subida (U) Se utiliza para seleccionar los elementos SETUP (subida Conmutador de bajada (D) y bajada). -
Página 25: Procedimientos De Configuración
5-3-2. SPECIAL MENU (Menú especial) Haga resaltar EXIT en la pantalla SETUP SPECIAL MENU V1.00 MENU. Mantenga pulsados juntos los →PAGE 1/2 botones L y R y aparecerá la pantalla de CHROMA DETAIL la izquierda. SETUP 7.5IRE (Página 1/2 mostrada a la izquierda) MONITOR CRT DNR OFF... - Página 26 (2)Selección de caracteres de ID ID EDIT Mantenga resaltado CAMERA ID y pulse →ID..... el botón E. Se muestra la pantalla de la derecha. ID ALL CLEAR ID POSITION UP ① ID RET Pulse el botón E estando en ID y aparecerá el cursor. Con el botón L o R, seleccione un carácter.
- Página 27 ② 1SPOT 1SPOT ZONE Seleccione "1SPOT" y pulse el botón →ADJUST ZONE "E", y a continuación aparecerá la RET pantalla mostrada a la derecha. Haga resaltar "ADJUST ZONE" y pulse el botón "E", y a continuación aparecerá la pantalla de ajuste del margen fotométrico.
- Página 28 ① AUTO La función de control automático del iris del objetivo se activa. ②MANUAL Esto se selecciona cuando se utiliza un objetivo de iris manual. La saturación del blanco con la iluminación alta se suprimen. Es decir, los motivos demasiado brillantes se pueden reproducir de una forma más clara que la habitual.
- Página 29 ④ MID Este modo de ganancia fija mantiene la sensibilidad media entre HIGH y LOW. ⑤ HIGH Este modo de ganancia fija mantiene alta la sensibilidad para los puntos más oscuros. (3)SENS UP Los modos de aumento de sensibilidad electrónica se pueden seleccionar con los botones L y R.
- Página 30 ③ AWC Éste es el llamado control automático del balance del blanco mediante una sola pulsación. Filme un motivo de color blanco, pulse el botón E y el balance del blanco se ajustará. ④ MANUAL WHITE BALANCE SSeleccione MANUAL, pulse el botón E y aparecerá...
- Página 31 5-4-7. SPECIAL MENU (Menú especial) (1)Haga resaltar SETUP en la pantalla del SPECIAL MENU V1.00 menú principal y mantenga pulsados →PAGE 1/2 juntos los botones L y R. Aparece la CHROMA DETAIL pantalla SPECIAL MENU de la SETUP 7.5IRE derecha. MONITOR CRT DNR OFF RET (2)PAGE SPECIAL MENU V1.00...
- Página 32 ① CANCEL Se utiliza para volver a la pantalla SPECIAL MENU. ② OK Se utiliza para ir a la pantalla SELECT VIDEO STANDARD SELECT VIDEO STANDARD. (Ve la →VIDEO STANDARD NTSC pantalla de la derecha.) RET Haga resaltar VIDEO STANDARD. Con los botones L o R se podrá cambiar entre los sistemas NTSC y PAL.
-
Página 33: Garantía Y Servicio Postventa
• Consulte a Ikegami Electronics (U.S.A.) Inc., a Ikegami Electronics (Europe) GmbH o a su concesionario para obtener una información completa de la garantía. Su concesionario reparará... -
Página 34: Especificaciones
7. Especificaciones (1) Dispositivo de formación Dispositivo de formación de imagen digital WDR de 1/3 de imagen: de pulgada (2) Número de píxeles eficaces: 380.000 píxeles aproximadamente, 720(H) x 540(V) (3) Sistema de exploración: Sistema NTSC (4) Sistema de sincronización: INT/Bloqueo de línea (fase ajustable) (5) Salida de vídeo: VBS;... -
Página 35: Appearance View
8. Appearance View COLOR CAMERA I S D - A 2 0 MODEL TYPE REV. AC230V 50Hz 35mA SER.NO. I K E G A M I T S U S H I N K I C O . , LT D . M A D E I N J A PA N... -
Página 36: Setup Menu
9. Setup Menu... - Página 38 37 Brook Avenue, Maywood, New Jersey 07607, U.S.A. Phone: (201) 368-9171, FAX 201-569-1626 Ikegami Electronics (Europe) GmbH Ikegami Strasse 1, 41460 Neuss 1, F.R. Germany TEL. 02131-123-0/FAX 02131-102820 Ikegami Electronics (Europe) GmbH U.K. Branch Unit E1 Cologne Court Brooklands Close, Windmill Road Sunbury-on-Thames Middlesex TW16 7EB, UK TEL.