
Manuales relacionados para ROBBE Cloud Dancer


Resumen de contenidos para ROBBE Cloud Dancer
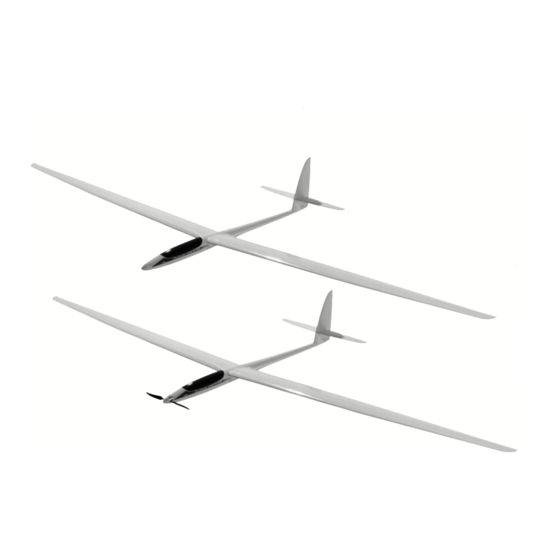
- Página 1 Assembly and operating instructions Notice de montage et de mise en œuvre Istruzioni di montaggio e d’uso Instrucciones de montaje y manejo Návod ke kompletaci a obsluze Cloud Dancer No. 2511...
- Página 2 Cloud Dancer 2511 Glider version Version planeur Aliante Versión velero verze větroň Electric glider version Version motoplaneur électrique Motoaliante Versión velero eléctrico verze elektrovětroň No. 2512 No. 25110001 No. 2514 No. 25120001 © robbe Modellsport...
- Página 3 - Place the RC installation frame in the fuselage and position it so that the front former S3 is located exactly over the mark “M”; do A Cloud Dancer Power Set is available if you wish to build the elec- Where other adhesives - cyano-acrylate (“cyano”), silicone sealant - not glue it at this stage.
- Página 4 Assembly and operating instructions Cloud Dancer 2511 Glider version only Fig. 19 Figs. 27 and 28 - Glue the motor bulkhead securely to the fuselage, working from - Cut the rectangular openings required. Figs. 7 - 9 the front. - Glue the glider nose to the fuselage using silicone sealant. This Fig.
- Página 5 Assembly and operating instructions Cloud Dancer 2511 through the opening at the same time. Ensure that the servo out- Figs. 51 and 52 Fig. 59 put arm is exactly in line with the threaded insert in the elevator. - Place the cable loom in the fuselage, fit the connectors in the - Install the covers for the flap and airbrake servo wells.
- Página 6 Every pilot has his own preferences, robbe Modellsport GmbH & Co. KG - Note that the propeller blades unfold abruptly when the motor and will probably wish to fine-tune the settings.
- Página 7 Vous avez choisi le modèle de planeur en fibre (plastique renforcé sion planeur. Les éléments du modèle sont déjà teintés en blanc. Il n'est pas indi- fibre de verre) Cloud Dancer produit par la maison robbemodell- spensable de mettre le modèle en peinture. sport. Nous vous en remercions.
- Página 8 Notice de construction et de mise en œuvre réf. Cloud Dancer 2511 - Munir le servo de la gouverne de direction du palonnier de servo - Bien coller les éléments en bois dans le fuselage. Fig. 29 approprié et le mettre en place. Préparer une chape avec un - Poncez les douilles des cordons avec du papier de verre.
- Página 9 Notice de construction et de mise en œuvre réf. Cloud Dancer 2511 - Réalisez la timonerie de la gouverne de profondeur à partir d'une Fig. 51 et 52 Fig. 59 tige filetée de 2 mm (raccourcir), de 2 chapes et de 2 écrous M2.
- Página 10 Modellsport GmbH & Co. KG - Lorsque le moteur démarre, l'hélice se déploie brusquement. Les débattements de gouverne mentionnés sont des valeurs indi- catives pour les premiers vols. Le réglage de précision sera effec- Sous réserve de modification technique...
- Página 11 Le parti in legno S5 - S7 non vengono utilizzate per l’aliante . Verniciatura la ringraziamo per aver scelto l’ aeromodello Cloud Dancer in fibra I componenti del modello sono già verniciati in colore bianco; con- di vetro, facente parte della gamma di prodotti robbe.
- Página 12 Istruzioni di montaggio e d’uso Art.N. Cloud Dancer 2511 - Applicare una squadretta compatibile sul servo di comando del - Rimuovere l’ogiva e smontare il motore una volta asciugato il Immagini 27 e 28 timone direzionale, quindi montare quest’ultimo. Preparare la for- collante.
- Página 13 Istruzioni di montaggio e d’uso Art.N. Cloud Dancer 2511 zzando una barra filettata da 2 mm (da accorciare), 2 forcelle e 2 Immagini 51 e 52 non deve risultare bloccato meccanicamente da altri ostacoli – dadi M2. Centrare il timone di profondità sul modello, quindi - Inserire i cavi all’interno della fusoliera e sigillare tutto il contorno...
- Página 14 Tali escursioni rappresentano valori indicativi utili per i primi voli; Verifica di funzionamento del motore ciascun pilota dovrà poi modificarli in base alle proprie abitudini di robbe Modellsport GmbH & Co. KG - Accendere la trasmittente e portare lo stick di comando del pilotaggio.
- Página 15 Las piezas del modelo vienen teñidas de color blanco. No es Le damos las gracias por haberse decidido por el velero robbefiber necesario pintarlas. Cloud Dancer de plástico con fibra de vidrio de la casa robbe Todas las indicaciones de dirección, como por ejemplo Modellsport.
- Página 16 Instrucciones de montaje y manejo Cloud Dancer 2511 Foto 6 - Después de endurecer el adhesivo, aflojar el cono y desmontar Fotos 27 y 28 - Instalar el interruptor para el equipo de recepción. el motor. Ya no hace falta la cuaderna auxiliar “H”.
- Página 17 Instrucciones de montaje y manejo Cloud Dancer 2511 - Fabricar el varillaje para el timón de profundidad con una varilla - Encolar el tubito de guía del varillaje del timón de dirección en la Fotos 61 y 62 roscada de 2 mm. (cortarla), 2 kwick links y 2 tuercas M2. Poner lengua de contrachapado.
- Página 18 - La hélice se despliega de golpe al arrancar el motor. exacto según sus costumbres individuales de mando. robbe Modellsport GmbH & Co. KG - Verificar el sentido de giro del motor. El motor debe girar en el De la misma manera conviene adaptar eventuales ajustes para Nos reservamos el derecho de realizar modificaciones técnicas.
- Página 19 2511 Vážený zákazníku, Pokyny k dálkovému ovládání Doplňkové příslušenství (viz list Příslušenství) rozhodl jste se zakoupit laminátový větroň Cloud Dancer z produk- K řízení modelu budete potřebovat minimálně 10CH počítačovou Pohonný set Cloud Dancer 2514 ce firmy robbe, za což Vám děkujeme.
- Página 20 Návod ke kompletaci a obsluze Obj.č Cloud Dancer 2511 Pouze verze elektrovětroň Obě verze Obr. 30 Montáž směrovky - Oblebte zámek křídla ve směrovce kolem dokola lepící páskou Obr. 11 Tesa. - Díly pohonného elektrosetu. Obr. 20 - Nechejte zacvaknout díl zámku křídel jedné poloviny výškovky - Ohněte na jednom konci drát na panty Ø...
- Página 21 Návod ke kompletaci a obsluze Obj.č Cloud Dancer 2511 Obr. 38 a 39 Obr. 51 a 52 klapky v příslušné koncové poloze serva spolehlivě vysunovaly a - Přizpůsobte pilováním krytku serva otvoru pro servo. - Vsuňte boční svazky kabelů trupu a zalepte konektor kolem zasunovaly a servo nebylo mechanicky omezováno –...
- Página 22 - Zapněte přijímač a připojte pohonné akumulátory. dolů: 4 mm robbe Modellsport GmbH & Co. KG - Držte model tak, aby se mohla vrtule volně otáčet. Pozor: Při Velikosti výchylek jsou měřeny vždy na vnitřní straně kormidel. veškerých montážních a udržovacích prací, jakož i při nastavo- Udávané...
- Página 23 © robbe Modellsport...
- Página 24 Copie et reproduction, même d’extraits, interdites sans autorisation Queda prohibida la reproducción total o parcial de este documento, excepto con écrite expresse de la Société robbe-Modellsport GmbH & Co. KG autorización por escrito de robbe-Modellsport GmbH & Co. KG. Omyly a technické změny vyhraženy Autorské...